I was lucky enough to get one last observing run at the Mercator Telescope on La Palma, so I spent another eleven nights at the telescope last month, bringing up my totals to 139 nights there (and to 232 overall at international observatories). Since my contract at the Institute of Astronomy ended on the 30th of September, this number will not change anymore :(
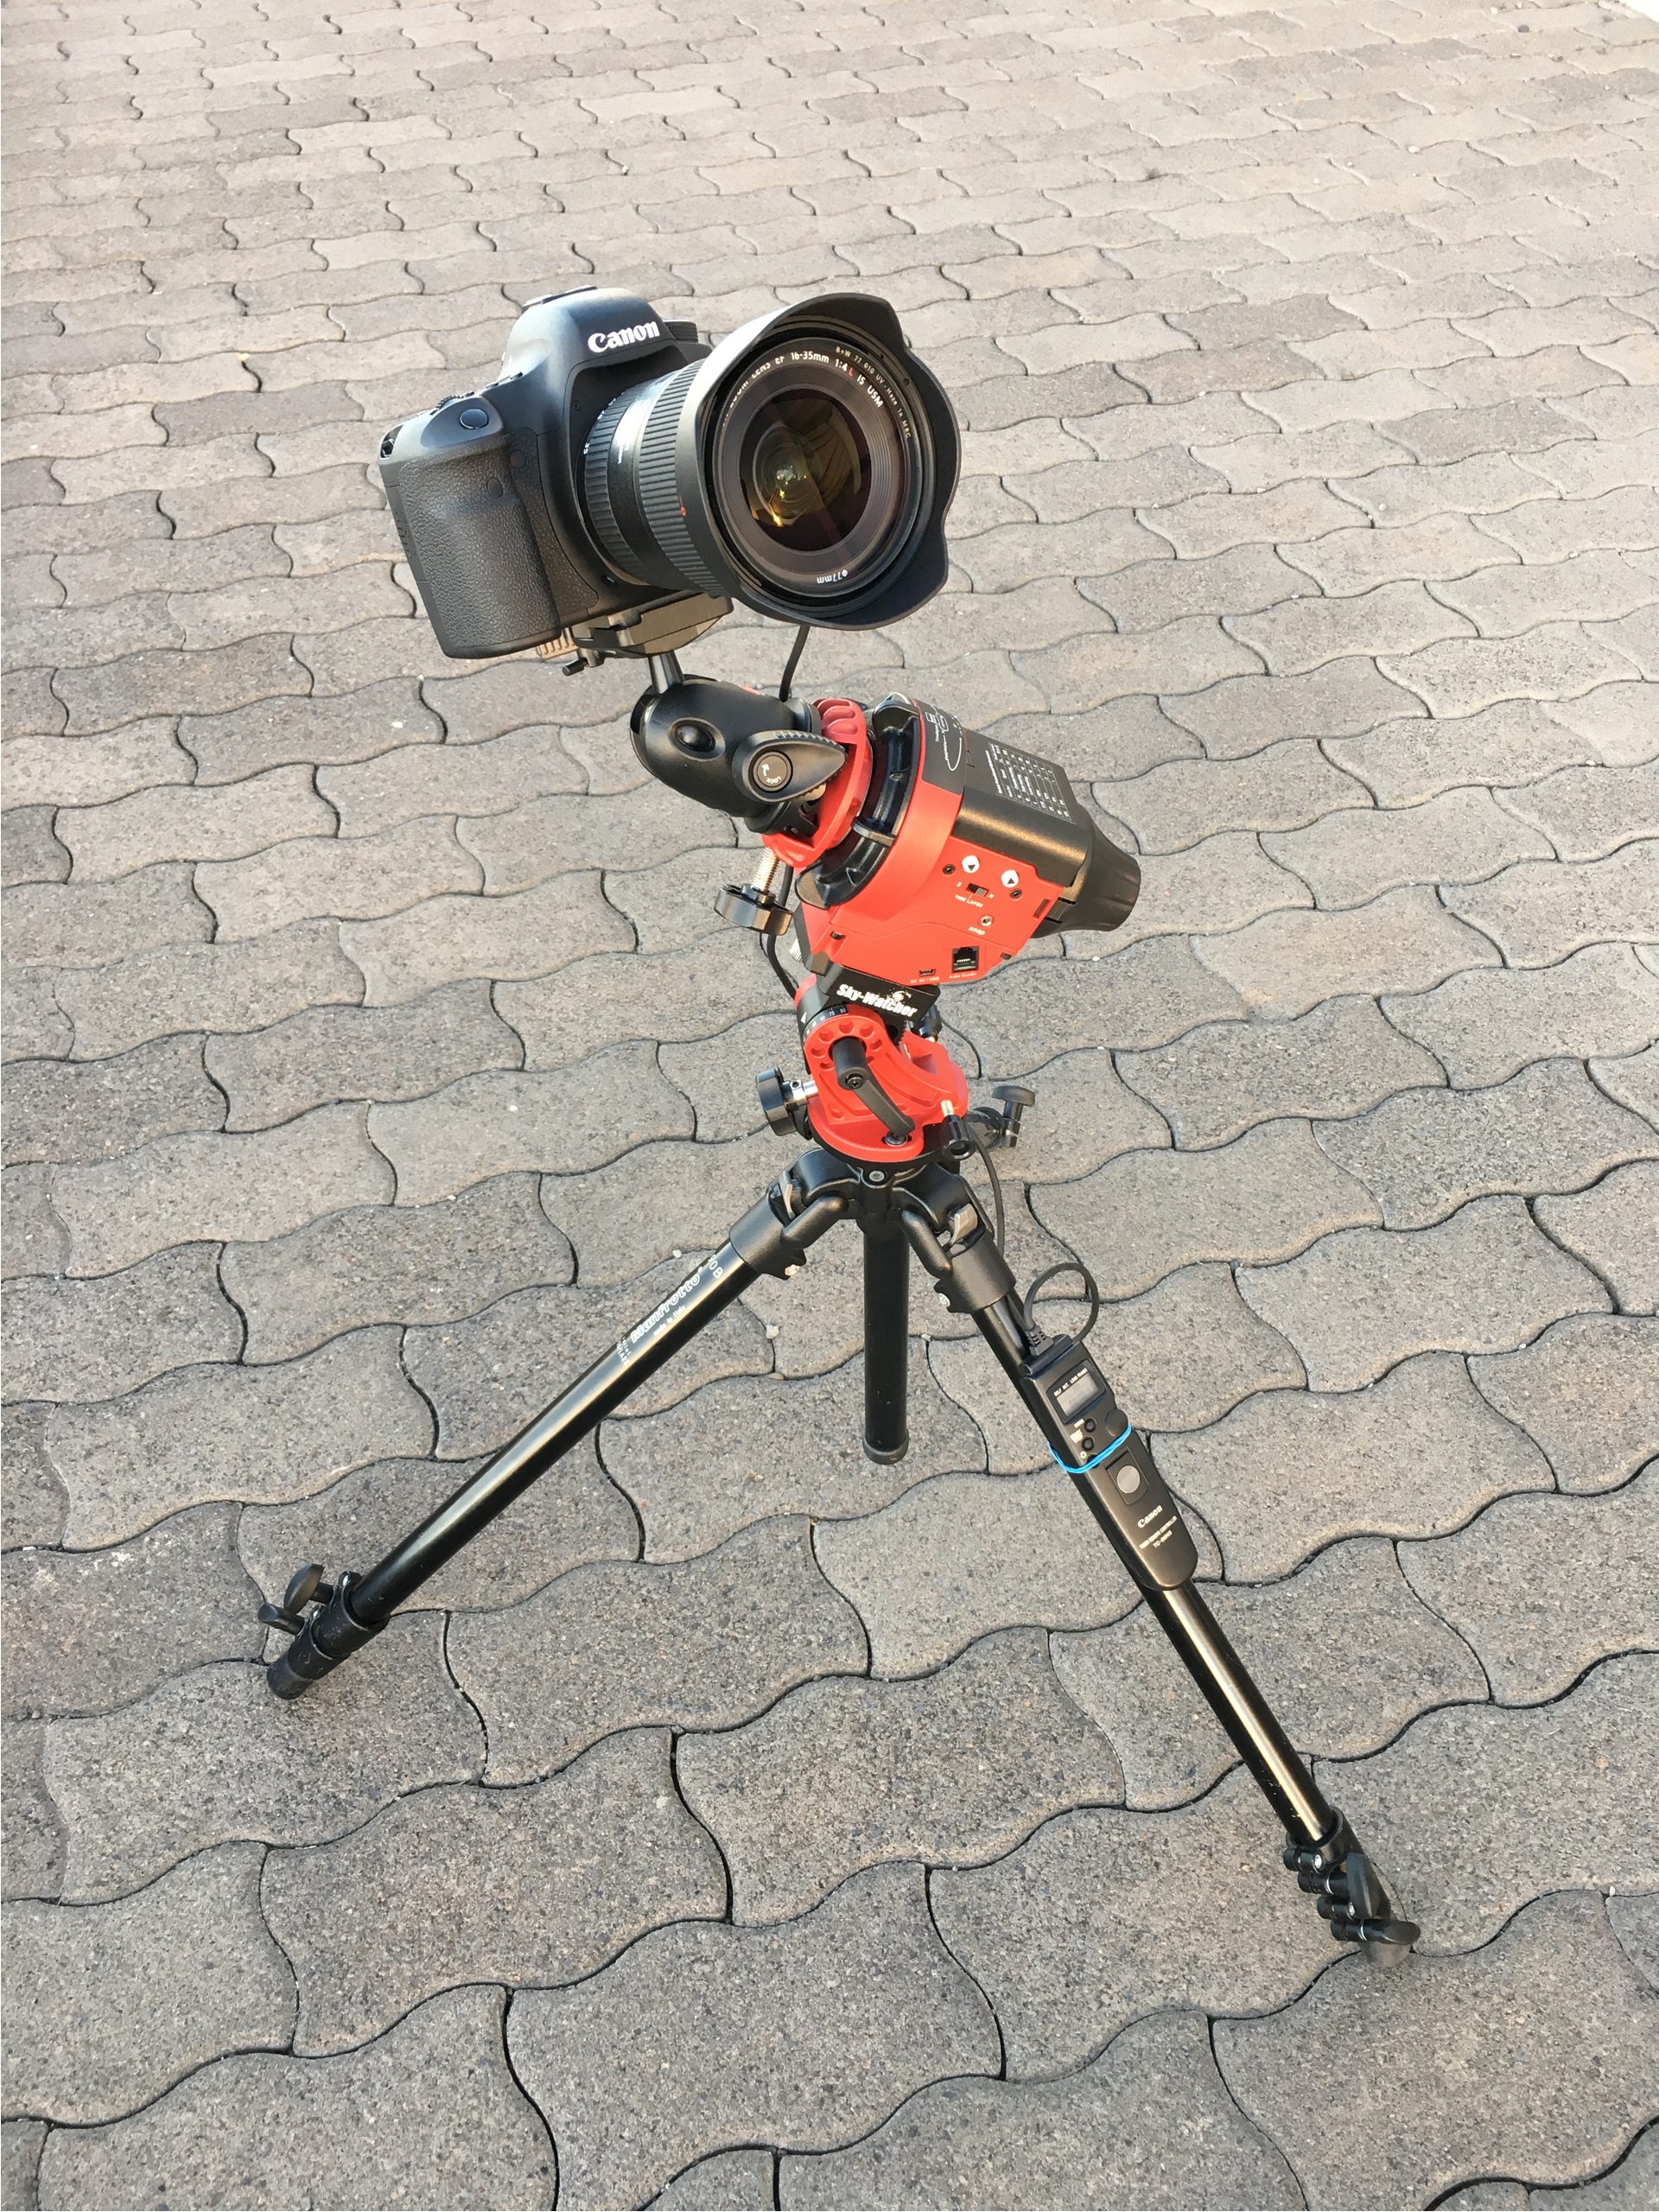
Anyway, to make the most out of my last payed trip to the Canaries, I decided that it was time to bring my heavy duty photography equipment with me again, but instead of shooting more time lapse movies, I wanted to do some more serious astrophotography, so I also bought (and then brought along) a compact sized motorised equatorial mount (a Sky-Watcher Sky Adventurer). I mounted the tracking mount on my good old Manfrotto tripod, and used an extra Manfrotto ball head to support and enable easy pointing of my Canon EOS 6D. You can also see the Canon TC-80N3 timer I was using to automate the image acquisition sequence so I did not have to press the shutter release button every two minutes. (Small note: I enabled mirror lock-up and used the 2 second self-timer setting in the camera, so when the TC-80N3 timer gave the signal, the mirror locked up, and 2 seconds later the actual exposure started, eliminating any unwanted vibration from the movement of the mirror. This meant setting an exposure time of 122 seconds on the TC-80N3 timer when I wanted an actual exposure time of 120 seconds.)
While I have done some very basic astrophotography before (and of course time lapse videos), I never had a tracking mount, so I was always limited in terms of exposure time by the Earth’s rotation. Also back then my DSLR was a Canon EOS 7D, that had worse noise levels than my current Canon EOS 6D, which meant that I could not really go above ISO 1600… But now with a better camera, a tracking mount, and a good amount of research before my trip, I was ready to step up my game.
My first few nights were lit by the bright Moon (I arrived just the day after Full Moon), so I spent the short amount of dark time before moonrise to experiment with the mount, my two lenses, and the camera settings. It took me four nights (of very little dark time) to figure everything out, but starting with my 5th night, my camera was outside from the beginning of the astronomical twilight until moonrise (which happened later and later as the days went by). I found out that I prefer taking more zoomed-in photos, so instead of using the Canon 16-35mm f/4 L IS USM lens, I went for the Canon 50mm f/1.4 USM lens. None of these lenses are really made for astrophotography, meaning that wide open they have a pretty bad coma towards the corners of the image on a full frame sensor, therefore I had to stop the lens down to f/4 to get a result that I was happy with. I used ISO 3200 (after reading a lot about ISO levels for astrophotography here), and an exposure time of 120 seconds (to expose the images to a good overall brightness). As a comparison, in 5 to 10 seconds the stars would already move away enough (thanks to Earth’s rotation) that they would appear as short lines instead of circles on the photo without a tracking mount, (see, e.g., my attempt from a few years ago here). After a good polar alignment (which was pretty uncomfortable with such a low mount, but I managed), I had zero issues with the tracking. Even after one hour, there was basically no shift in the stars’ positions, so I was very happy with the whole setup.
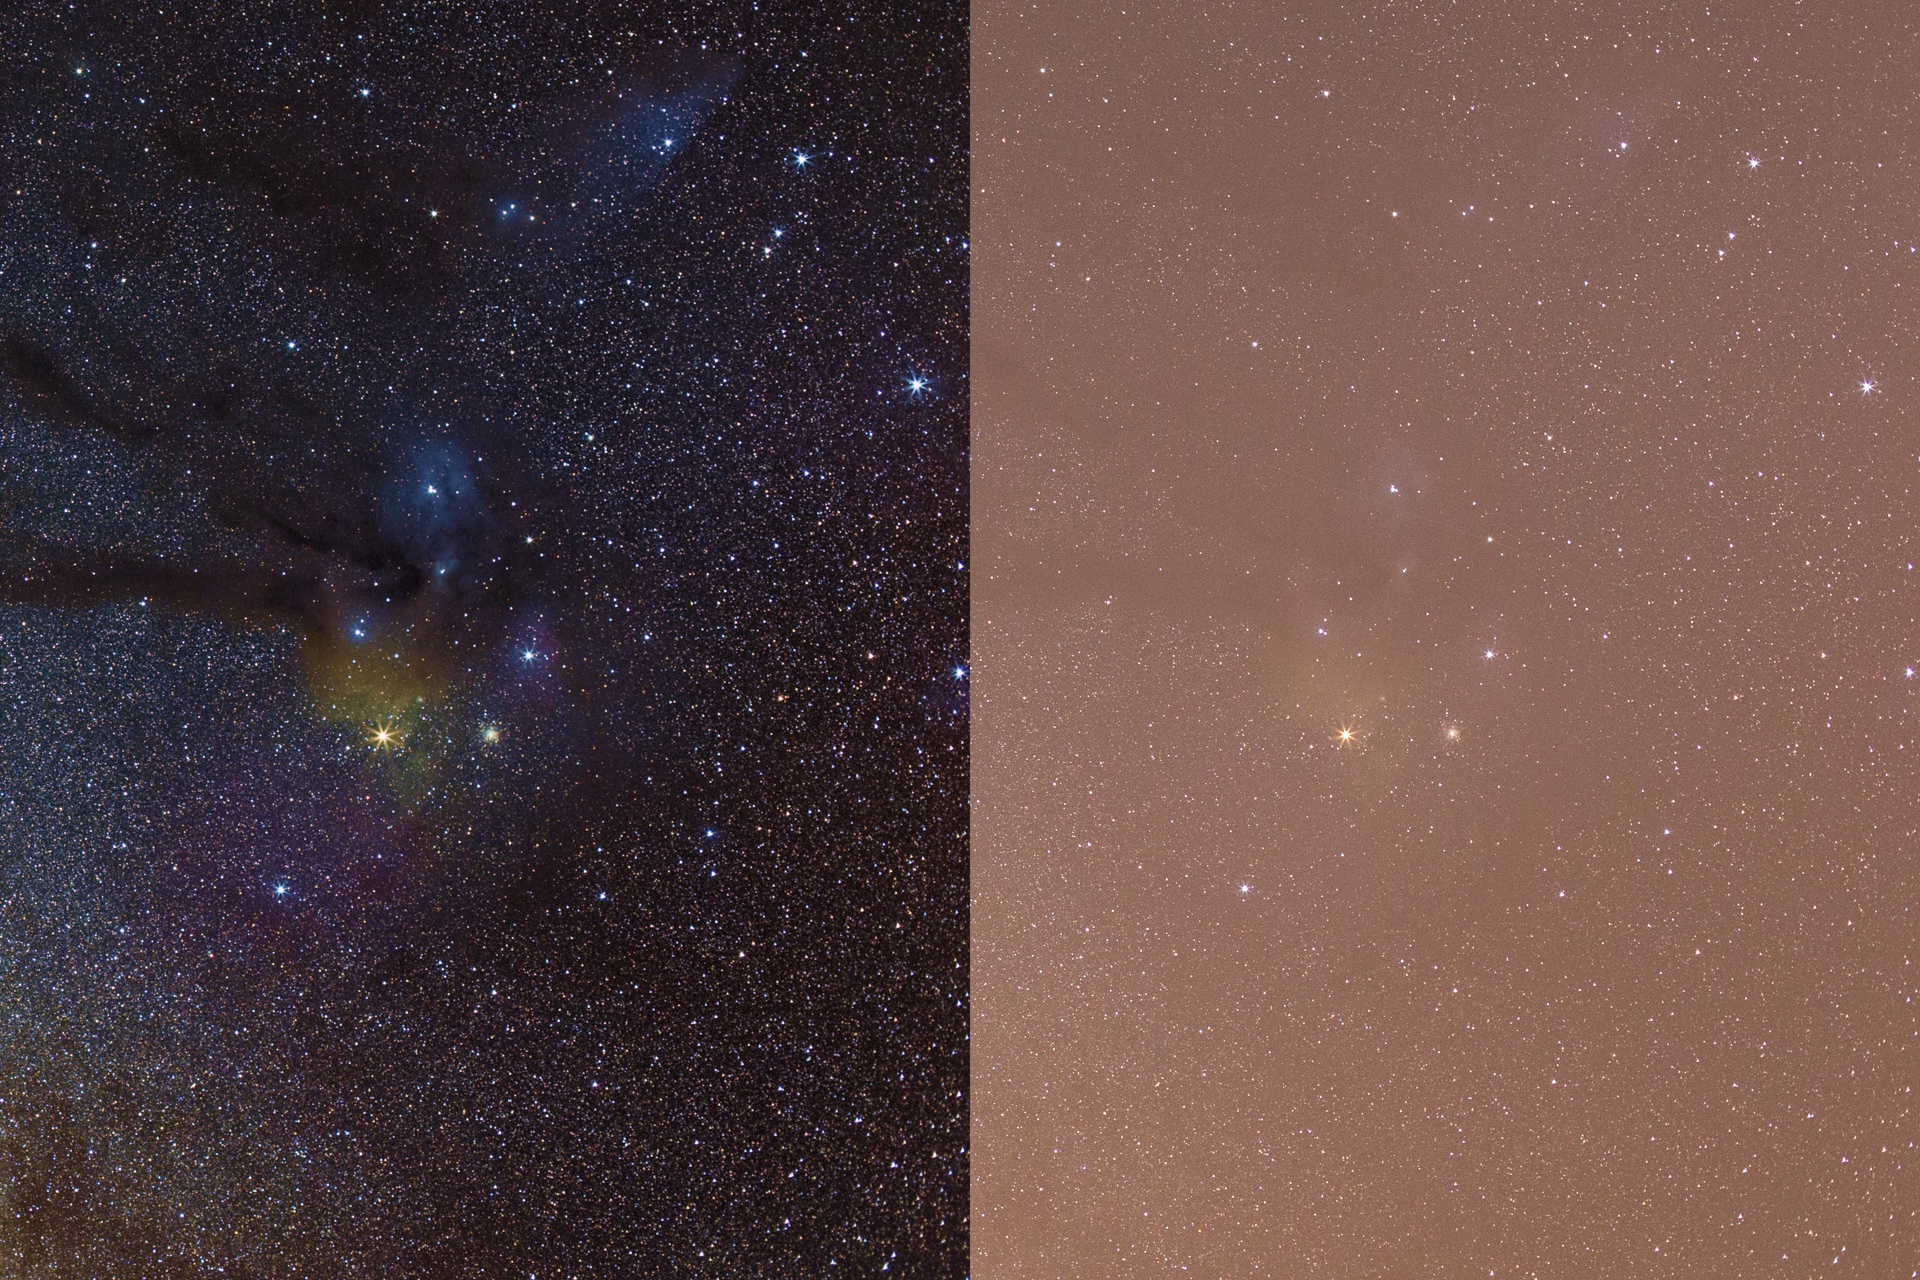
To make one picture, I took 30 to 50 120 second exposures of the same spot of the sky (accounting for a total exposure time between 3600 and 6000 seconds), and also ~30 dark and bias frames for proper calibration (no flats since I have no dirt on my sensor, the vignetting at f/4 is negligible, and taking properly illuminated flats with a DSLR is a mess anyway). Then I processed these in AstroPixelProcessor (really great and pretty much self-explanatory software, with a 30 day trial version!), and at the end I saved an average (or median) image to improve the signal to noise ratio of the images. Finally, I used Adobe Lightroom to do some final adjustments mostly on the curves and colour of the photographs. To show how much this process means for the results, here is a comparison of a selected region from a final processed image, and the same area from a single 120 second unprocessed RAW exposure out of the 30 that were used to create it.
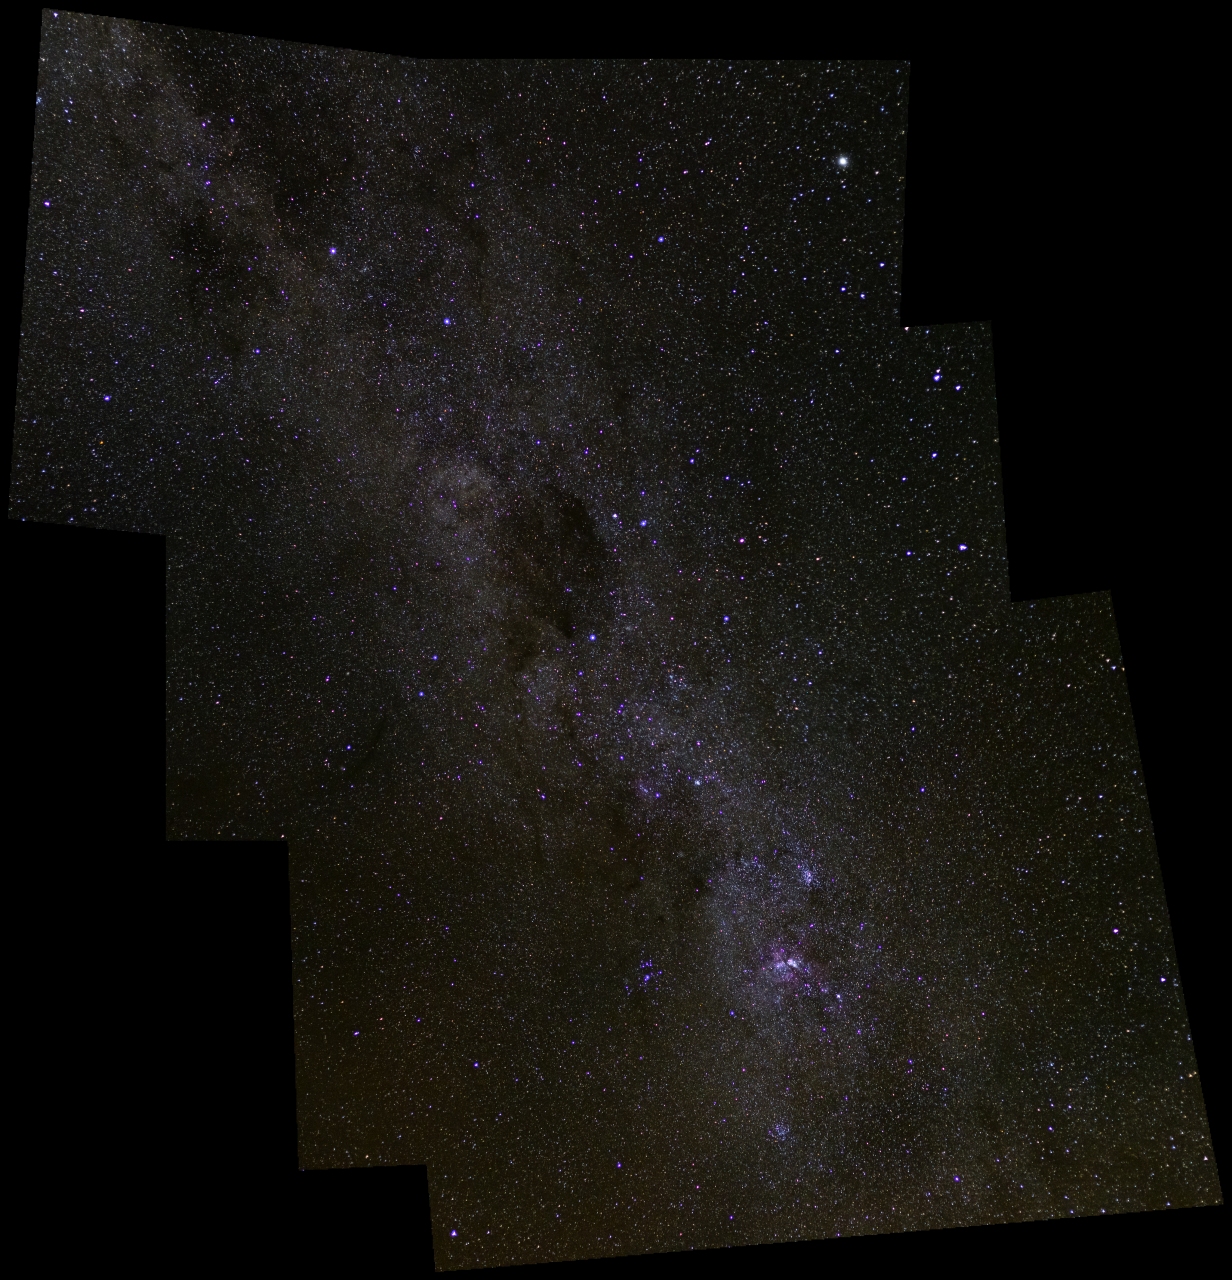
It is a quite impressive improvement. I liked doing this so much that I would definitely get more into astrophotography if I did not live under one of the most light polluted skies of the world here in Belgium… :D :( Anyway, below is a selection of the images I made on La Palma, and you can find more on my Flickr (at even higher resolution). Since even these 8 resized to ~50% weight in at ~40 MB, you will have to click after the first one for the rest.
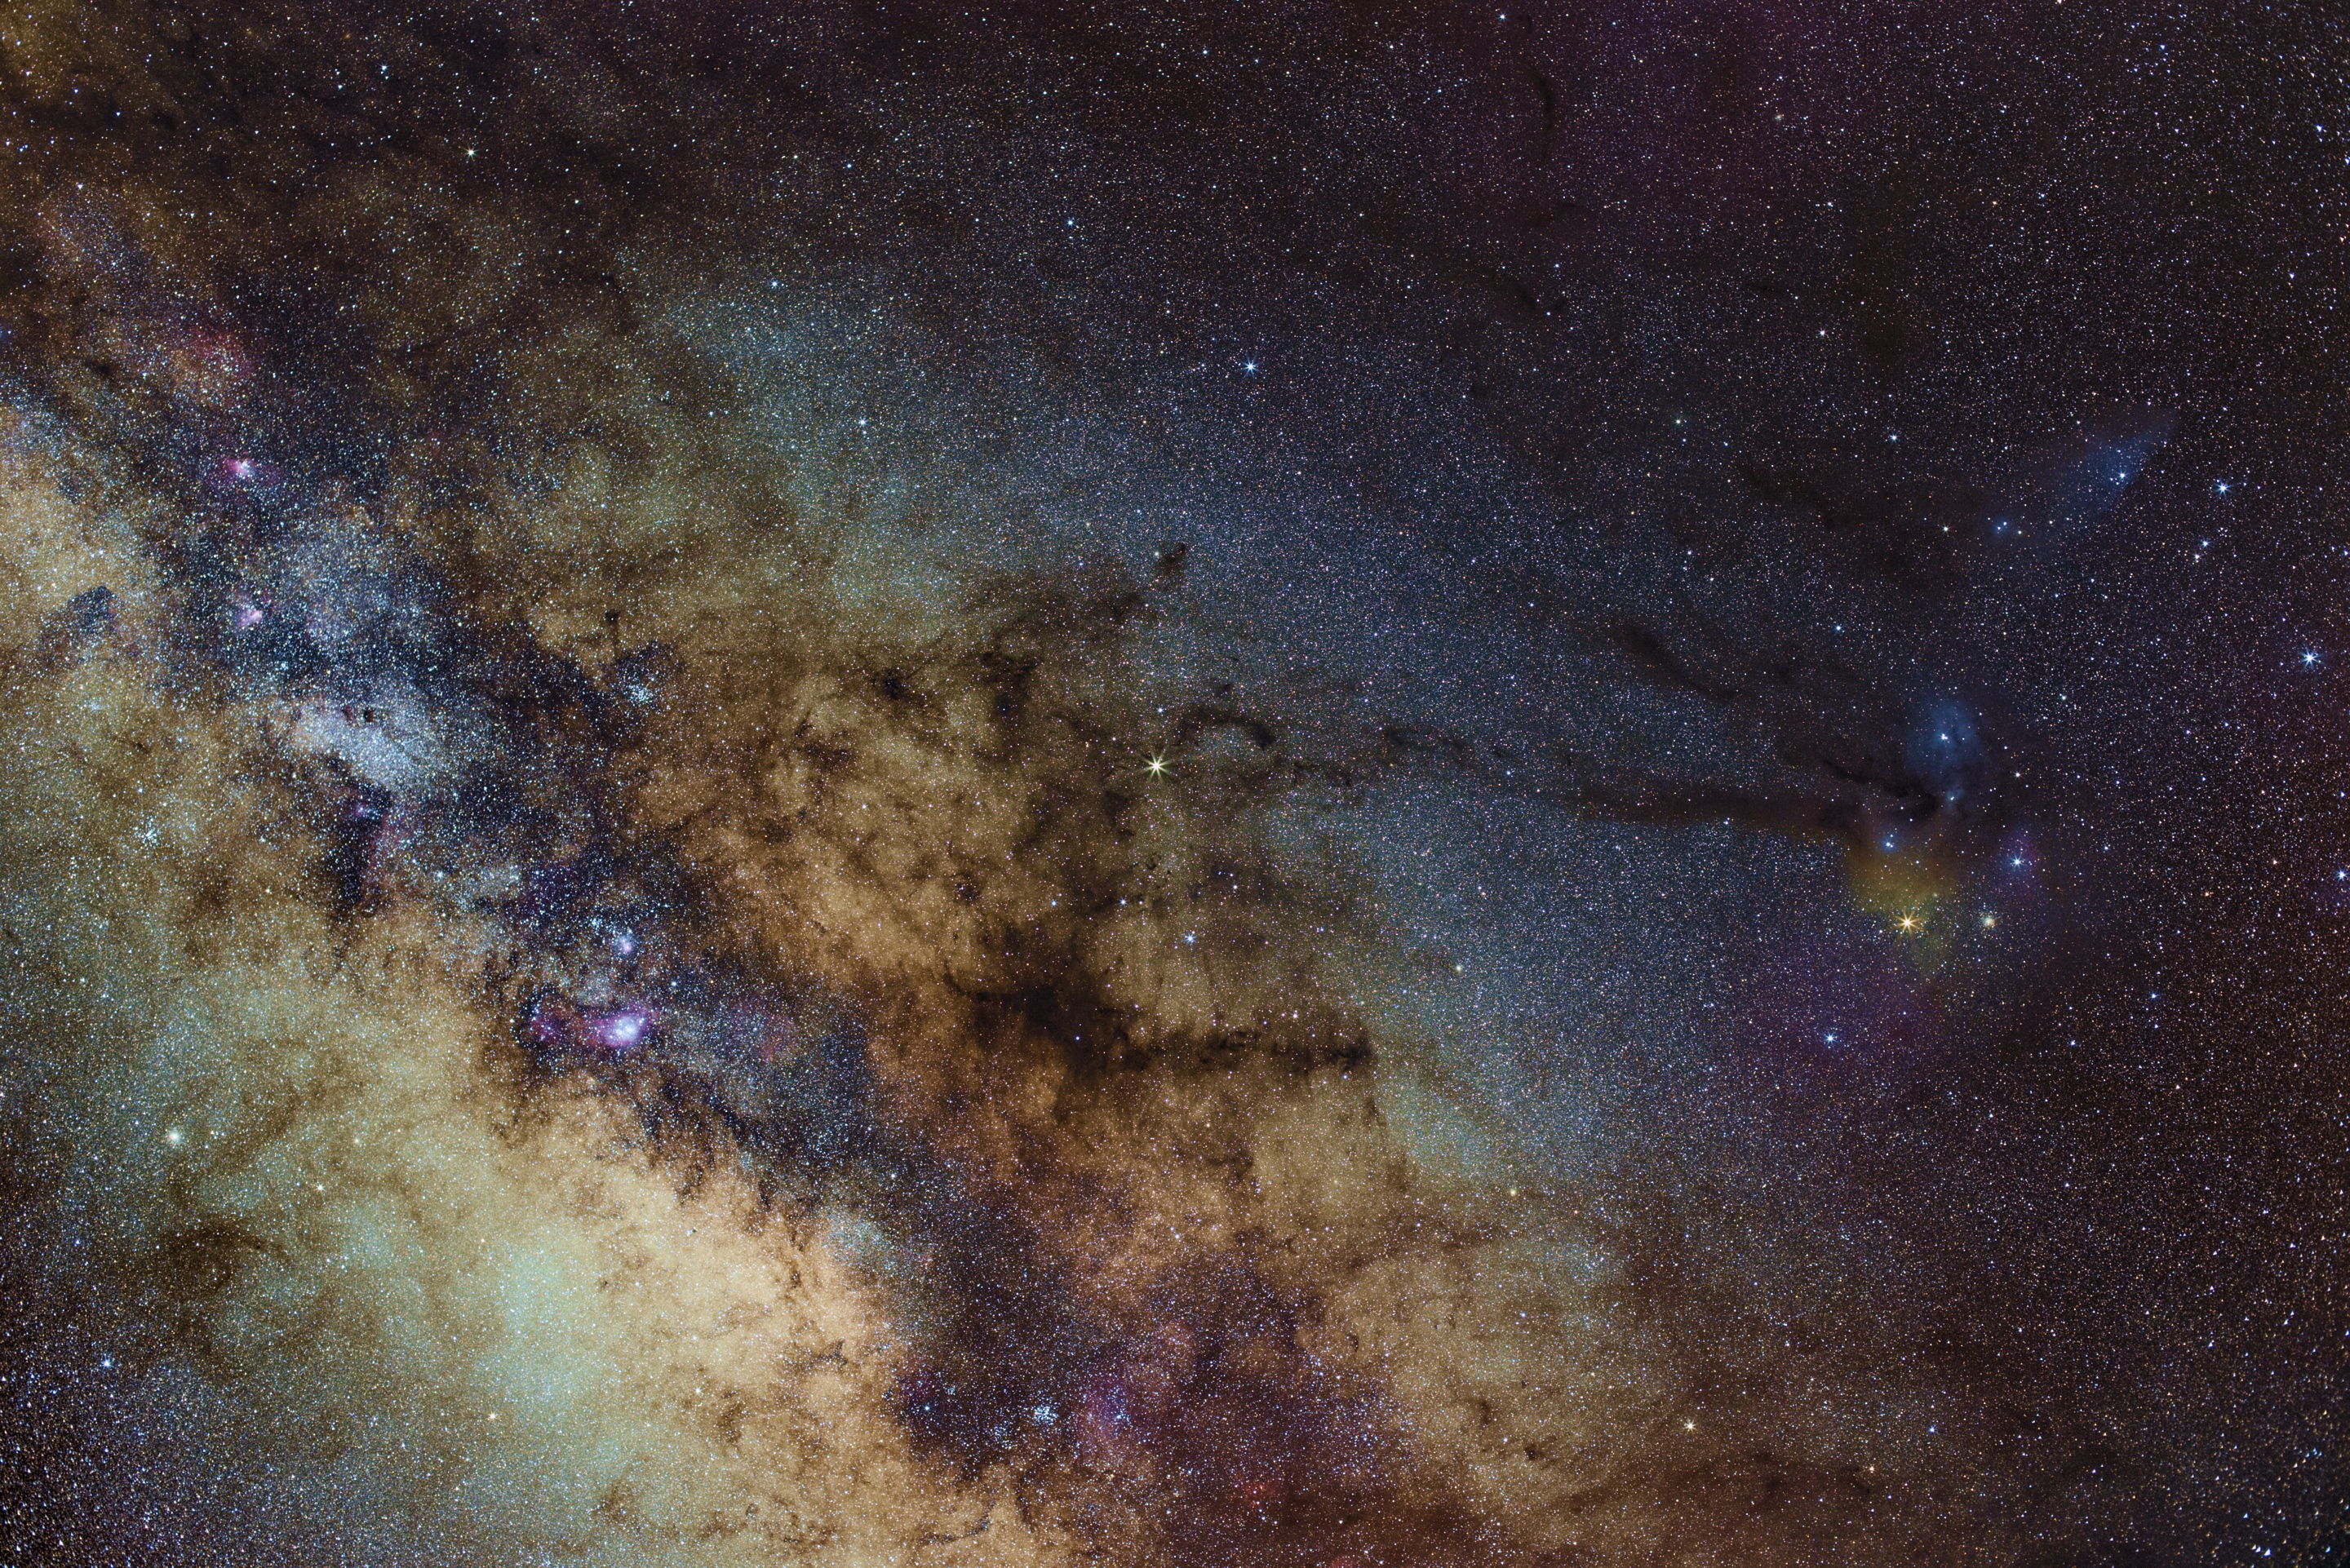
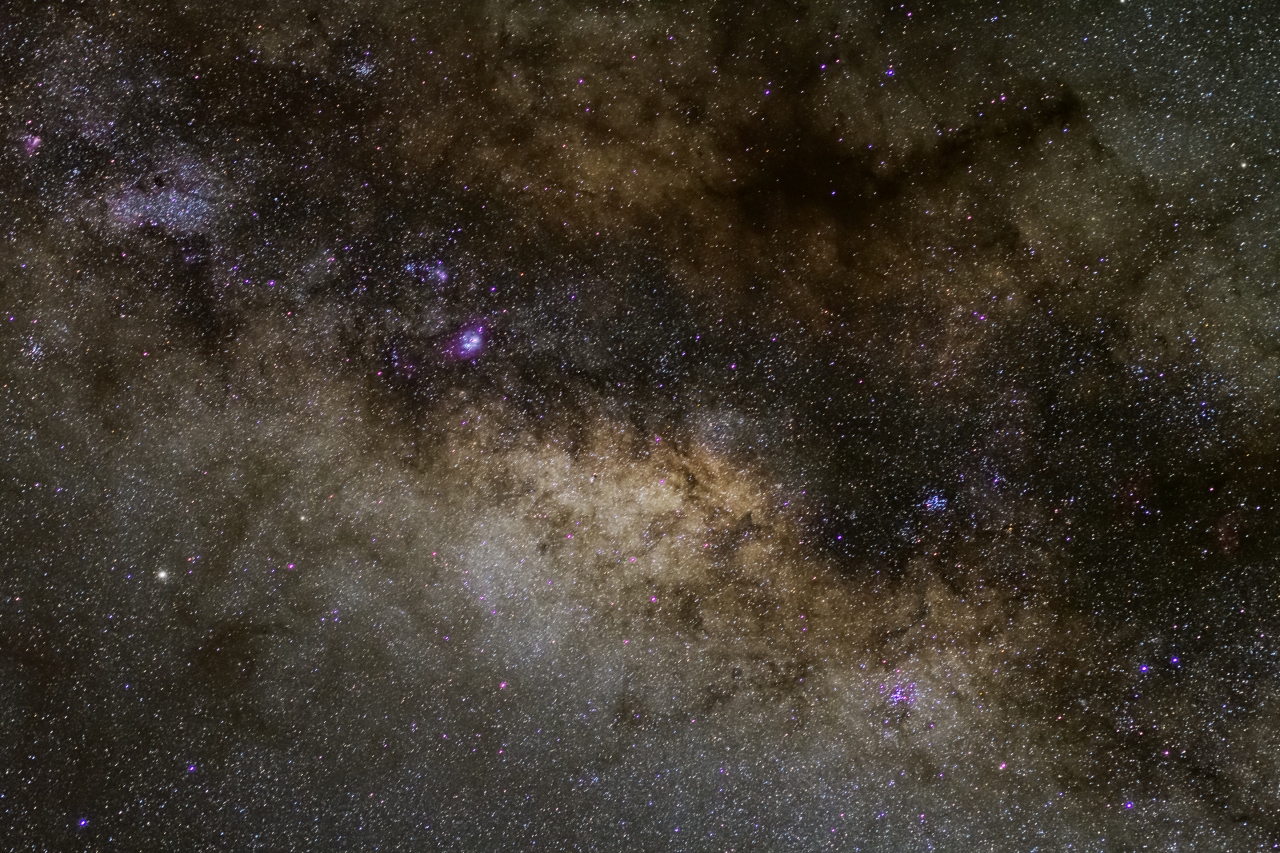
1) The centre of the Milky Way, looking towards Scorpius, Sagittarius, and Ophiuchus, with Saturn in the very centre of the image, and many bright and dark nebulae visible around the field of view. A sum of 30 exposures of 120 seconds each.
