Tag Archives: photo

1st night at the IAC-80

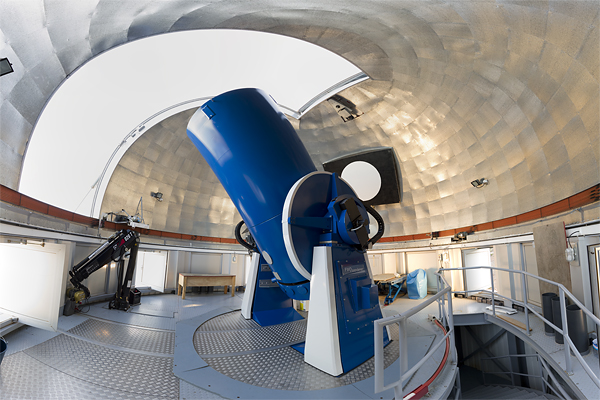
Yesterday I had my first night at the IAC-80 telescope. Here – for the first time in my life – I have a night assistant working with me, so it is very strange that there are things I do not have to care about anymore. (Even if I like to do everything at the telescope…)

20100925iac80

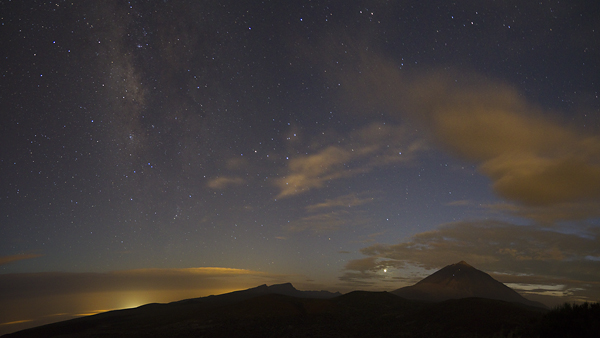
Anyway, the night did not start well, as we had a lot of clouds, and the humidity was also quite high, so after a GRB follow up observation (already through short-lived holes on the cloud layer – done by the IAC staff), we had to close everything… But the sky was really magnificent right after the sunset.

20100925nightsky

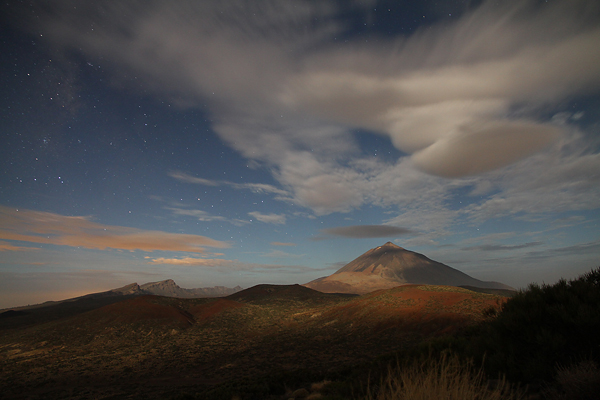
There were some orographic clouds (lenticular clouds generated by the uplift of the Teide volcano), staying at the exact same position for hours, creating wonderful photo-opportunities. (Yes, this night was a disaster for science, but a blessing for photography.) And the whole landscape was lit by the moonlight, which turns night-time pictures to day-time photographs, but with stars on the sky! (I have a time lapse movie also covering almost the whole night here.)

20100926nightskywithmoon

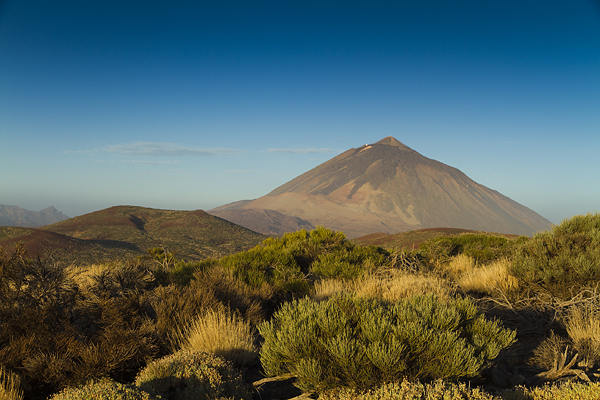
Unluckily the clouds stayed, then by the time the sky finally cleared up, the humidity shot well above the 80% limit… So one hour before the dawn the sky was 100% clear, but the humidity was also 100%… I have never seen such a weather situation. This is really atypical for this time of the year on Tenerife. Though I was very tired by the end of the night, I stayed till the sunrise, because I knew the lights would be perfect then for photos like the one below ;)

20100926morningteide

Belgisch Kampioenschap 2010, Leuven

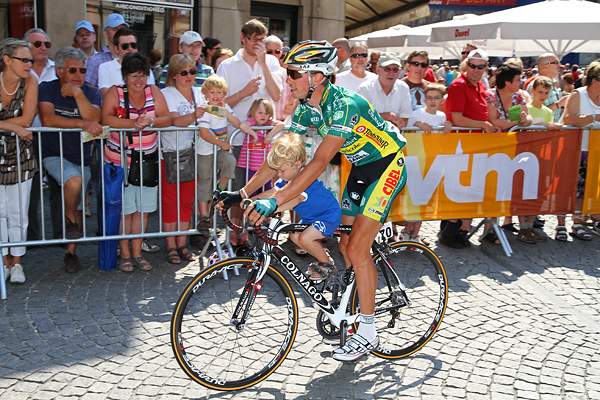
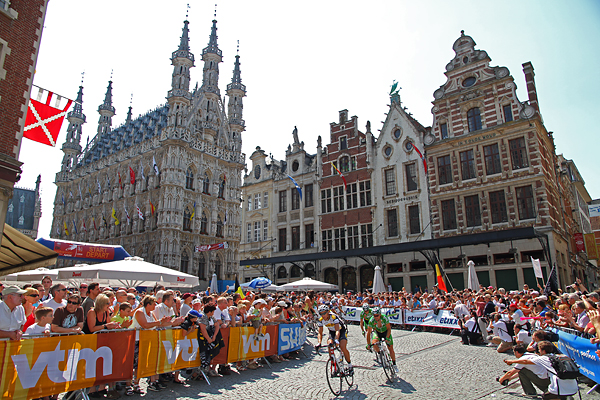
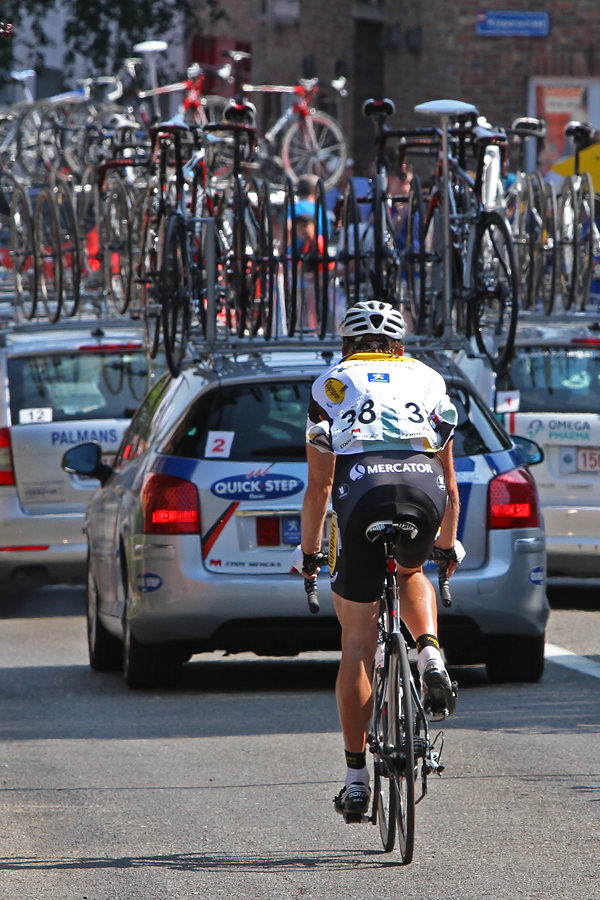
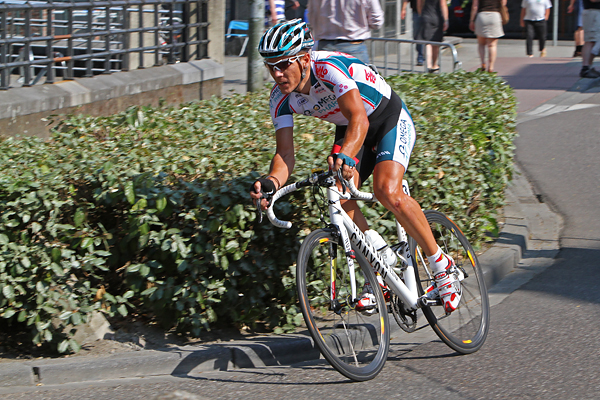
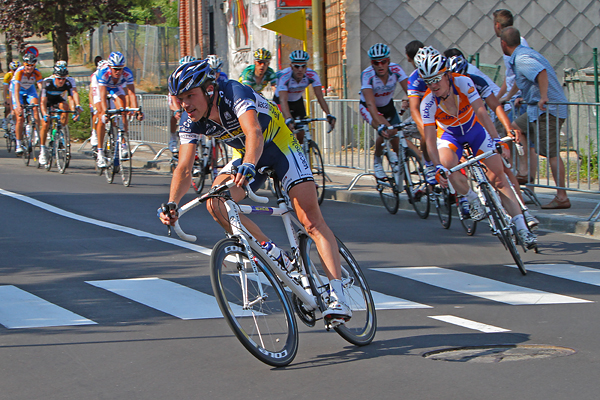
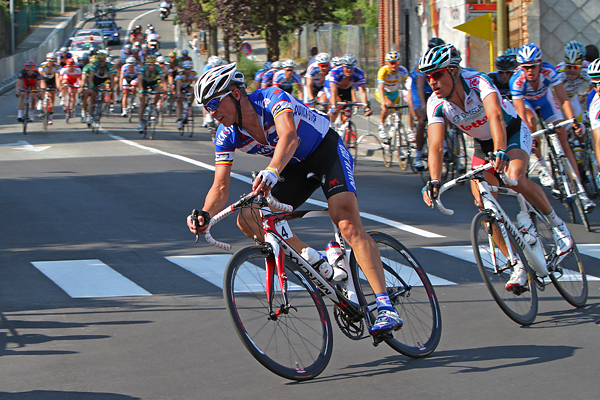
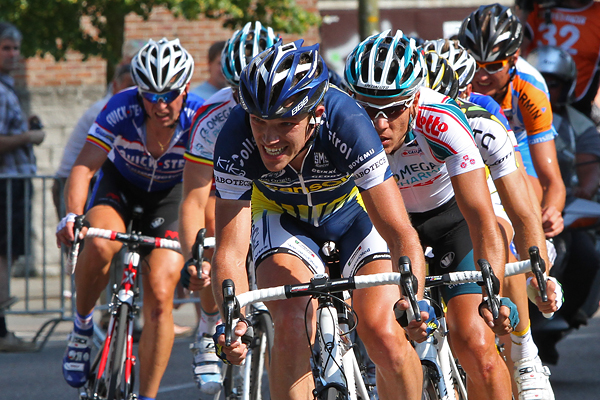
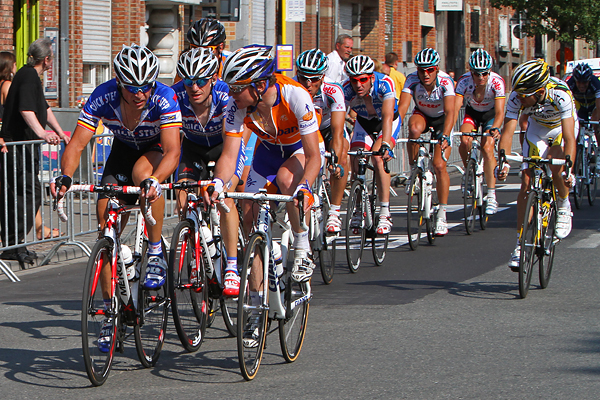
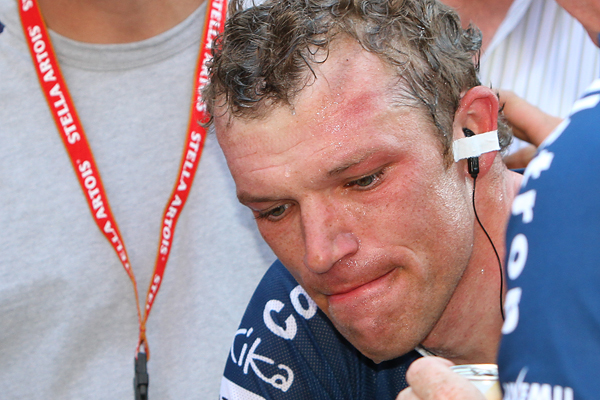
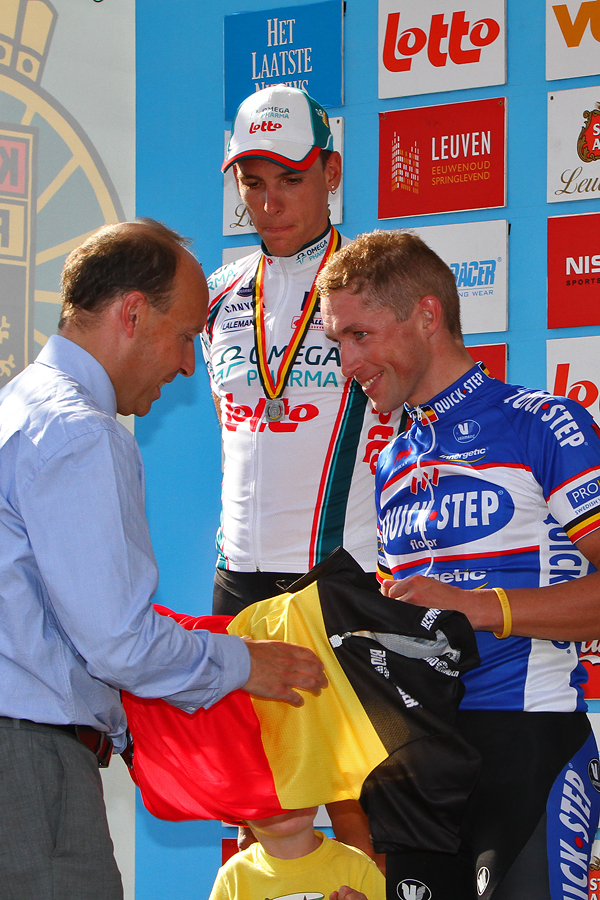
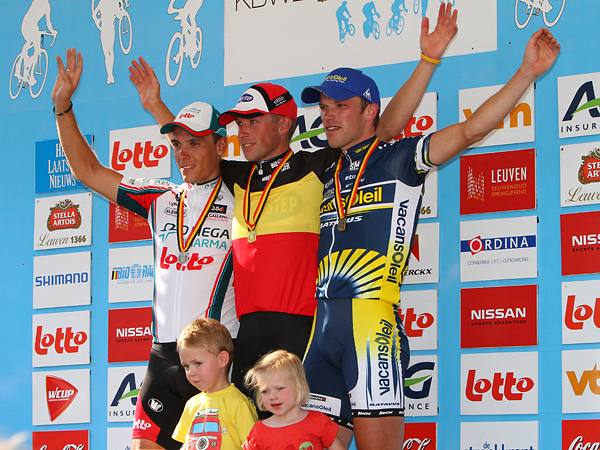
Sunday was the day of the Belgian National Road Race Championship, which was held in Leuven this year (for the first time in history). As this is one of the biggest events (after the spring classics) in the Belgian cycling calendar, it is not surprising, that the preparations and the race itself turned the city upside down. Streets were closed down and endless crowds were moving along the route (17 rounds of 14.2 km) of the race from the early morning (to get the best spots) till the end of the podium ceremony – so basically all day long. The podium finishers were:

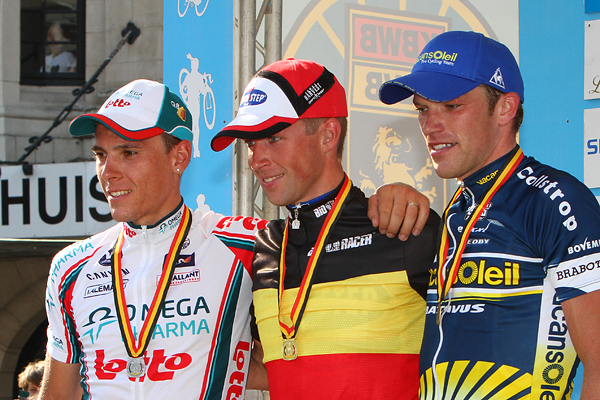
1. Stijn Devolder (Quick Step, #4) with an average speed of 41.091 km/h on 239.7 km
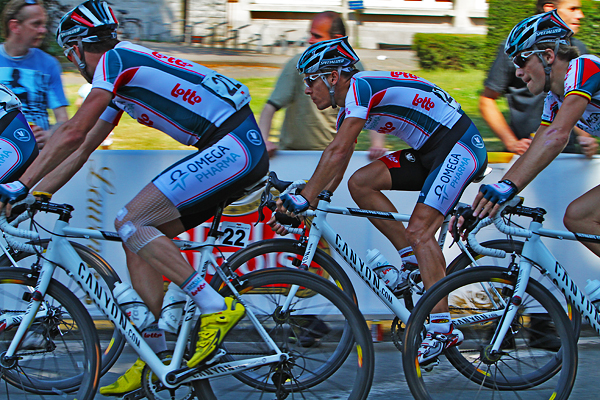
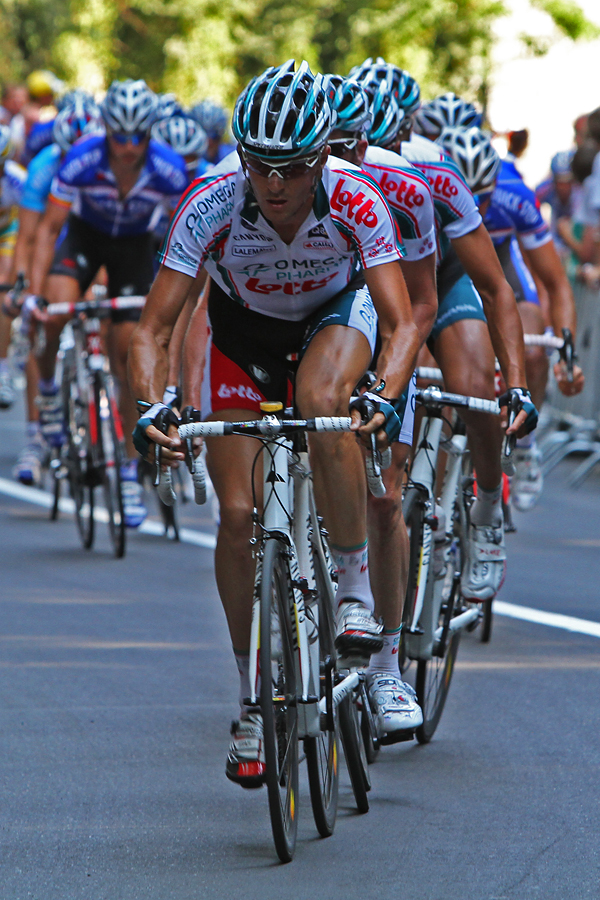
2. Philippe Gilbert (Omega Pharma-Lotto, #23) 0:23
3. Frederik Veuchelen (Vacansoleil Pro Cycling Team, #91) 0:24

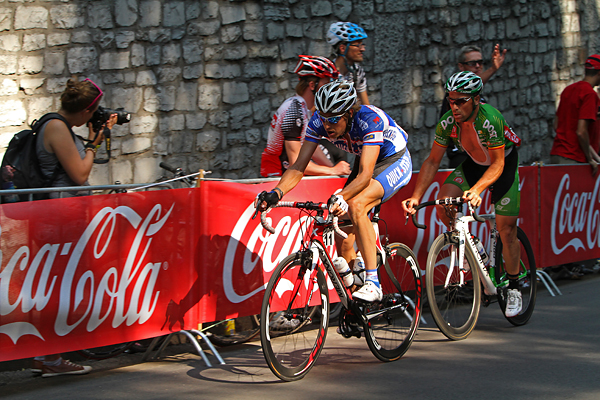
For me, this was the best opportunity to test and practice with my equipment (new additions: Canon Speedlite 430EX II flash, a Lowepro Fastpack 250 backpack, and – for the time being – a Canon EF 70-200mm f/2.8 L IS USM lens – thanks to Dr. Stefan Uttenthaler for lending the latter to me for these races) which I will use on the first days of the Tour de France next week. I was there at the start, then from 4 PM till the end I was running around various point along the course. I have to admit I have learned a lot, and I got to know my equipment much better in a quite short time. Of course I made a lot of blurred or out-of-focus pictures (experimenting with focus modes, autofocus areas and exposure times), and images where I missed half of the cyclist (following – or tracking – someone riding with 40 km/h just a couple of meters from you with a big telephoto lens is everything but easy – the lens is heavy, the field of view is small, and the cyclists are fast…), but as time went by, I had more and more good pictures, so I am very optimistic about my future keep-rate (number of images not ending up in the trash immediately) on the Tour de France. (But please pray with me for good weather – ok, any kind of weather is fine, if it does not involve rain.) As soon as I am ready with all the images, I will let you know, but I still have unprocessed pictures from earlier events, so for now, I have only a short photo-report. I have selected images of the top 3 cyclists (look for their numbers above) plus some interesting/nice ones, so please, enjoy!

20100627bk1

20100627bk2

20100627bk3

20100627bk4

20100627bk5

20100627bk6

20100627bk7

20100627bk8

20100627bk9

20100627bk10

20100627bk11

20100627bk12

20100627bk13

20100627bk14

20100627bk15

First images from NASA SDO

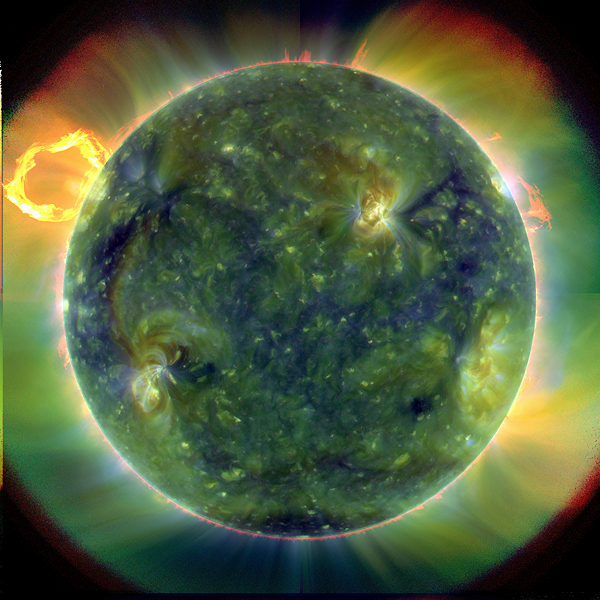
Sorry for no posts recently, but I have a lot of things to do, so I am usually to tired to write anything (though I have some topics I would like to talk about). So for now, please check out the first images and movies from NASA’s Solar Dynamics Observatory.

20100421sdofirstlight

(This mission was the topic of my Ad Valvas seminar at the Institute in March just before I left to La Palma for two weeks.) Click on the image for the SDO First Light Gallery @ Goddard Space Flight Center’s Scientific Visualization Studio.

La Palma – 11th & 12th nights (Mercury and Venus)

20100329mercuryvenus

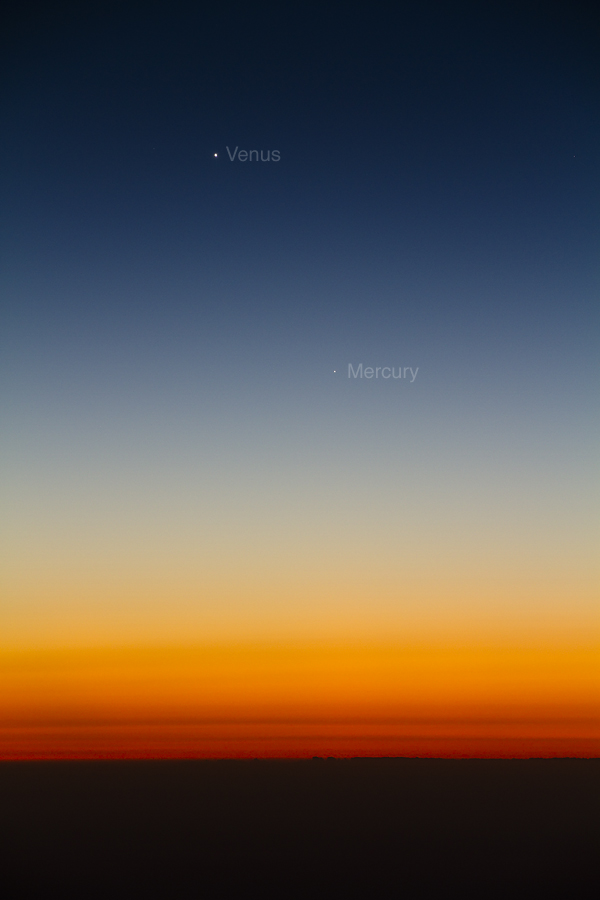
Of course I am not observing the two inner planets with Mercator, but I just wanted to show how beautiful they are on the evening sky. The picture is from the 29th of March, and Mercury is climbing even higher above the horizon these days, so I think there is a good chance that it may be visible from Leuven too! On the 4th of April, they will be only 3 degrees apart, and still more than 10° high 30 minutes after sunset – at that time it should be easy to catch them with the naked eye.

Yesterday I had a quite bad headache during the night – probably because I could not sleep more than 5 hours on the day before – that’s the reason for not posting anything. (Of course all my painkiller pills were down in the Residencia…) Anyway, the weather was almost as good as on the 10th night (which was the best night of the observing run, despite the full Moon), so I had to concentrate to get as many measurements as possible. I have to admit, that this was much harder then on the previous nights. But I managed. And finally I could sleep 8 hours afterwards!

20100330mercatorpanorama

Now I am a bit sick and tired of working on my pictures (tons of raw images, and I like playing with Photoshop, but now my eyes hurt), so I need to stop doing it for some days… I will upload those which are already processed to flickr as soon as possible. But you won’t find this panorama there, because the stacking of the original images is not perfect (though it is barely noticeable on this small version), and I just don’t like the fact that it is not perfect :( And to make something like this, I would need the 303 SPH VR head for my Manfrotto tripod – but I am not going to spend another 500 Euros on photo equipment soon…

This is my last night at the telescope and I had 100% clear weather (except one hour, when I could not measure anything because of thick cirrus clouds), so I am quite happy. But usually it is clear when I am at the telescope, so I am not surprised at all :) Of course this may be only a strange coincidence, or – which is much more likely to be the case – the result of my weather-influencing superpowers…

La Palma – 7th night (manual for transparent dome imaging)

Public outreach is important for Astronomy on every level. Tell someone the word astronomy, and people will think of the colorful images from the Hubble Space Telescope, or pictures of the magnificent view of the Milky Way above distant shiny – white or silver – domes on deserted mountaintops (above the cloud level of course), or images of huge mirrors in metallic frames inside a building, which probably has a truly sci-fi look with lights all around, strange windows, and enormous scales. (Or they think of an old man with a strange hat and long white beard, sitting at a desk covered with hand-drawn maps of the sky in front of a small, copper telescope… But that is a different story.) So we need the fancy images, because they may not represent the scientific content of our research, nor they tell interesting details about the high level of engineering behind the magnificent constructions we work with, but they do represent the beauty of our Universe, and they make people curious about the secrets outside of this World. I am sure this picture would raise numerous questions in the mind of an outsider:
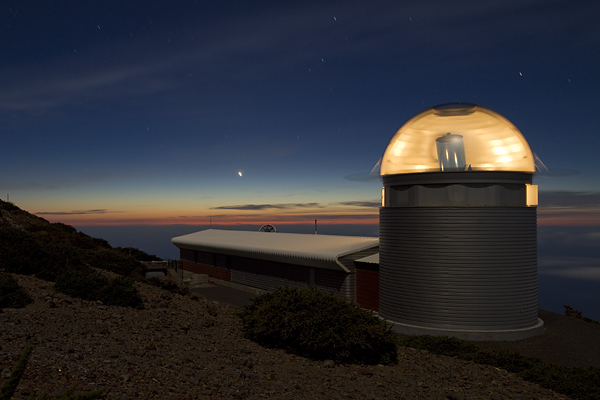
20100326mercator

This is the 1.2 meter Mercator Telescope on La Palma (the bright setting “star” is Venus). And there is a whole story about how I took the picture. I had to make several calculations, to have the perfect result. First of all, the basic idea is to have a long exposure, turn on the light inside, then rotate the dome 180° to “sample” the interior through the rotating slit. The dome has a rotation speed of 3°/second, this means that you need 60 seconds for the whole half circle, but you should take a bit more, because it is better to start at a point, where the slit is not yet visible, and end when it is not visible any more. So rotating 200° is perfectly enough. This gives a safe exposure time of 75 seconds (you need those extra seconds for safety reasons – I will tell you why). Now, you do not want to overexpose anything in your image, so you have to take care of two things. The sky should not be too bright (which places you somewhere around the time of the nautical twilight – which is perfect, because you can take the picture between the calibrations and the real observations, literally in the twilight zone), and the inside of the dome has to be also well exposed. Basically the latter will set your ISO or f value (as the exposure time is already set by the rotation speed of the dome). Because from the width of the slit you can easily find out, that light will be visible from the same inside point for 12 seconds (it takes this amount of time for the slit to rotate its own width), so you have to set your ISO or f to a value, using which a 12 second exposure of the non-moving dome is not yet overexposed (simulating the passage of the slit on the moving dome). Then you will have to take the picture, when these given settings are not overexposing the sky anymore (as we are heading to the night and the light level gets lower). So when you reach this point during the twilight, there comes the difficult part. Because you are alone, the camera is outside, the dome-control is inside and you have to push two buttons at the same time. So, what can you do? You need to use a timer, set your camera to start the exposure in 1 minute, check the time on your watch, start the timer, run in, and when the 60 seconds are elapsed, start to rotate the dome. When you are done with the needed 200°, the exposure will just automatically (thanks to your calculations) finish outside :) And you have the safety extra seconds, so a couple of seconds plus or minus wont ruin your final picture. Three important things: 1) you need to do this when the Moon is up in the sky if you want to see more than the inside and the bright horizon, because the illumination of the building and the scenery around is the effect of the moonlight. 2) Set the telescope into a position close to vertical, so if – by any chance – something happens to fall down during rotation from the side of the slit, it will not fall into the tube. (Upright position is safe, because there is no moving part above the tube at this setting, even if the tracking of the dome – meaning that the position of the slit follows the pointing of the telescope – is switched off, and you rotate the dome around without co-moving the telescope with it.) 3) No precious observing time is lost, because at the time of the nautical twilight, the sky is still too bright to start measurements. To close this detailed manual, I show you the rising Milky Way on the morning of yesterday. No calculations were carried out for this image :)
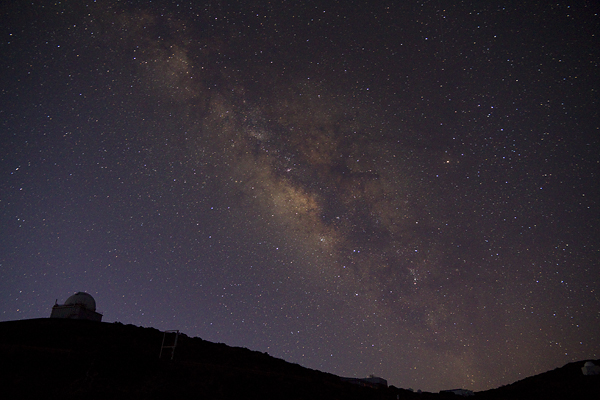
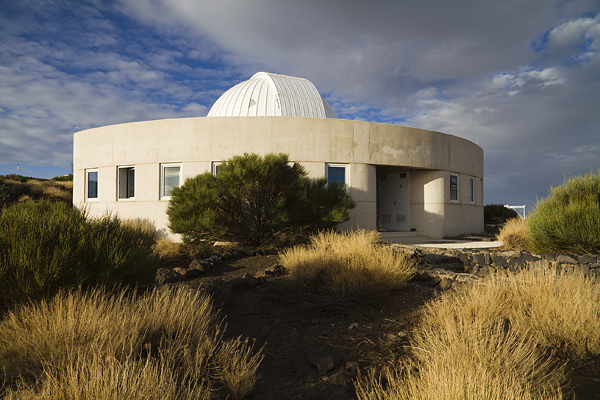
20100326morningmilkyway