Road trip Iceland: Day 2 (Reykjavík)

The second day of our trip was the most laid-back one, since we did not have to drive (and while we still did, the distance was less than 10 km), and we did not need to move to another hotel at the end of the day (this would only happen once more during our whole stay in Iceland).

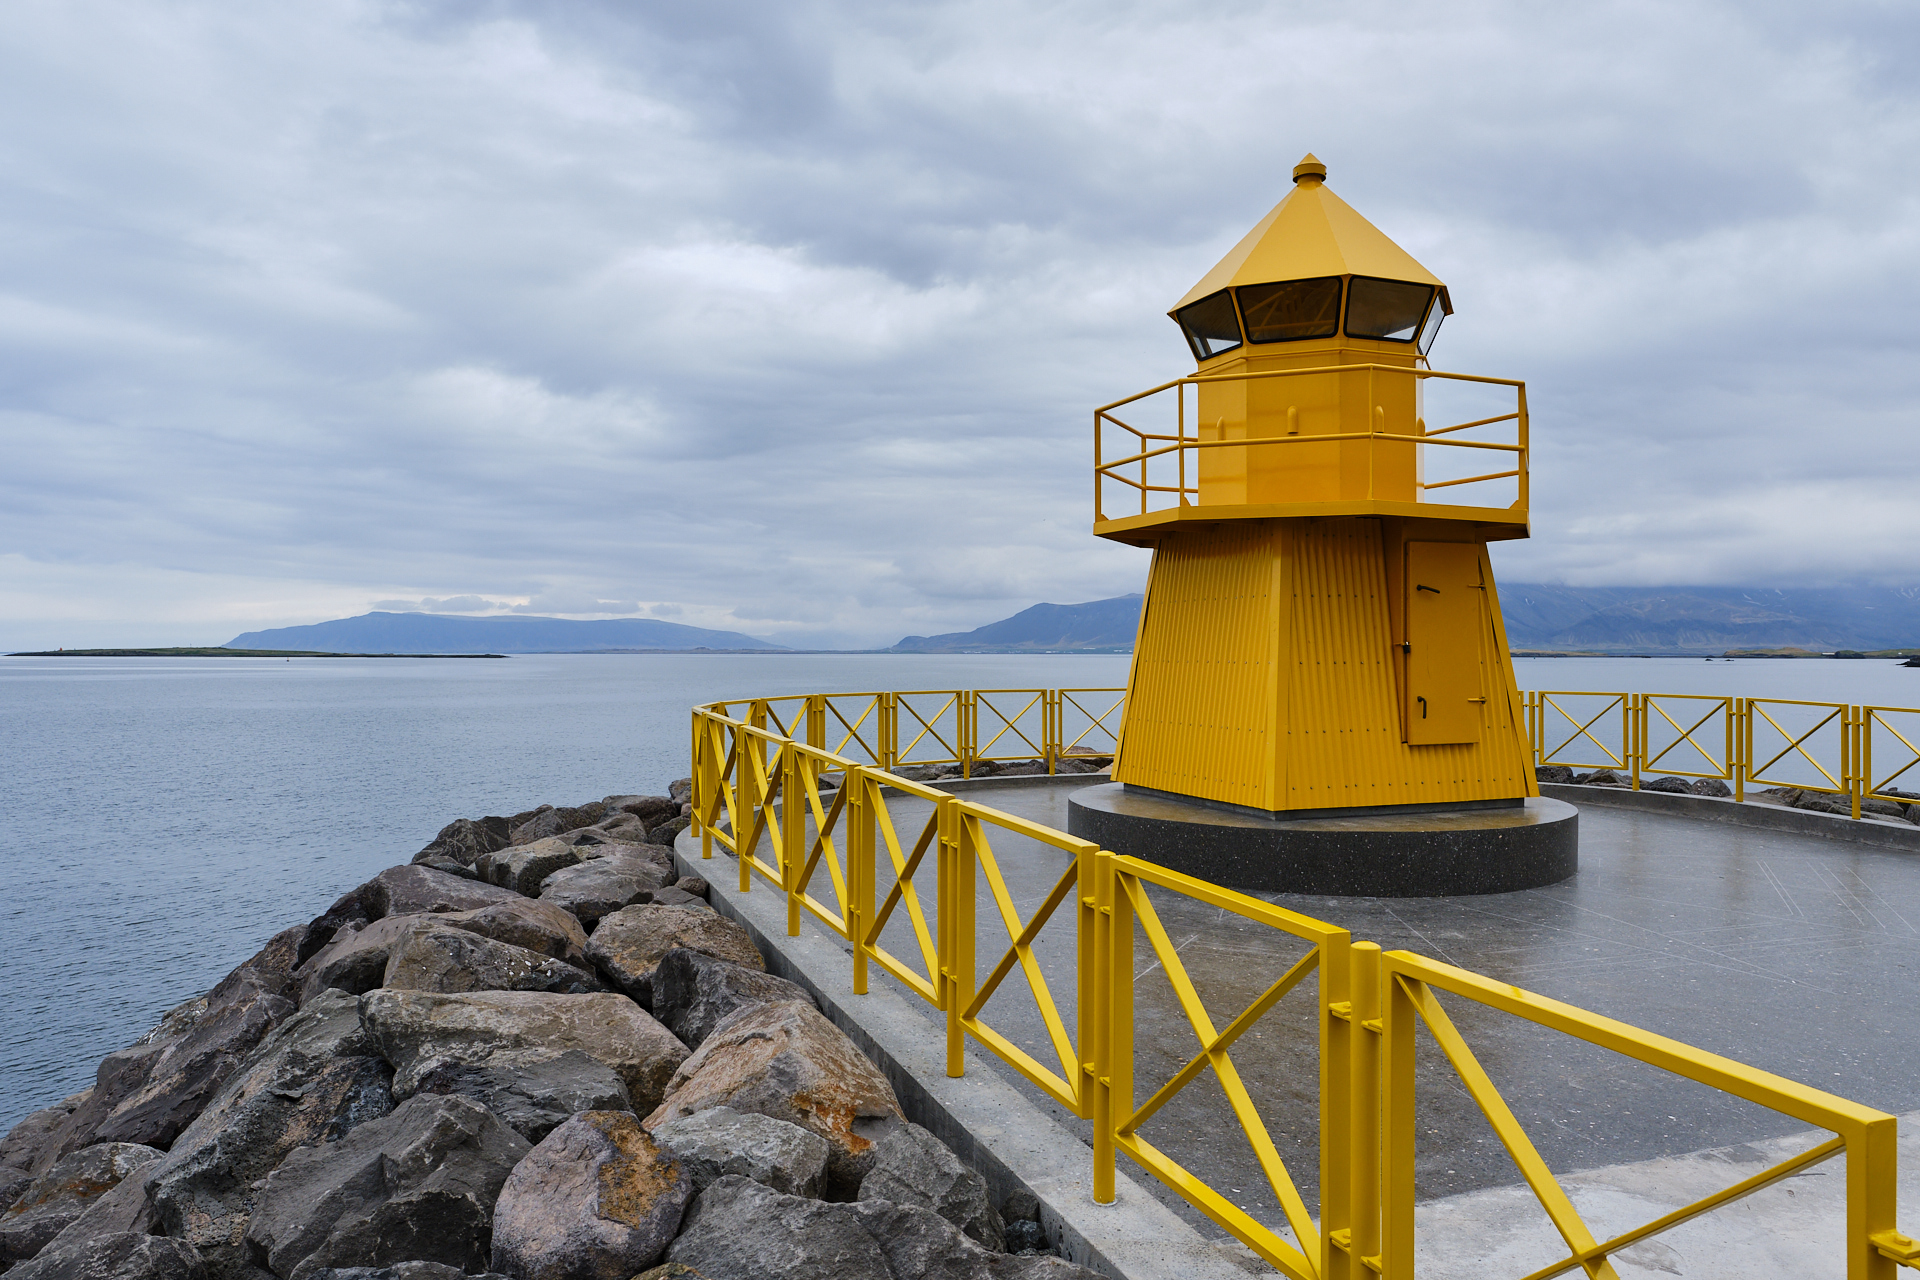
After a perfectly fine breakfast in the hotel we started our day of discovering Reykjavík. The weather was not really great for photography (although it stayed dry, it was also grey and overcast except for a short sunny window in the afternoon), so I don’t have that many worthy pictures to show here :( We first passed by the Hofdi House that is an old (in Reykjavik terms at least), small, white, wooden house on the seafront, that hosted the 1986 meeting of presidents Ronald Reagan and Mikhail Gorbachev which effectively was a step to the end of the Cold War. Then we walked over to the yellow lighthouse on the other side of the road, for a nice view over the bay and the mountains to the North.

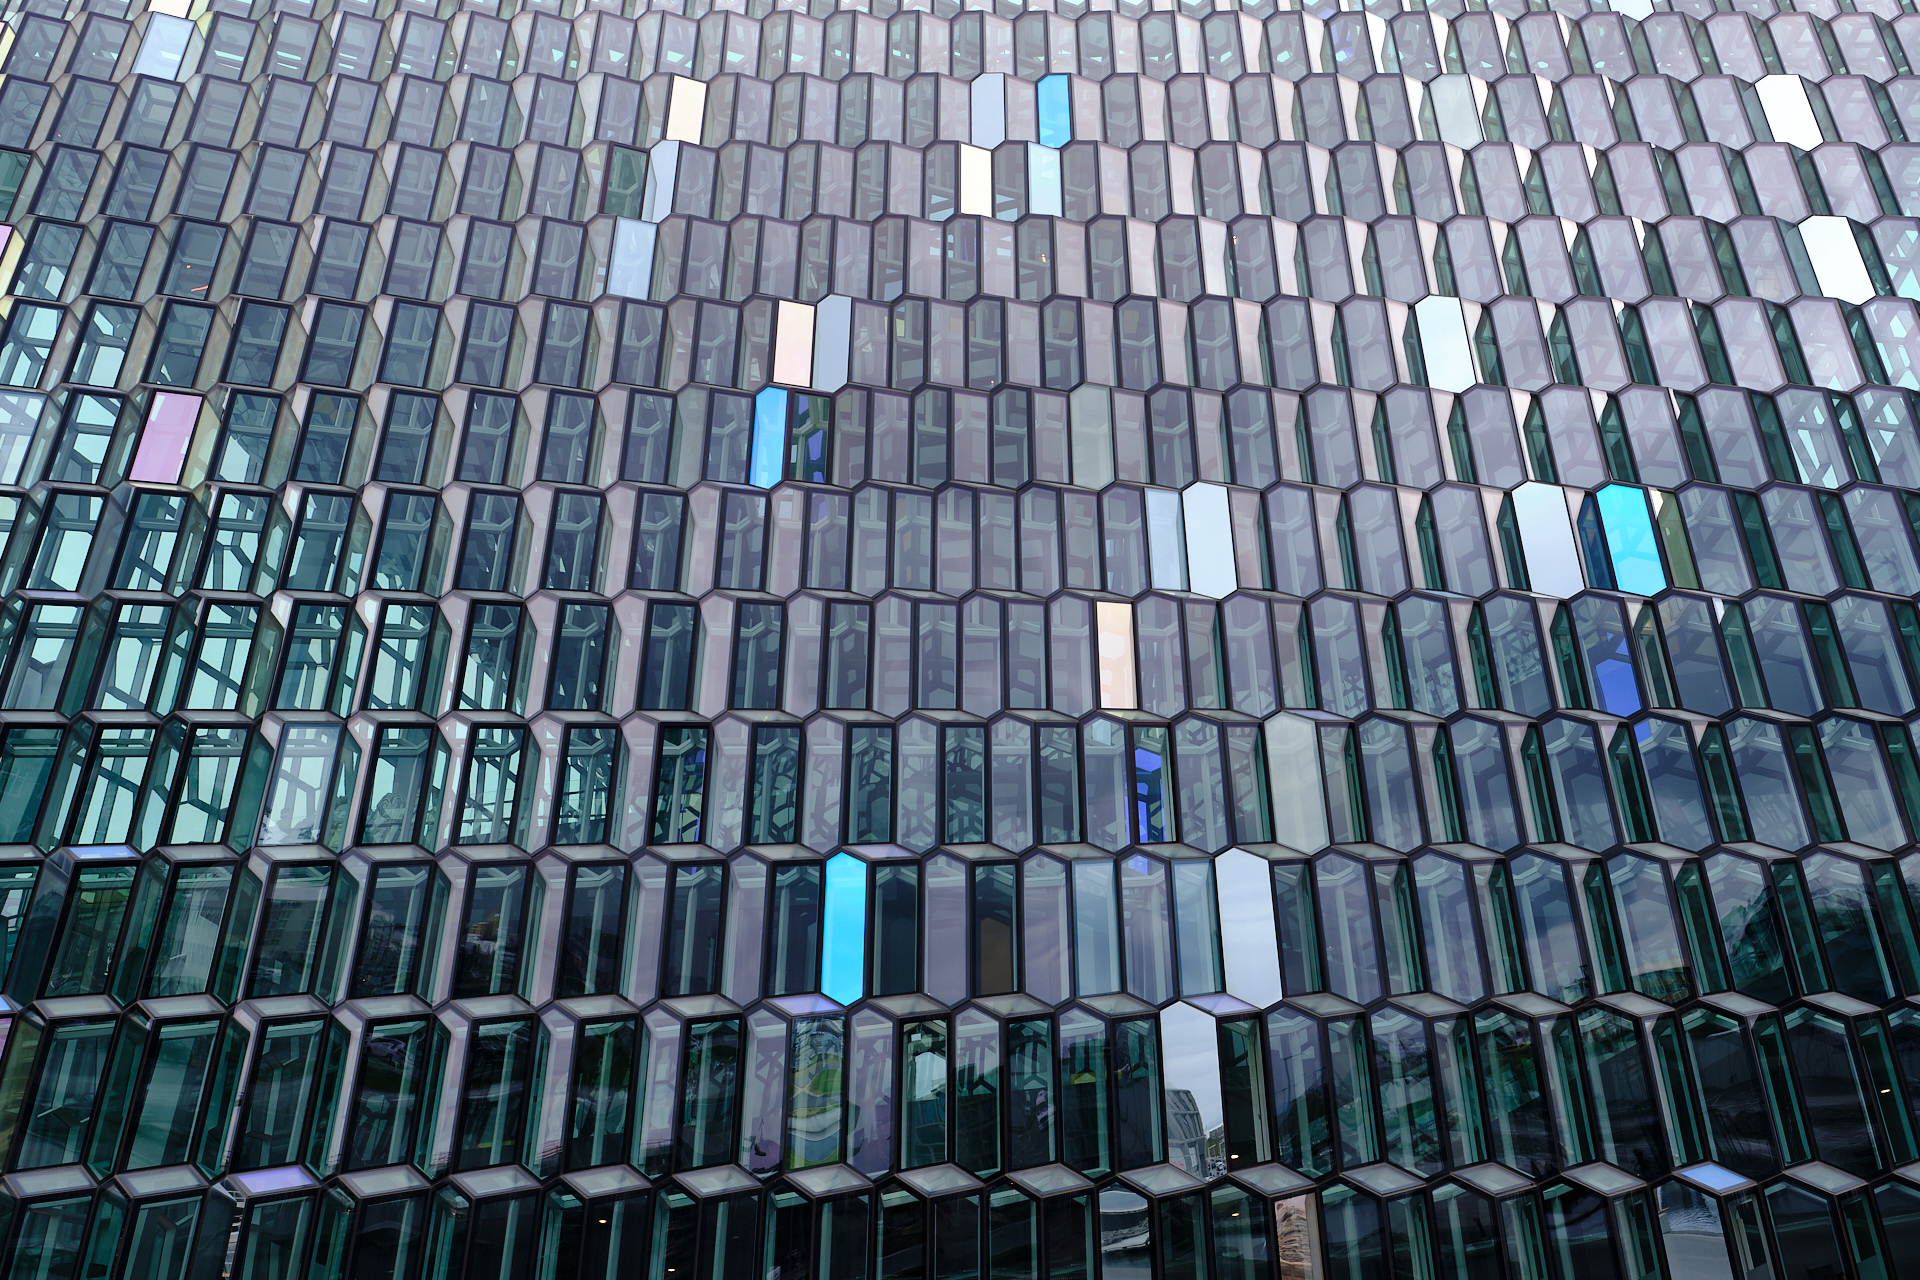
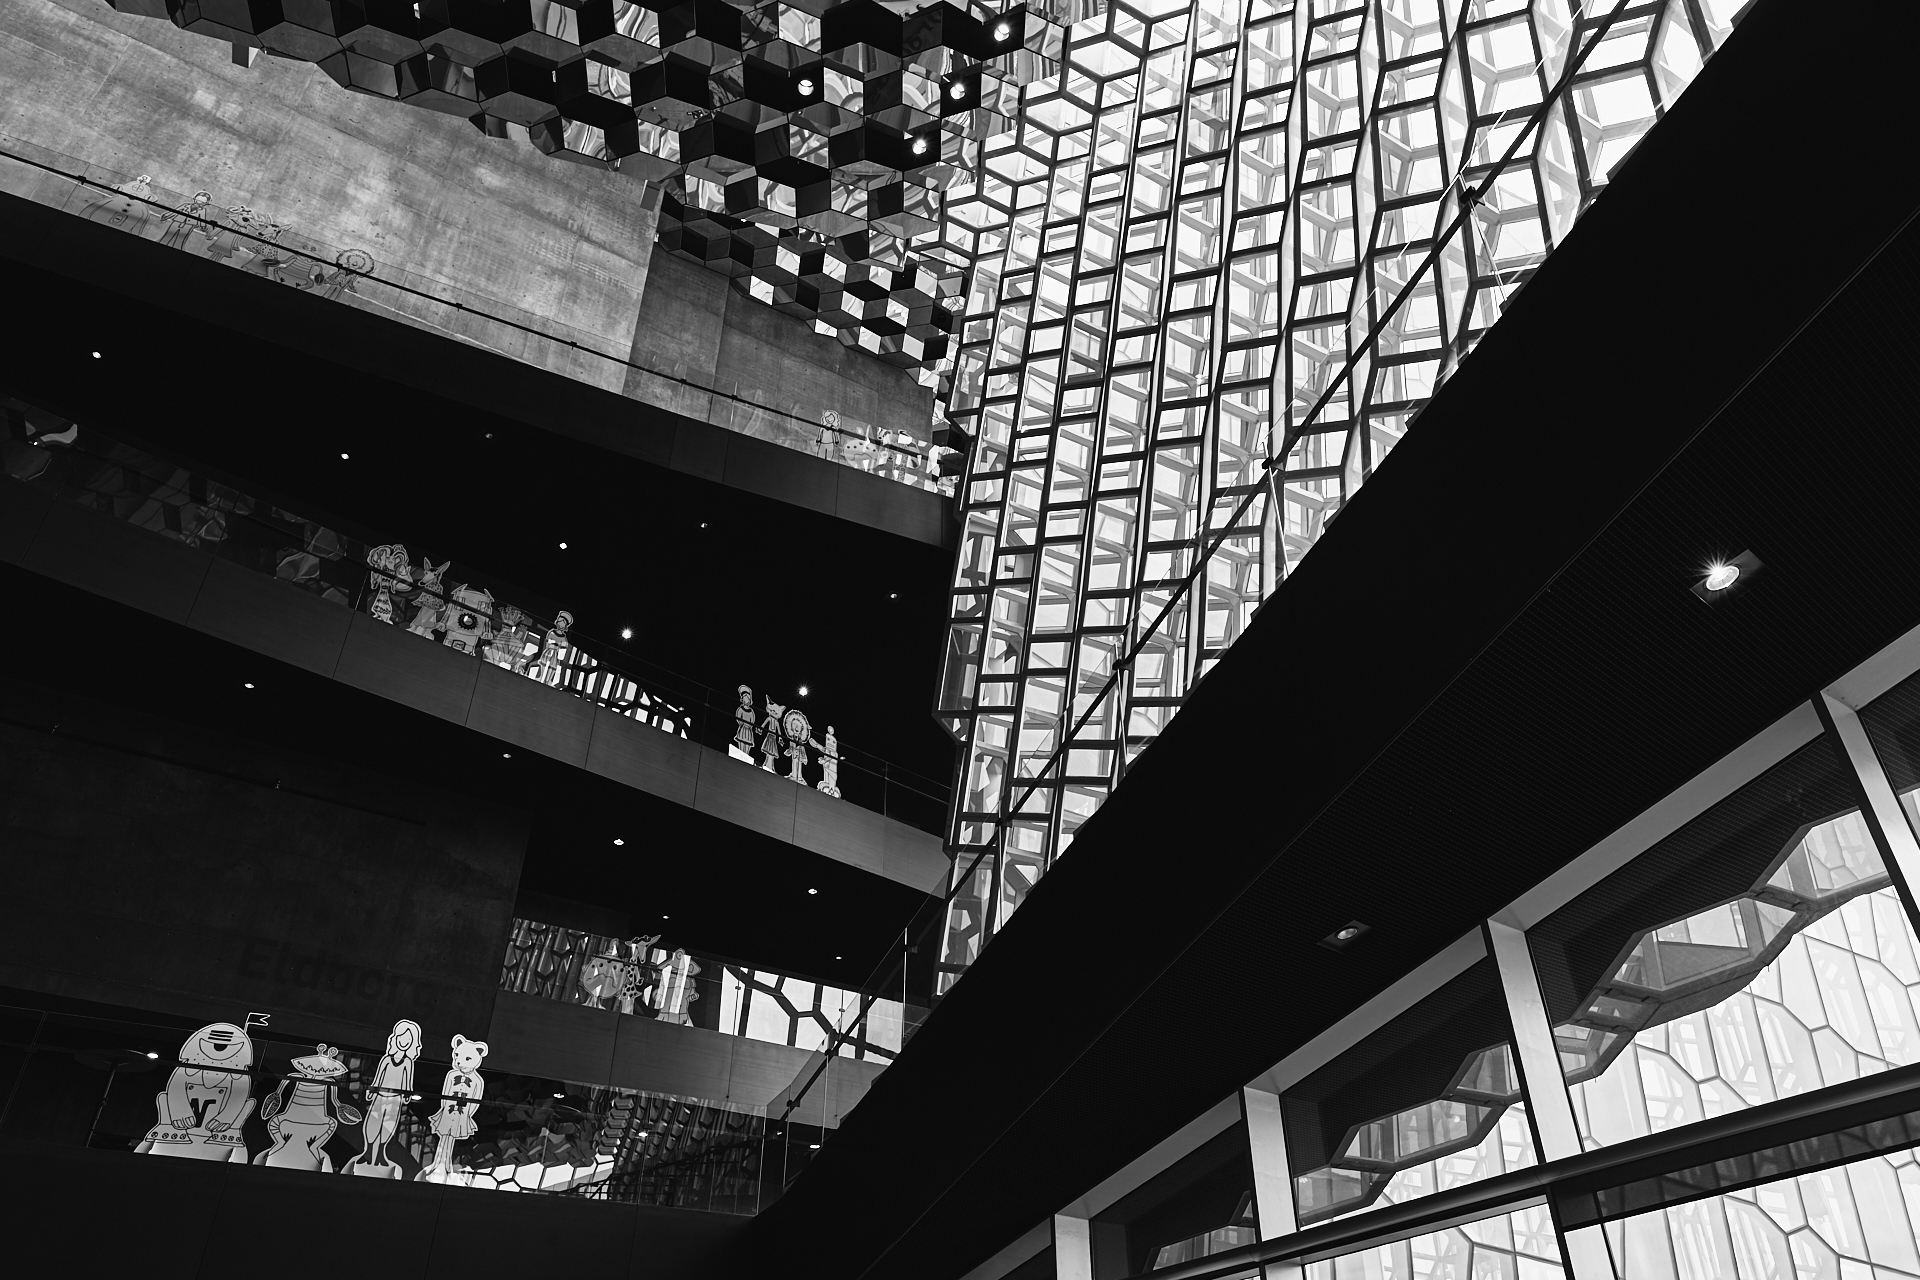
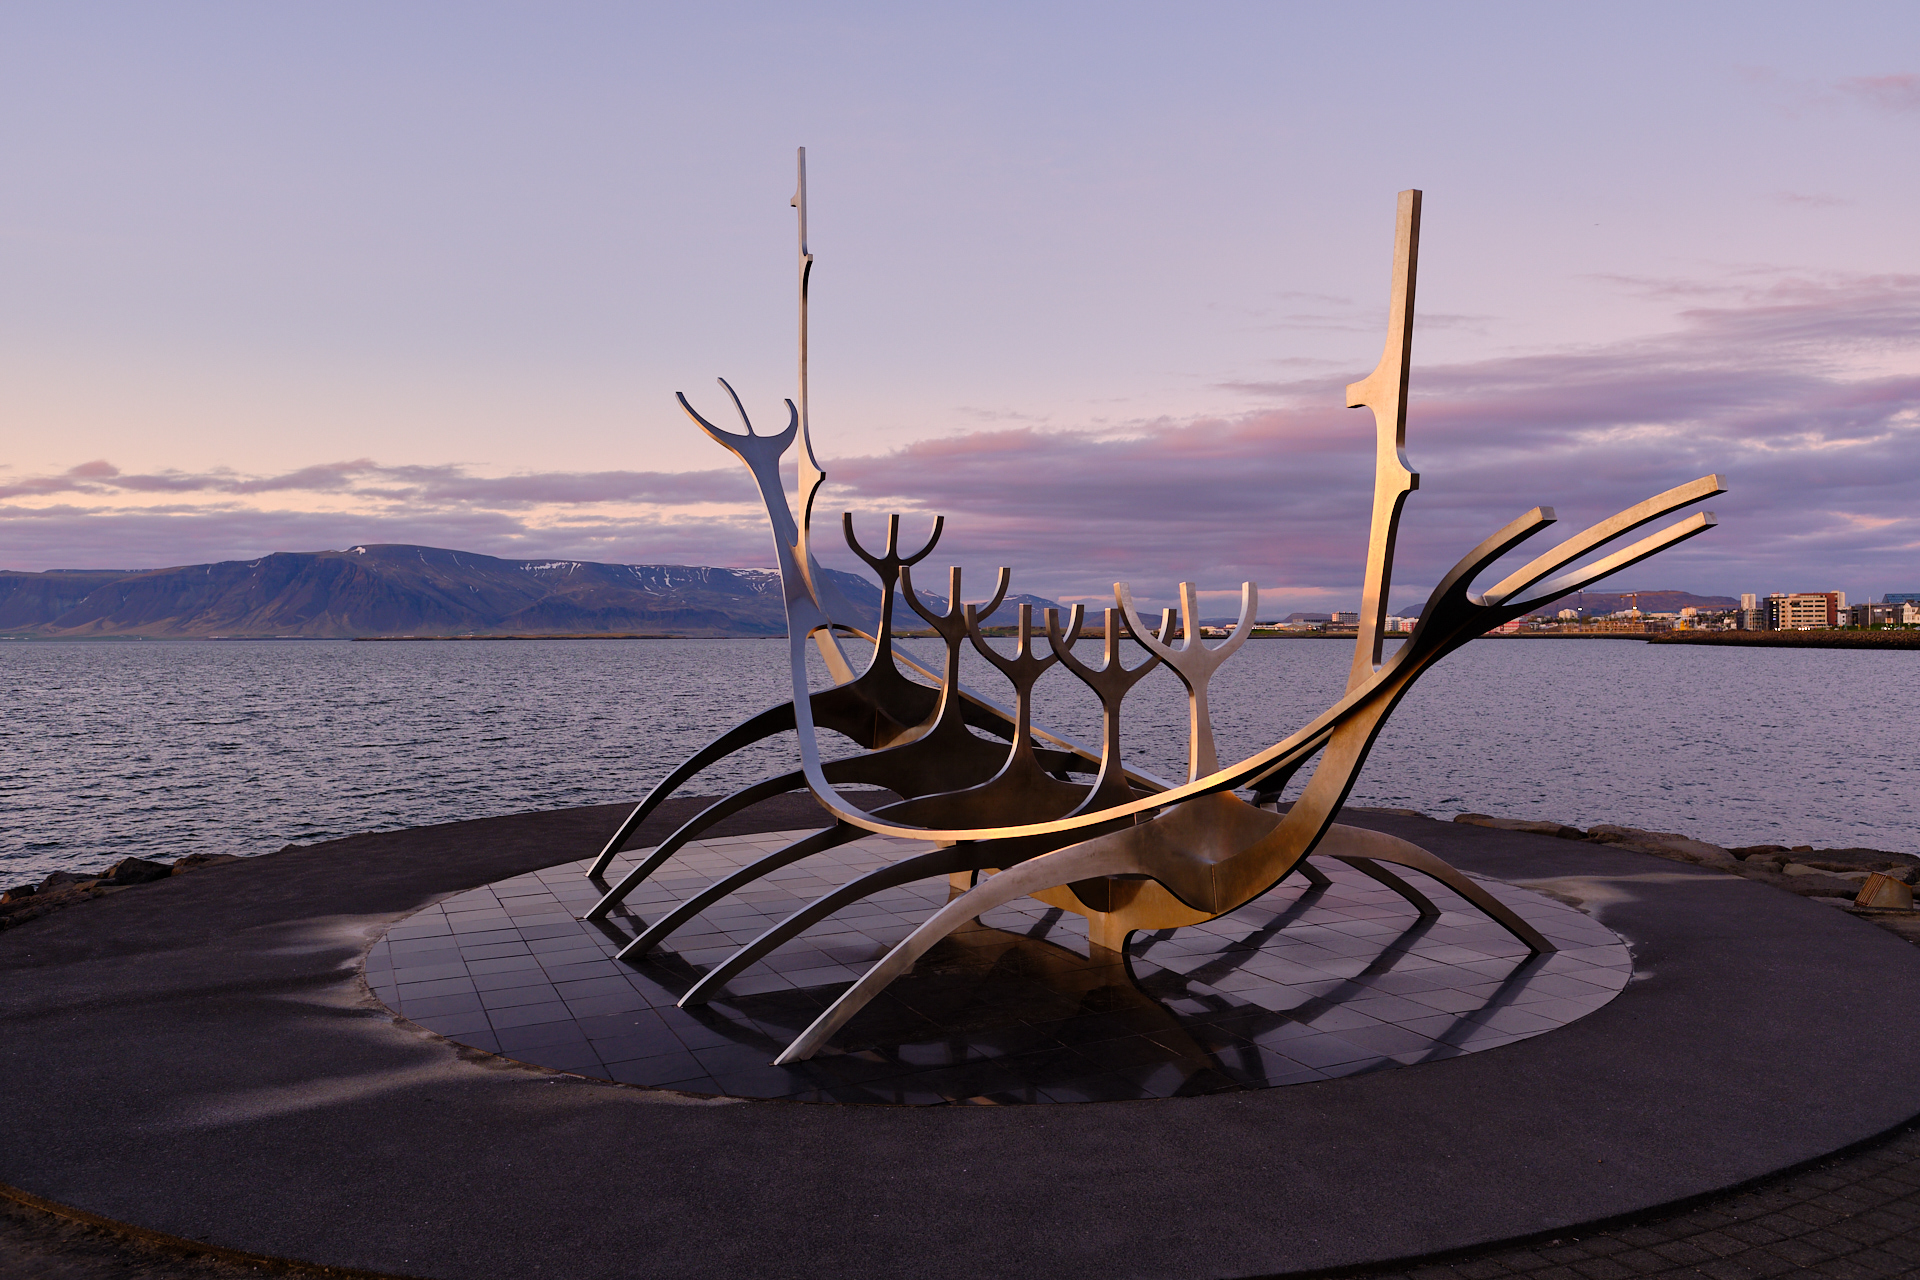
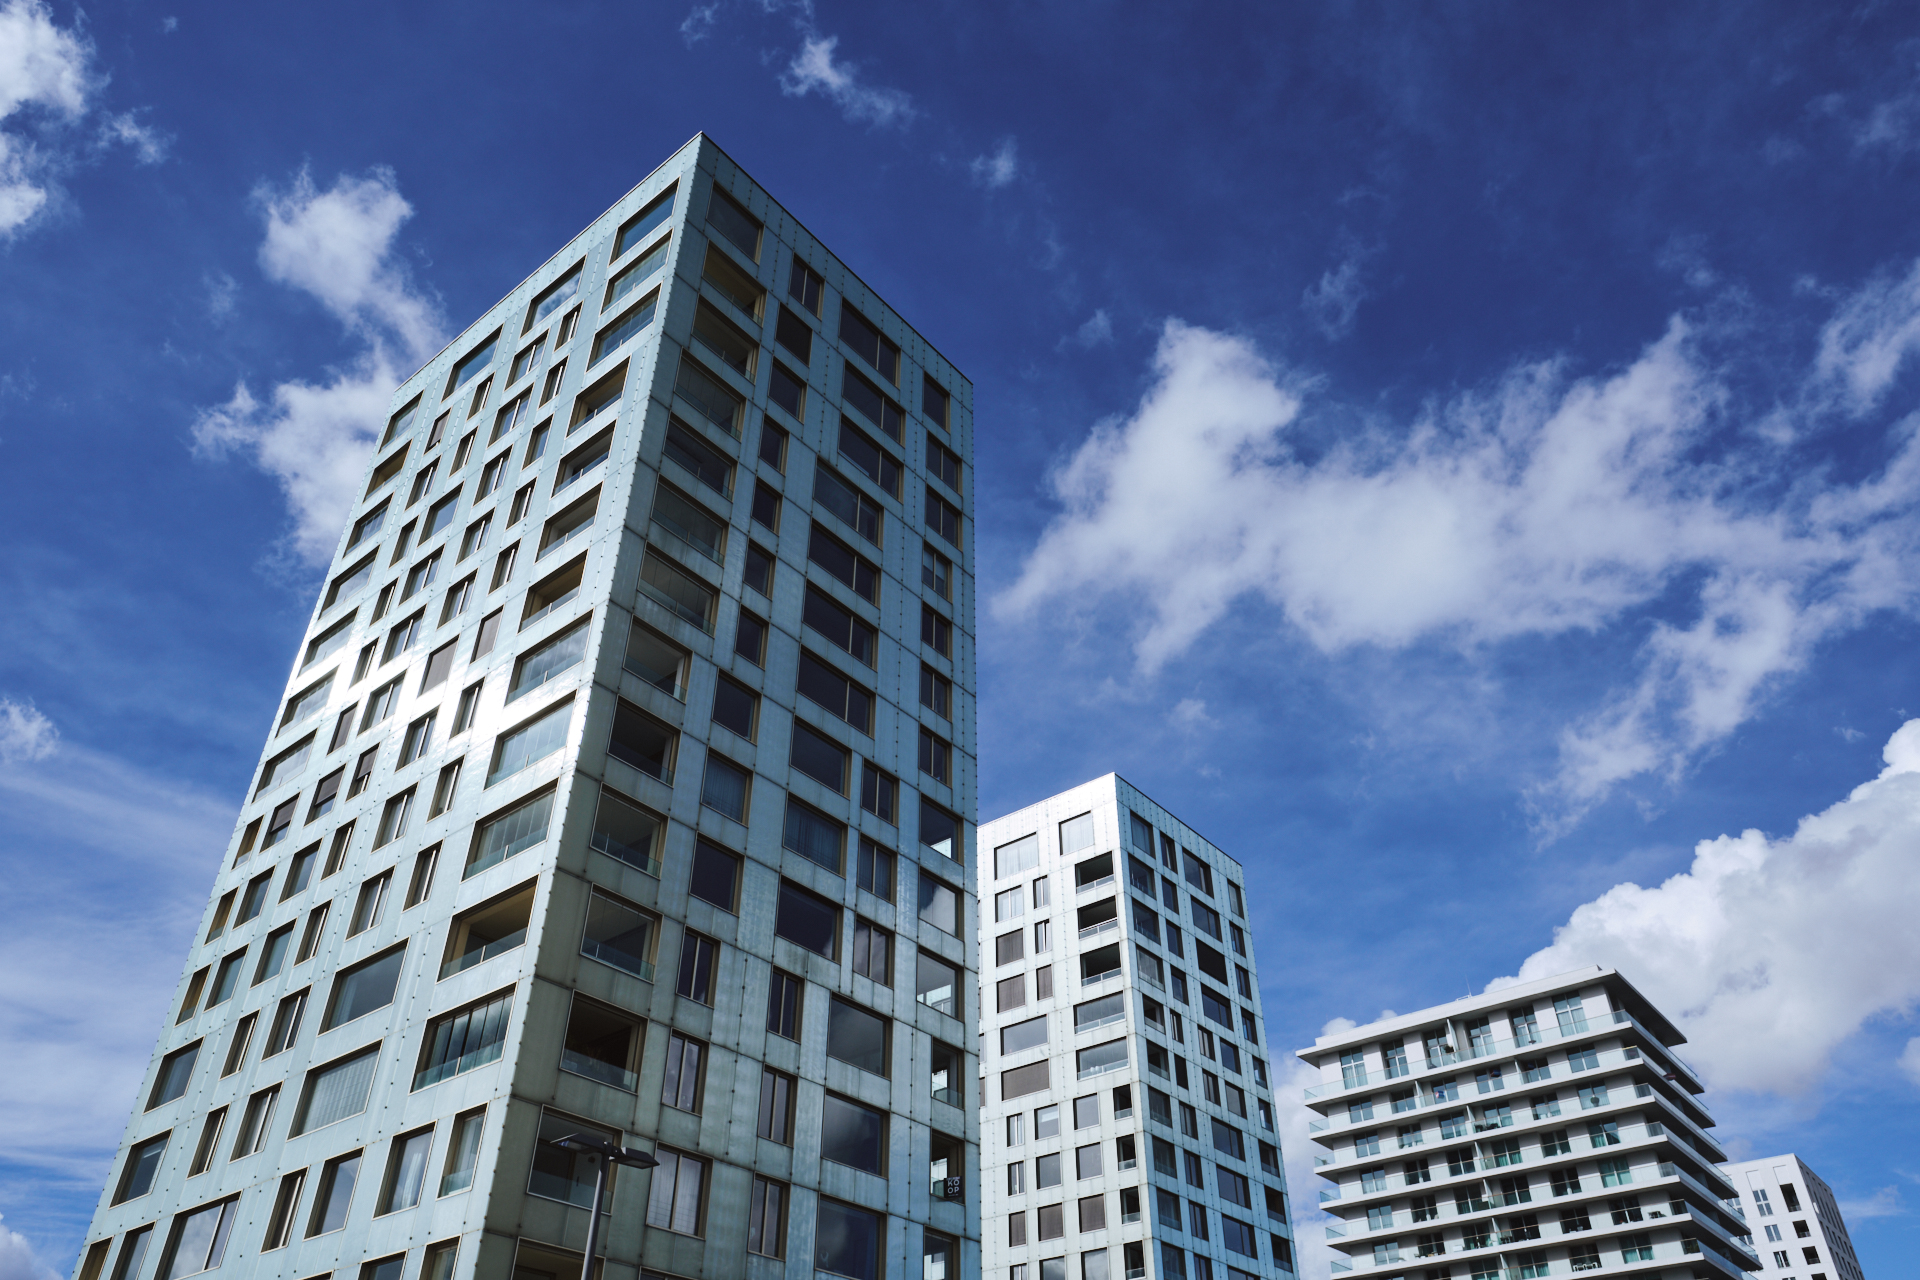
From here we followed the promenade along the coast passing by a set of sculptures towards the modern building of the Harpa Concert Hall and Conference Centre. On the way there we stopped at the metallic skeleton of the Sun Voyager that I already managed to visit (under considerably better light conditions) the previous evening. The concert hall itself is covered in a very cool glass and metal cell structure, which provides endless opportunities for architecture photography both from the outside and the inside.

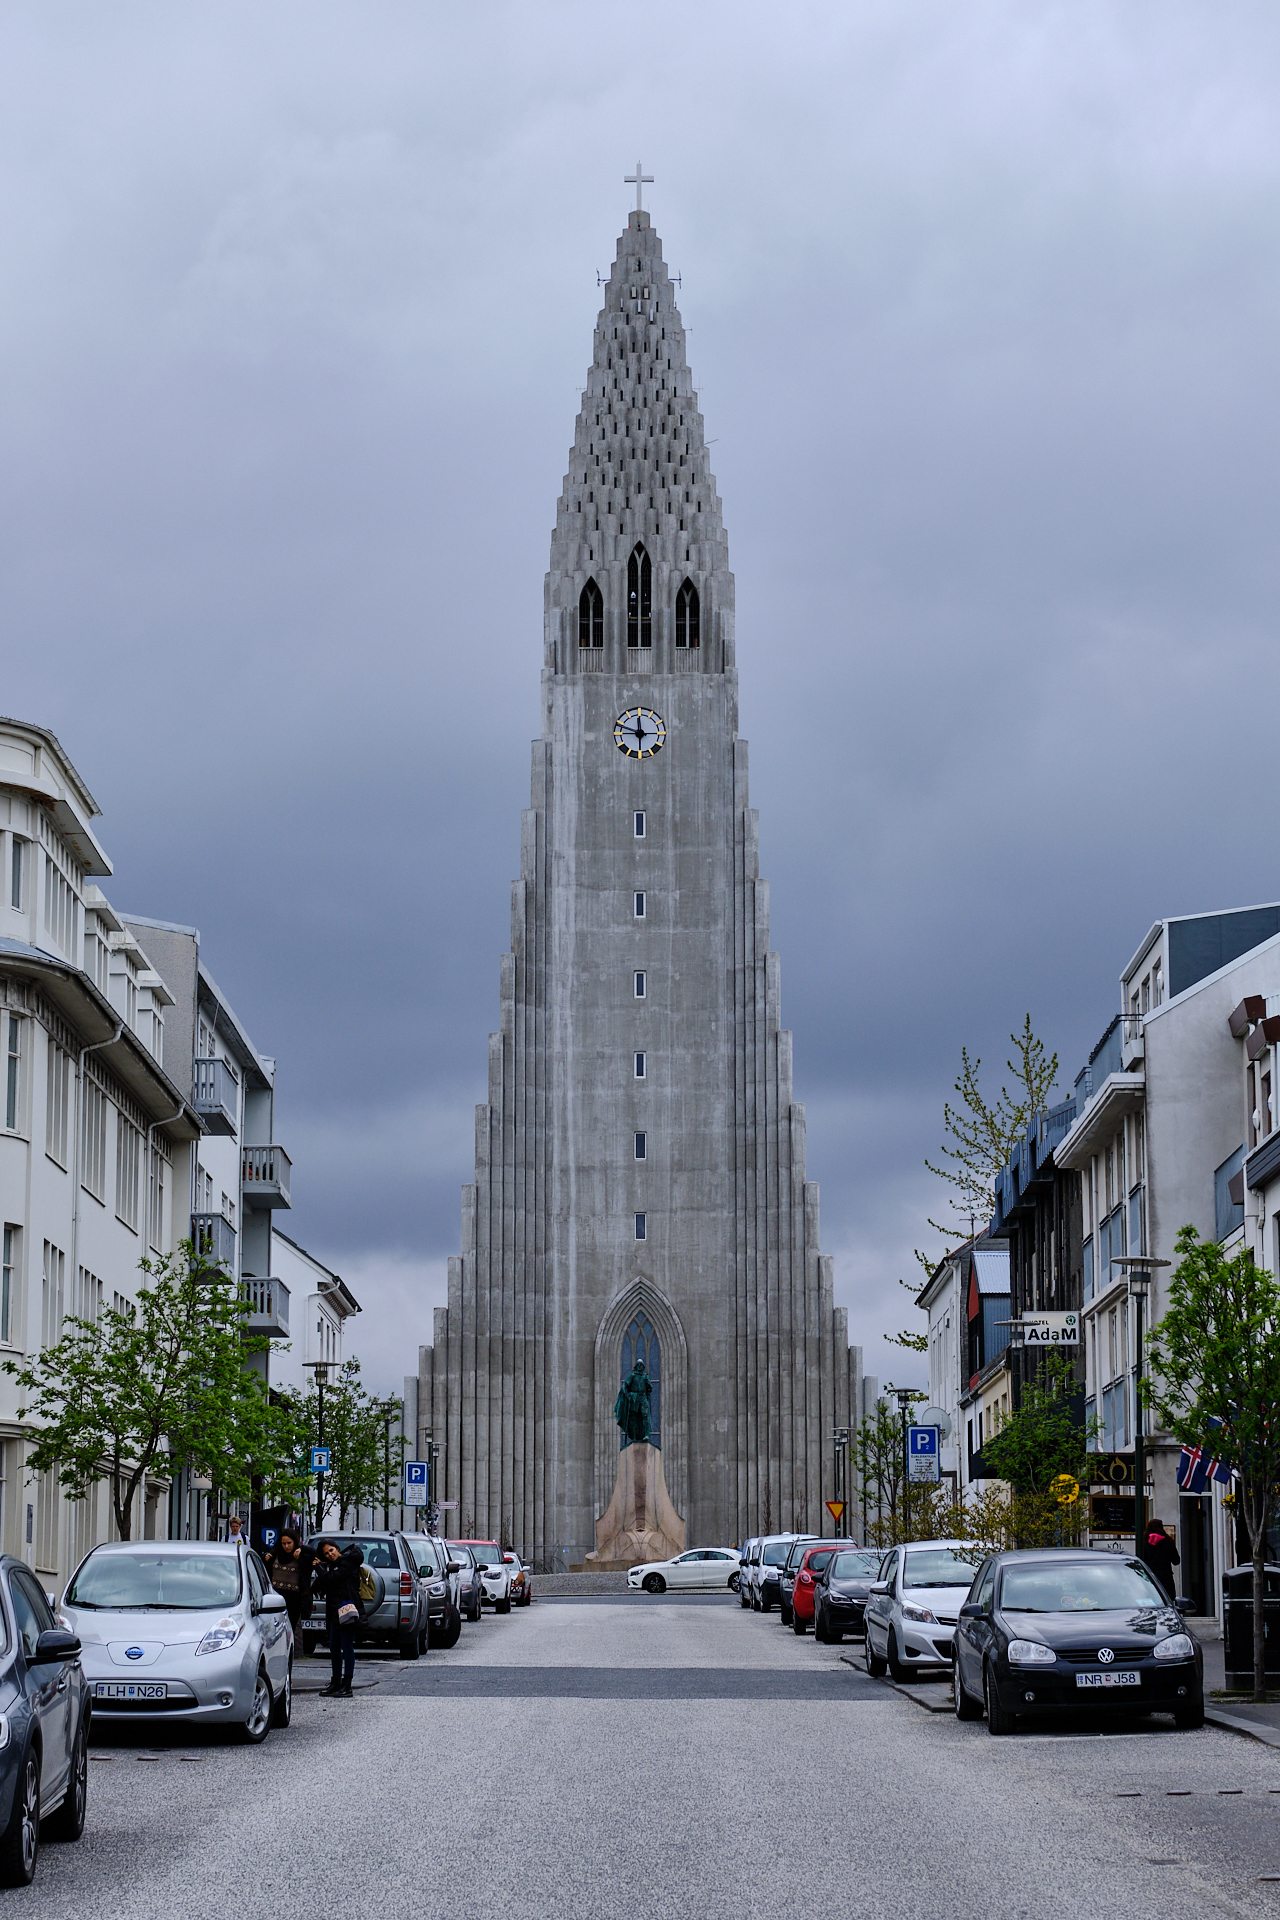
After a bit of browsing in the gift shop we continued to the old harbour, which was admittedly not super interesting (except if you want to have food or get on a whale watching boat, non of which we were interested at that moment). We turned back towards the center, walked past a never-ending row of gift and clothing stores (as a practical souvenir I picked up a bright orange hat from the local – but of course not made in Iceland – brand: 66°North, so I would not be cold and Clio would always see where I am), following the Skólavörðustígur up to the church. Due to a funeral the famous Hallgrimskirkja itself was closed, so we looked for a place for coffee and a piece of cake (at Reykjavik Roasters) instead of going inside.

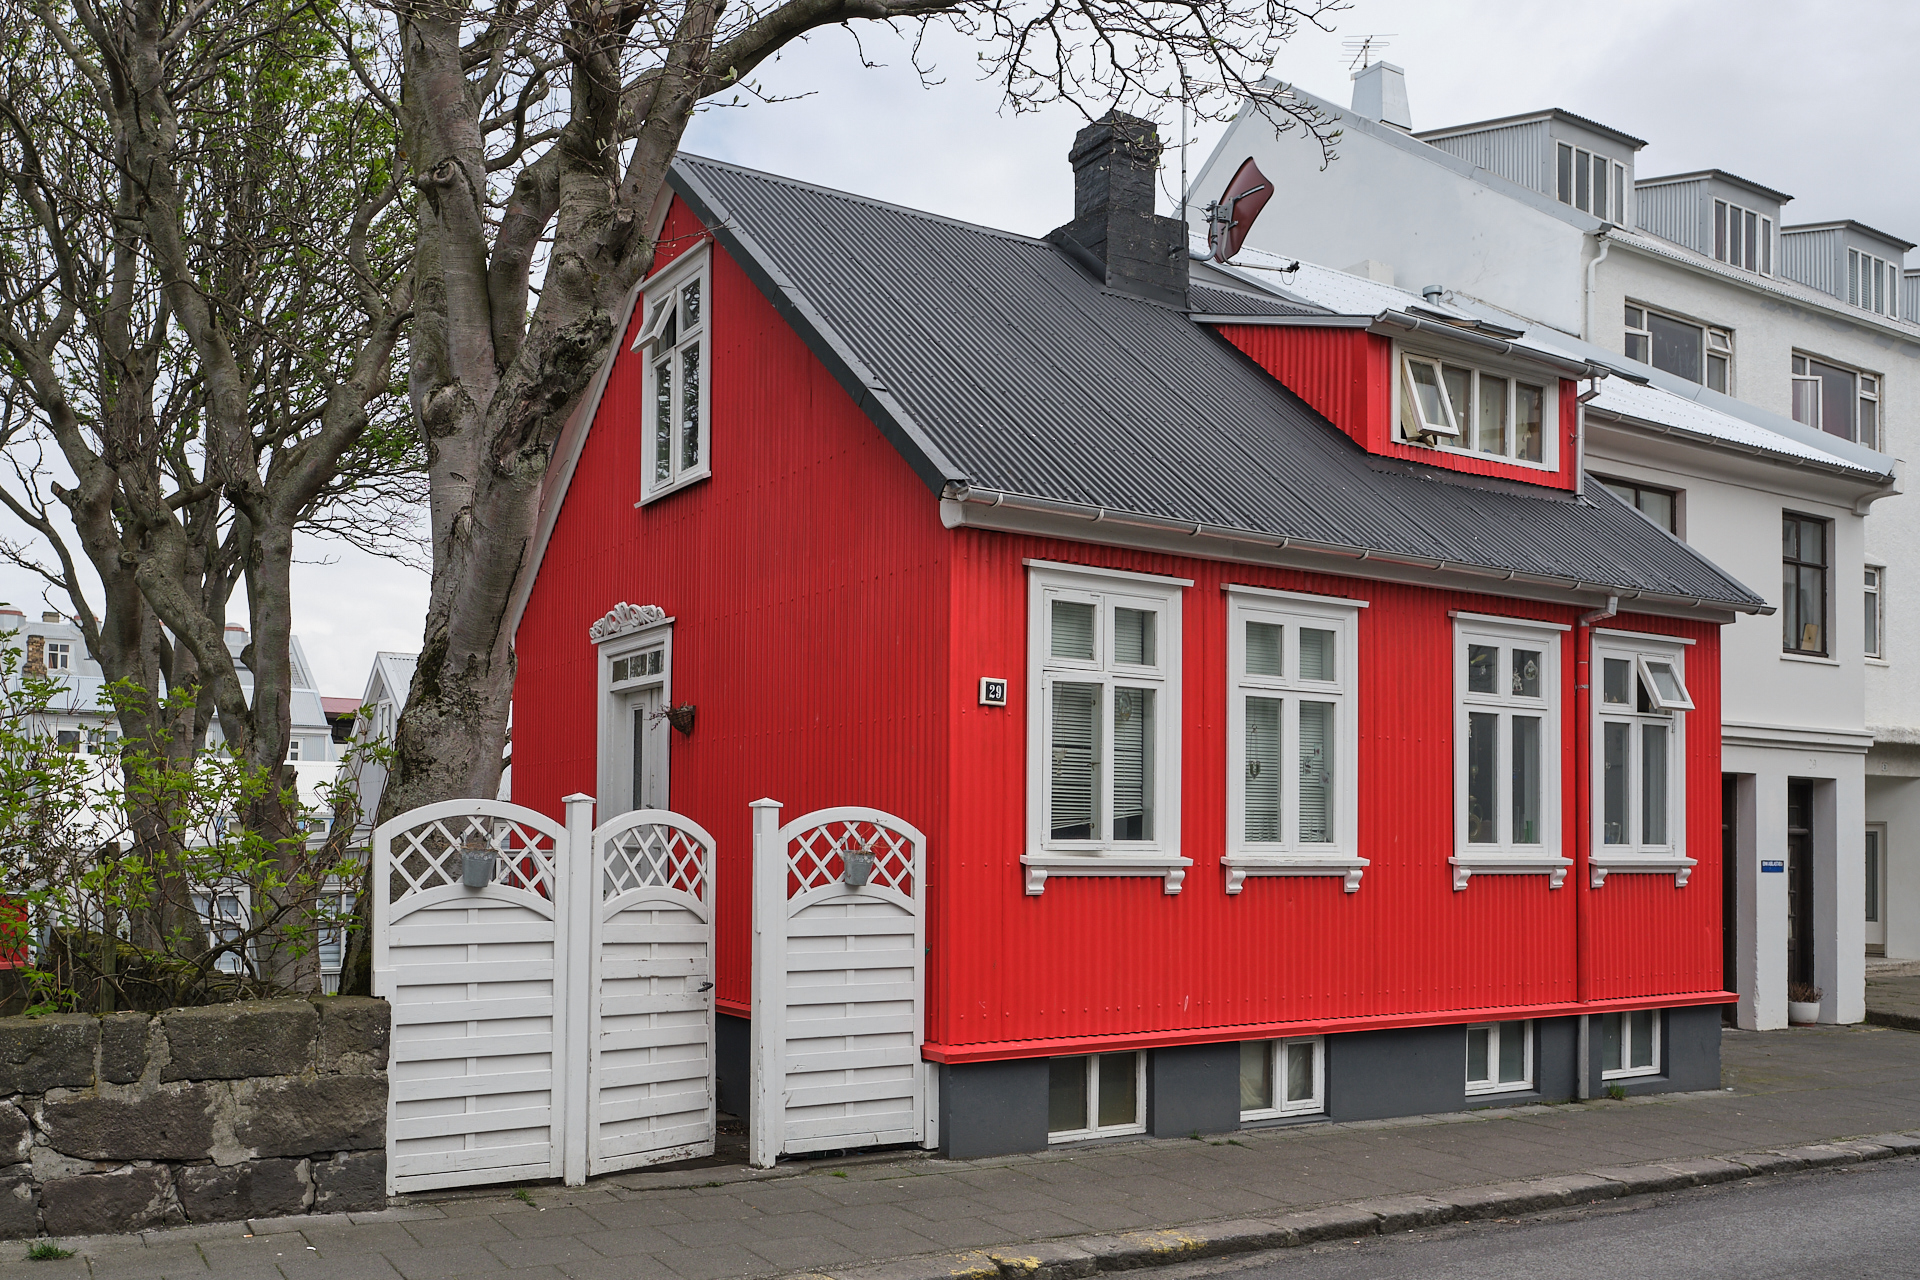
After warming up a bit we walked past a few cute colourful houses before taking a left on the Laugavegur. This is the other main shopping street, so besides window shopping, I also got a (larger) piece of the Icelandic Omnom chocolates (for later). Since we have not eaten any real food yet, our next stop was Iceland’s most famous hot dog stand, the Bæjarins Beztu Pylsur. Hot dogs – just like in Norway – became a recurring item on our menu. (BTW, they were always very good.) As we still wanted to try to get into the Hallgrimskirkja (that was supposed to be open again from half past two on the afternoon), we did another small loop passing the Parliament and the City Hall, turning back towards it across the Tjörnin lake. Unfortunately the funeral was still underway even by the time we had ‘climbed’ the hill leading up to the church, so we decided to just start heading back to our hotel. On the way we did a bit of a shopping in the local cheap supermarket (Bonus), to fill up our energy bar, cookie, and snack reserves for the coming days. This was a very good decision.

We only had a short afternoon break in the hotel, before driving to Perlan (there are also free shuttles from Harpa). This is a new complex including several (nicely done, partly interactive) exhibitions about Iceland (its geography, vulcanism, glaciers, flora and fauna), a modern 8K planetarium, and a 360 degree observation desk. I especially liked the planetarium, because the first longer show (about the aurora) included dominantly high quality and high resolution footage, immersive animations (some short sections might not be that pleasant for people that are susceptible to motion sickness) and an overall good narration and story (the second shorter one was pretty low-budget in comparison), and because it was my first experience in such a modern planetarium anyway. There was also a small underground ice-cave, but I guess that is more exciting for smaller children. Luckily by the time we made it to the panorama terrace on the top of the building the clouds opened up and we got a nice and clear view over the surrounding area in the warm afternoon sunshine.

After driving back to our hotel we ate some not so special (but still good) Vietnamese food nearby, and went to sleep around sunset, knowing that the following day would be much more busy…

(We are not a very museum-heavy couple, but had the weather been worse, I would have suggested going to The National Museum of Iceland, that looks the most interesting (to me) based on the reviews. Or, should you really want to get out of the city, a small excursion to the Reykjadalur hot spring river might be a good idea for the whole afternoon.)

Road trip Iceland: Day 1 (The geothermal scenic route from the airport to Reykjavik)

This is the first post in a series of many over our two week long (May 5-18) self-organised road trip around Iceland. After seeing the prices offered by travel agencies we decided to plan, organise, and book everything on our own, this way saving around nearly 50% of the total costs (excluding fuel and food, but those are also not included in the package prices). This of course took some time (approximately a whole weekend and the evenings of a working week), but overall I am very happy with the outcome. We decided to go in May because statistically it is – maybe surprisingly – the sunniest month, it is only a few degrees colder than the summer, and it is still before the main tourist season when the island gets a bit too busy for my liking. The only downsides of May are that the F roads are not yet open (these are the gravel roads into the highlands), and that it is too late for seeing the auroras.

We flew from Brussels to Iceland (Keflavik Airport) with Icelandair, and thanks to the time difference (of two hours), we landed at 15:15 with still quite some time to spare on the afternoon. After collecting our bags we took the free shuttle to the car rental place, and picked up a 4WD Dacia Duster. (Having a 4WD is definitely recommended if you want to go anywhere outside the Golden Circle and the main ring road.) The car was basically brand new, with less than 500 km in it, even the plastic screen protector foil was still on the radio display.

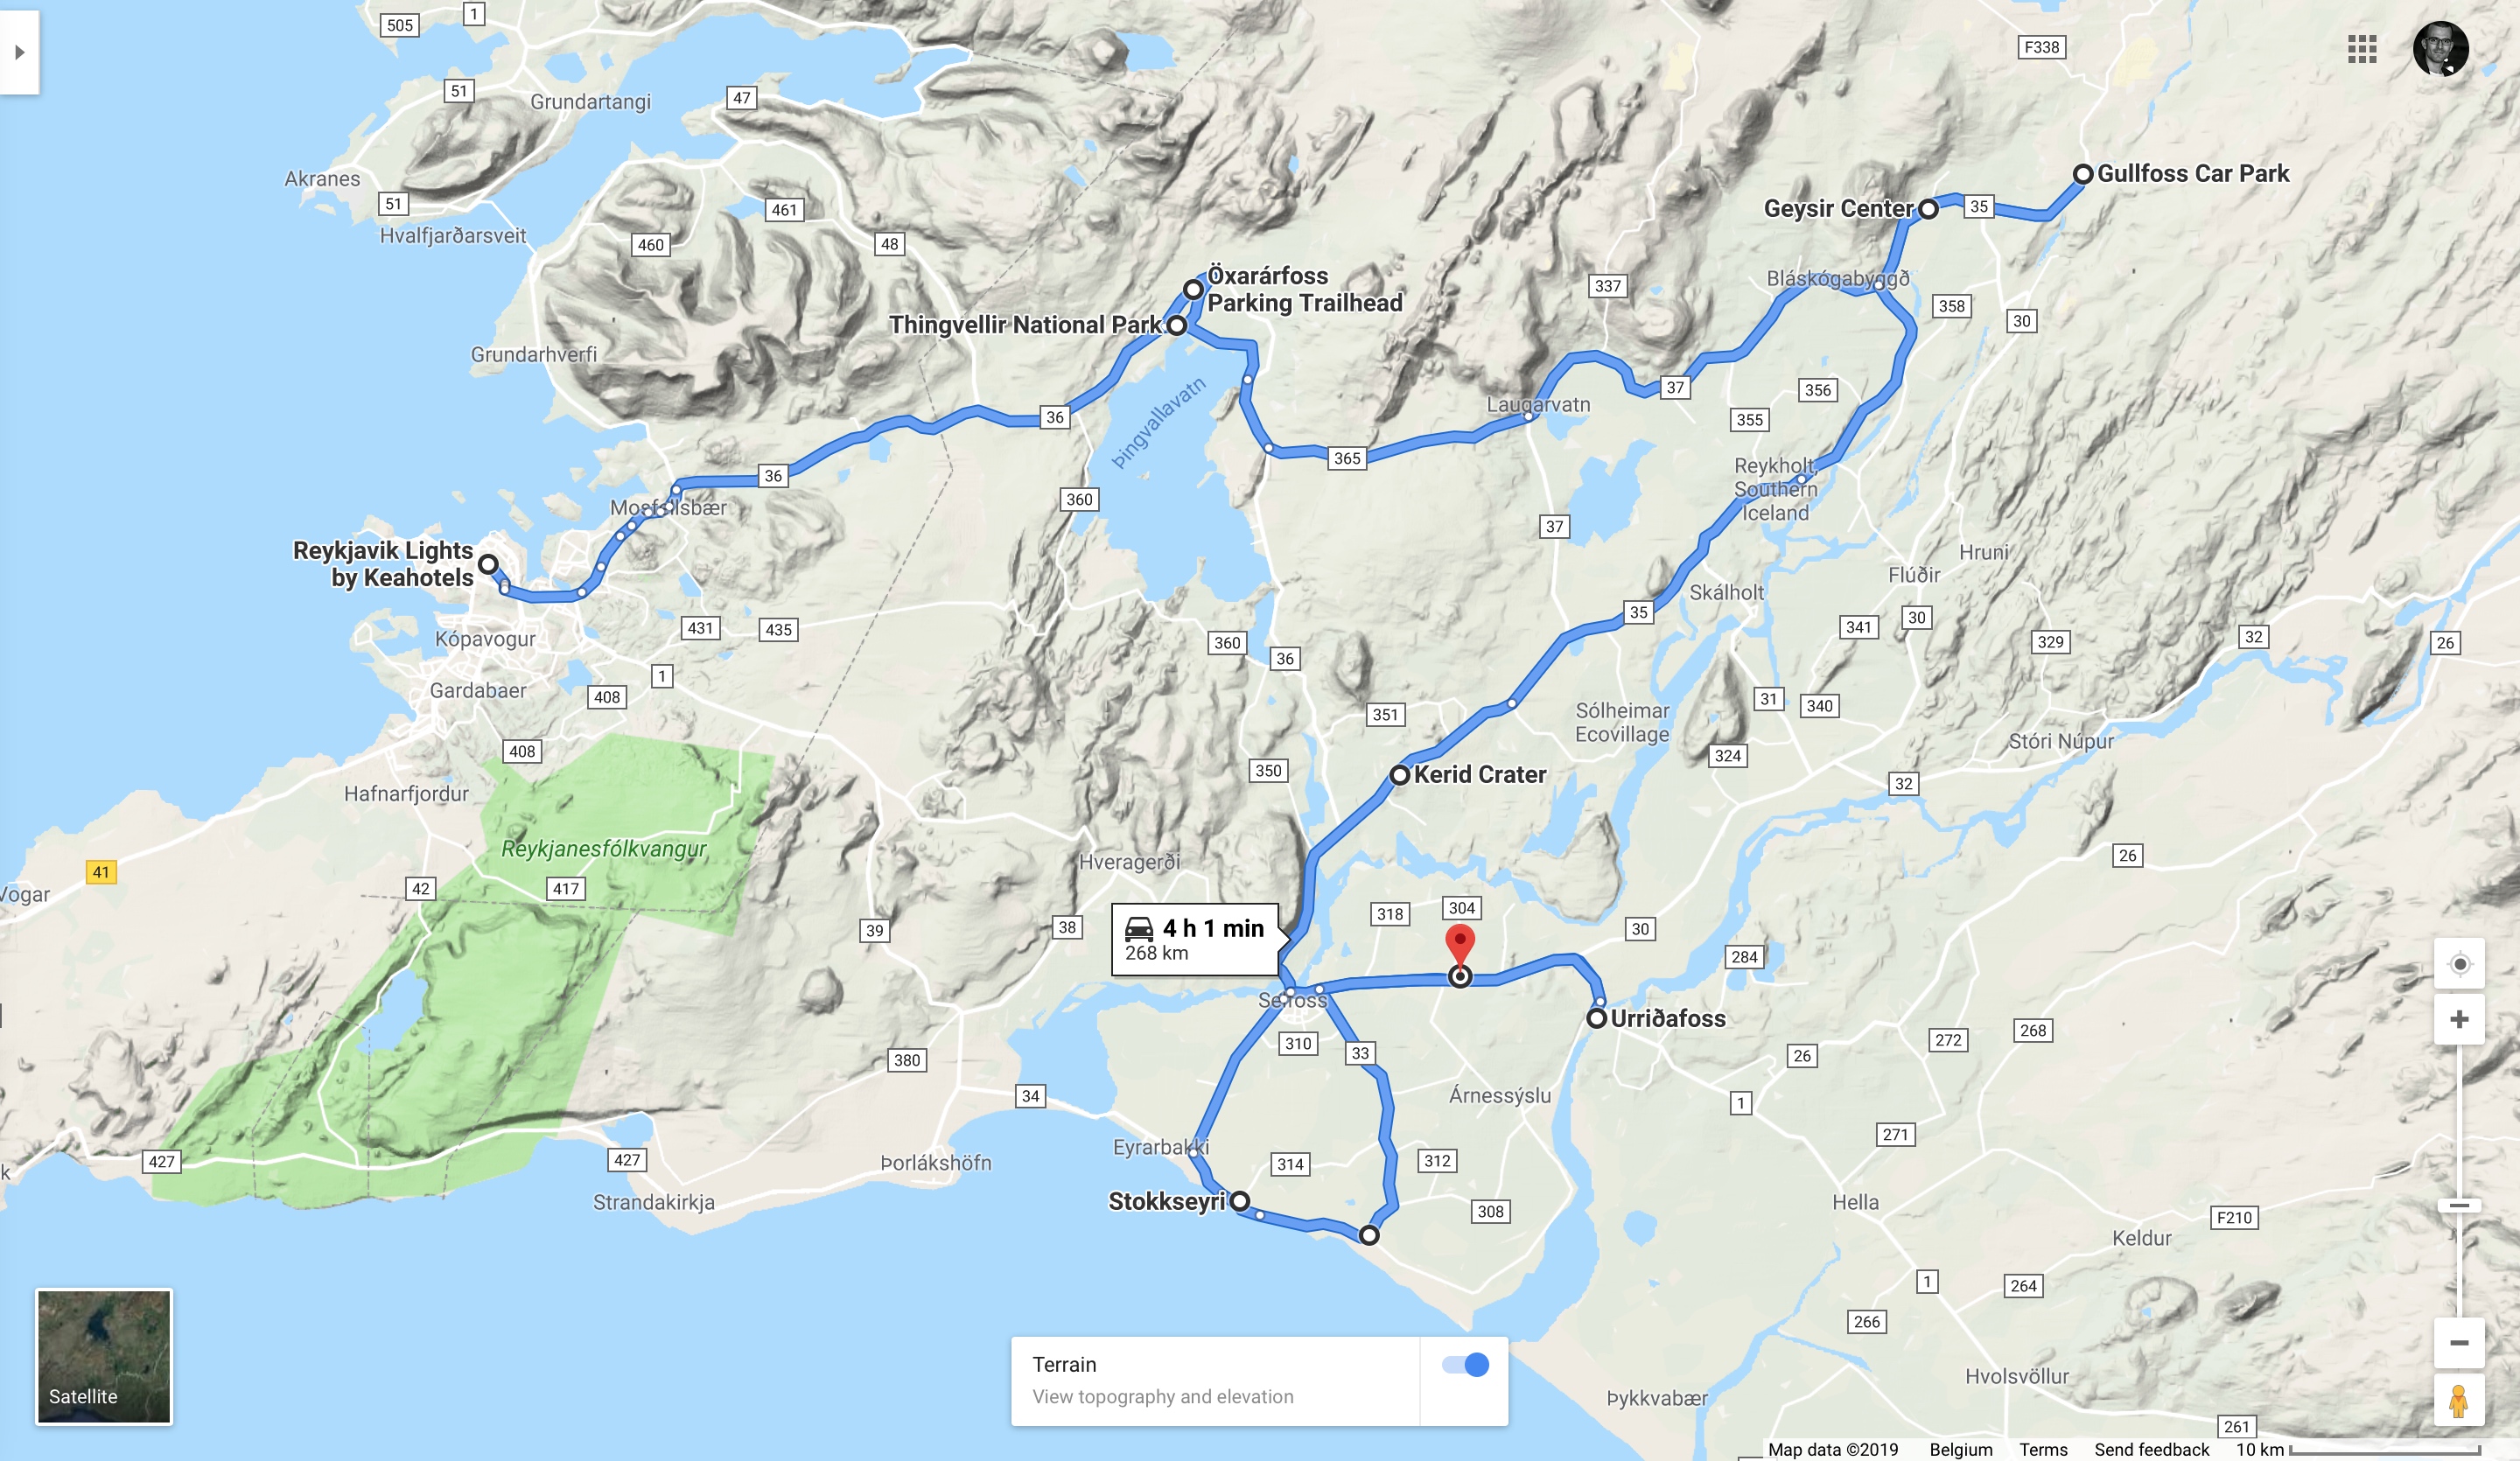
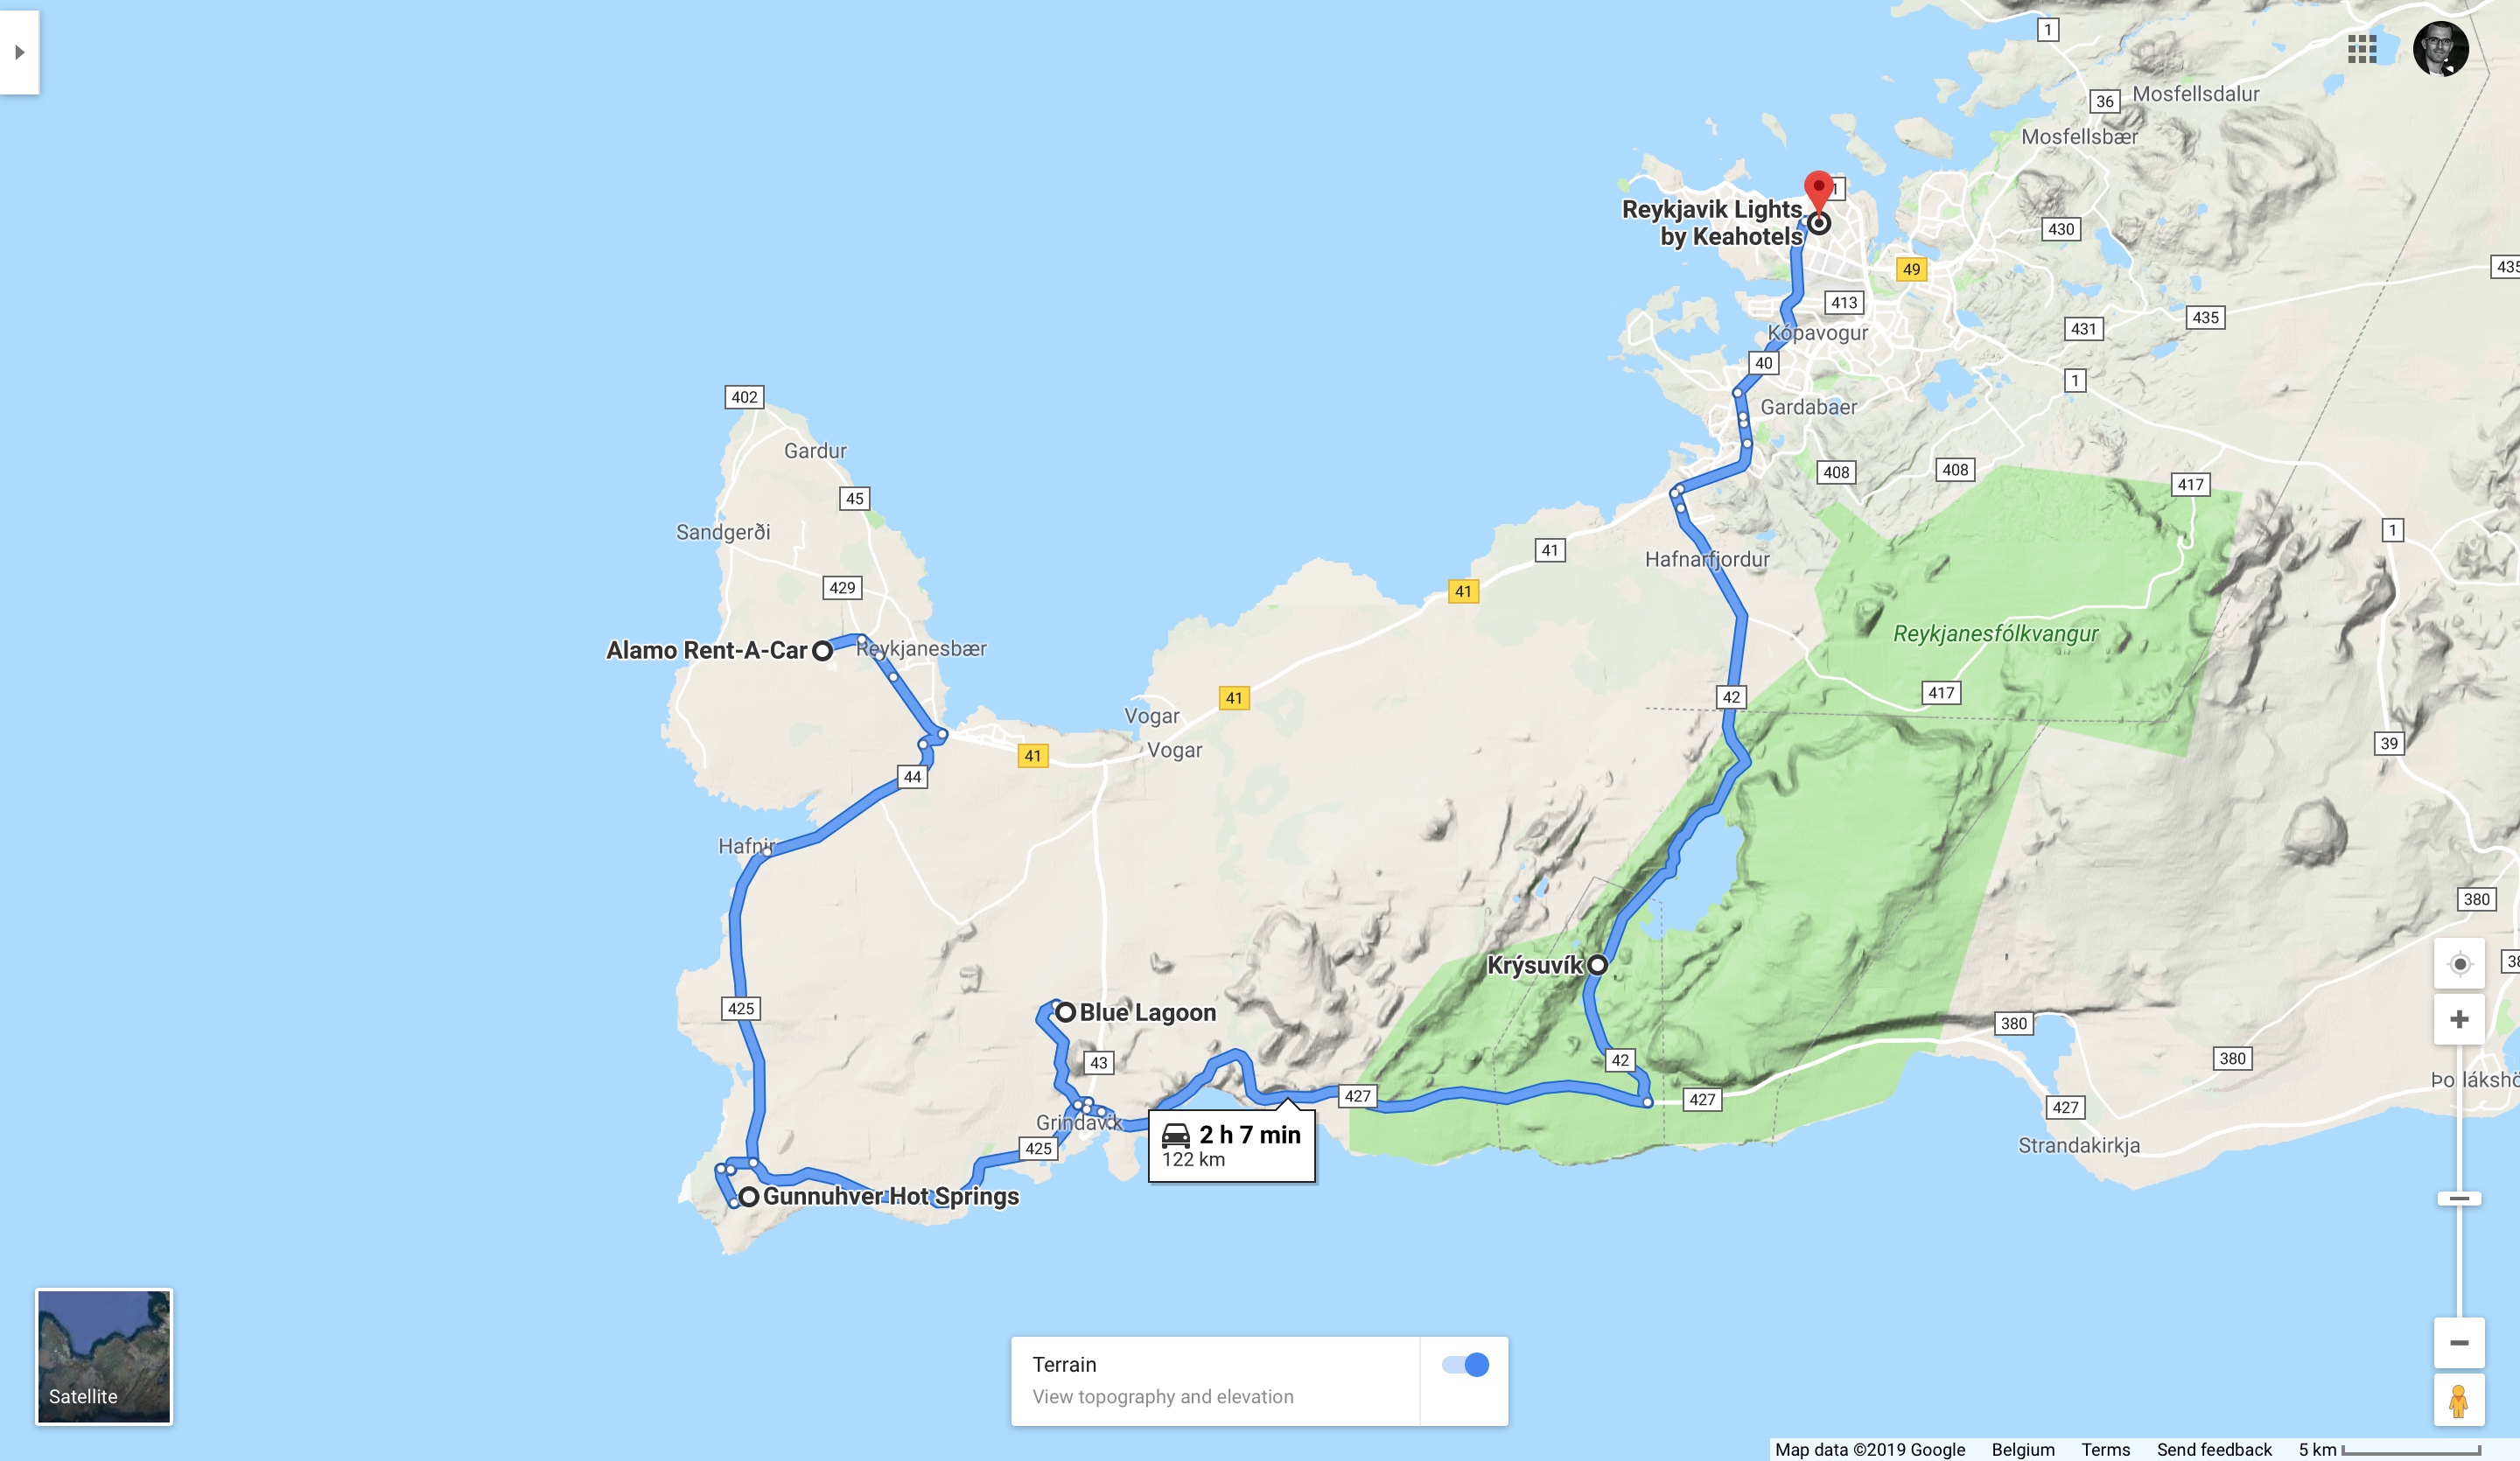
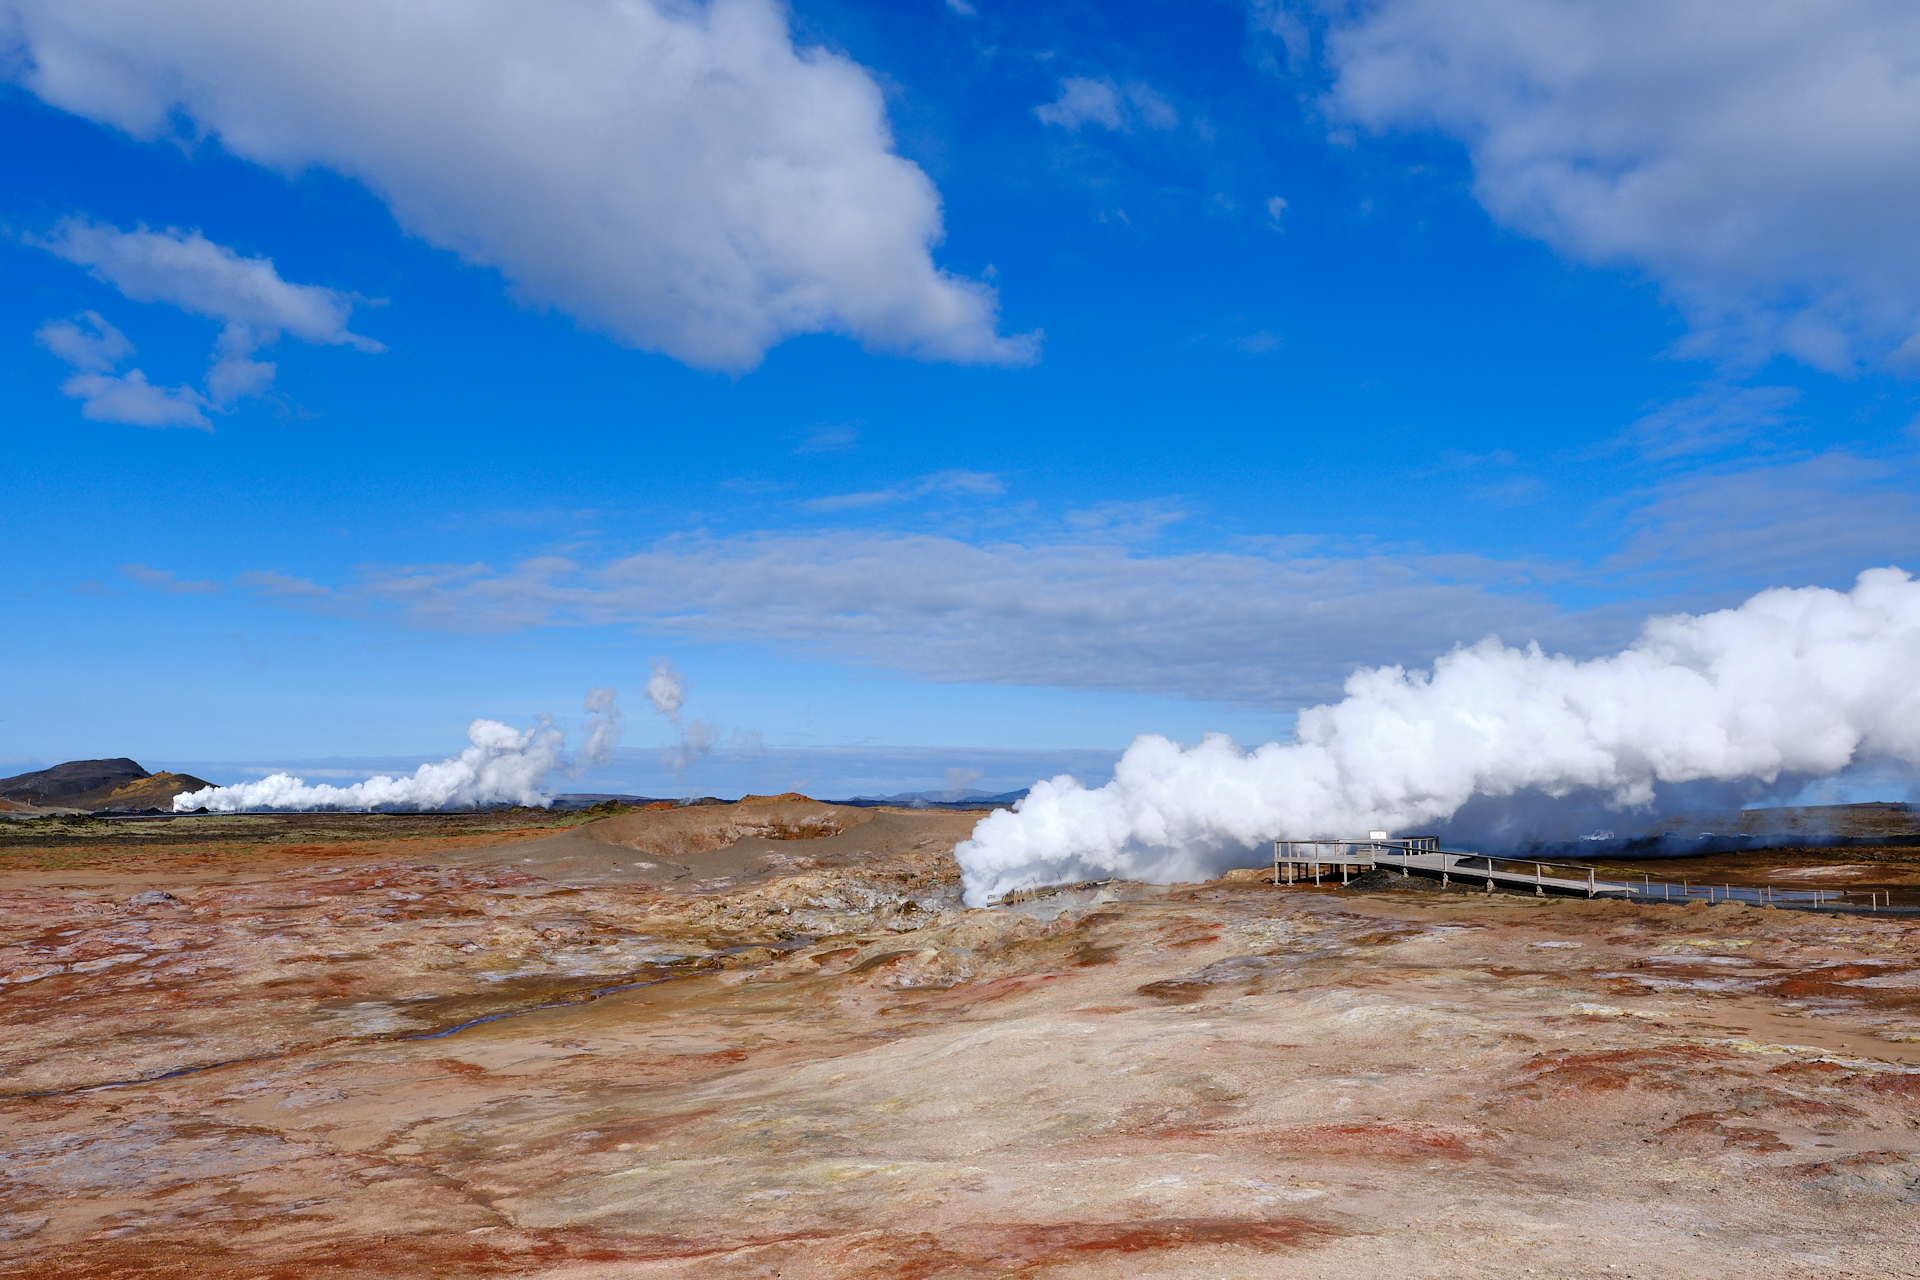
Instead of driving straight to Reykjavik, we took the scenic route around the South coast of the Reykjanes Peninsula. Our first stop was at the Gunnuhver Hot Springs, where you can see hot stream continuously erupting from below the surface in a powerful, and quite loud manner.

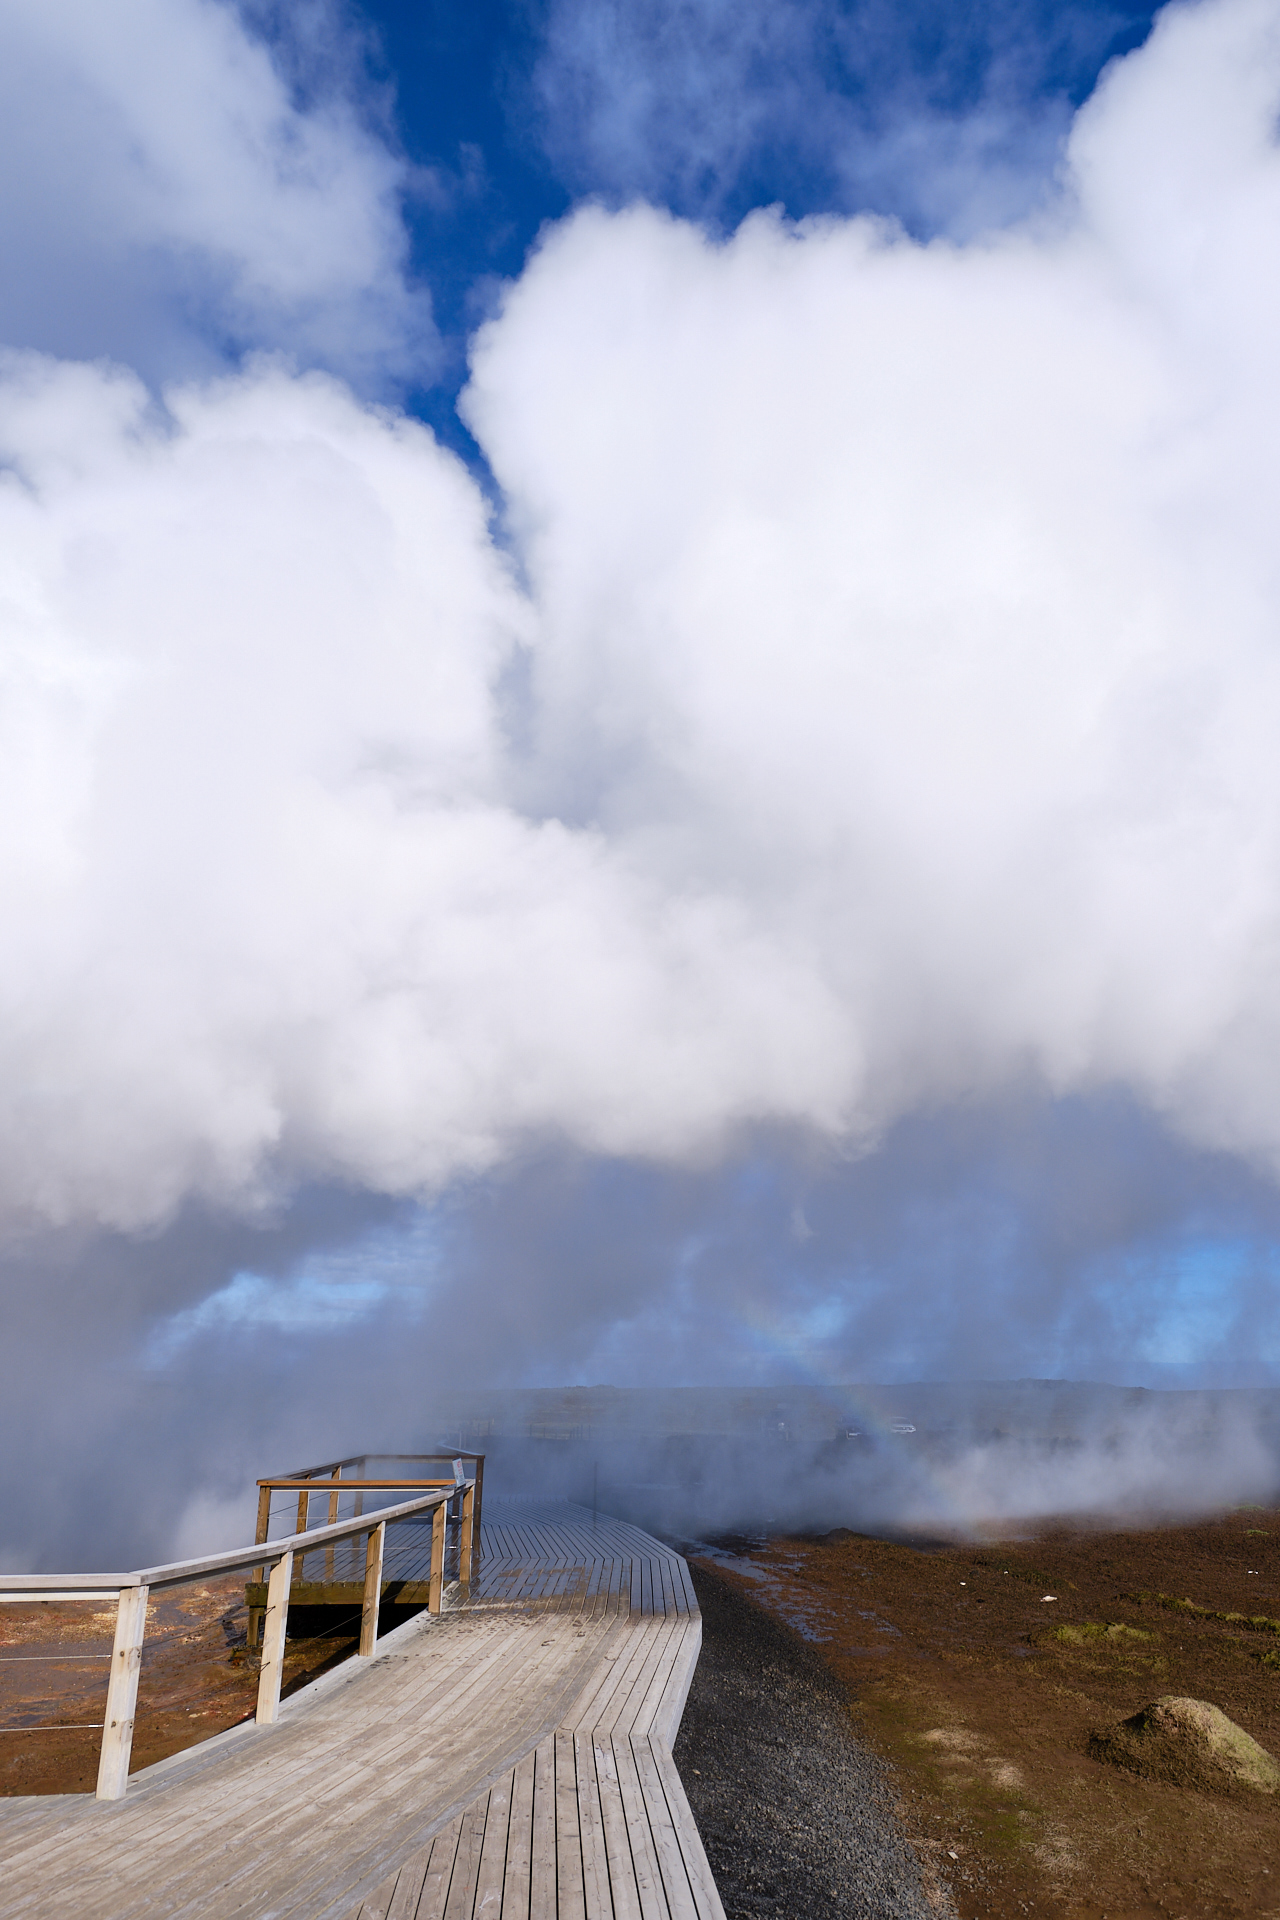
If the wind direction is right, you can even walk below the plumes (an get super wet from the condensation). In any case, it is definitely worth a stop, it is undoubtedly the most powerful steam vent that we have seen in Iceland.

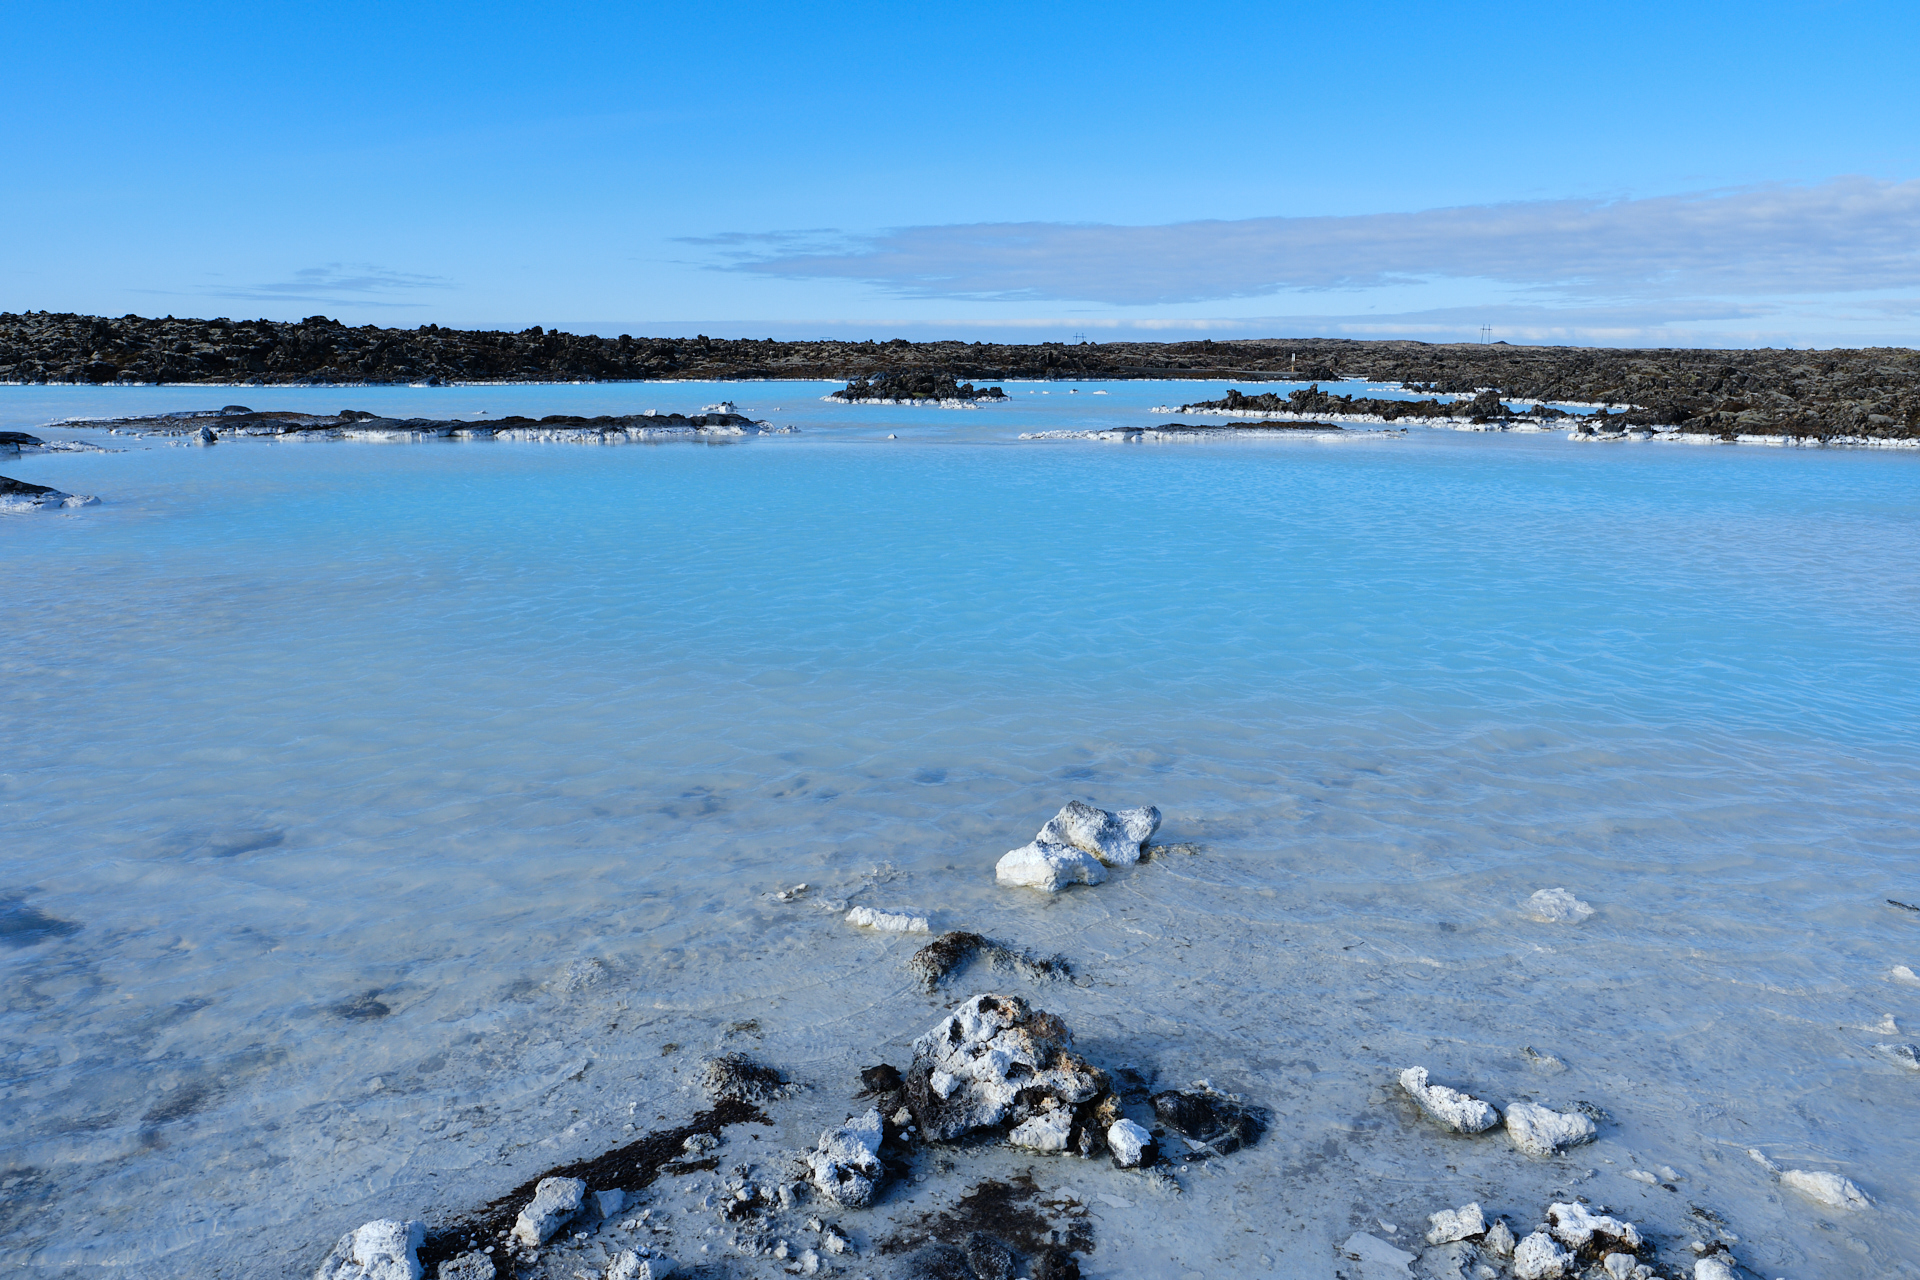
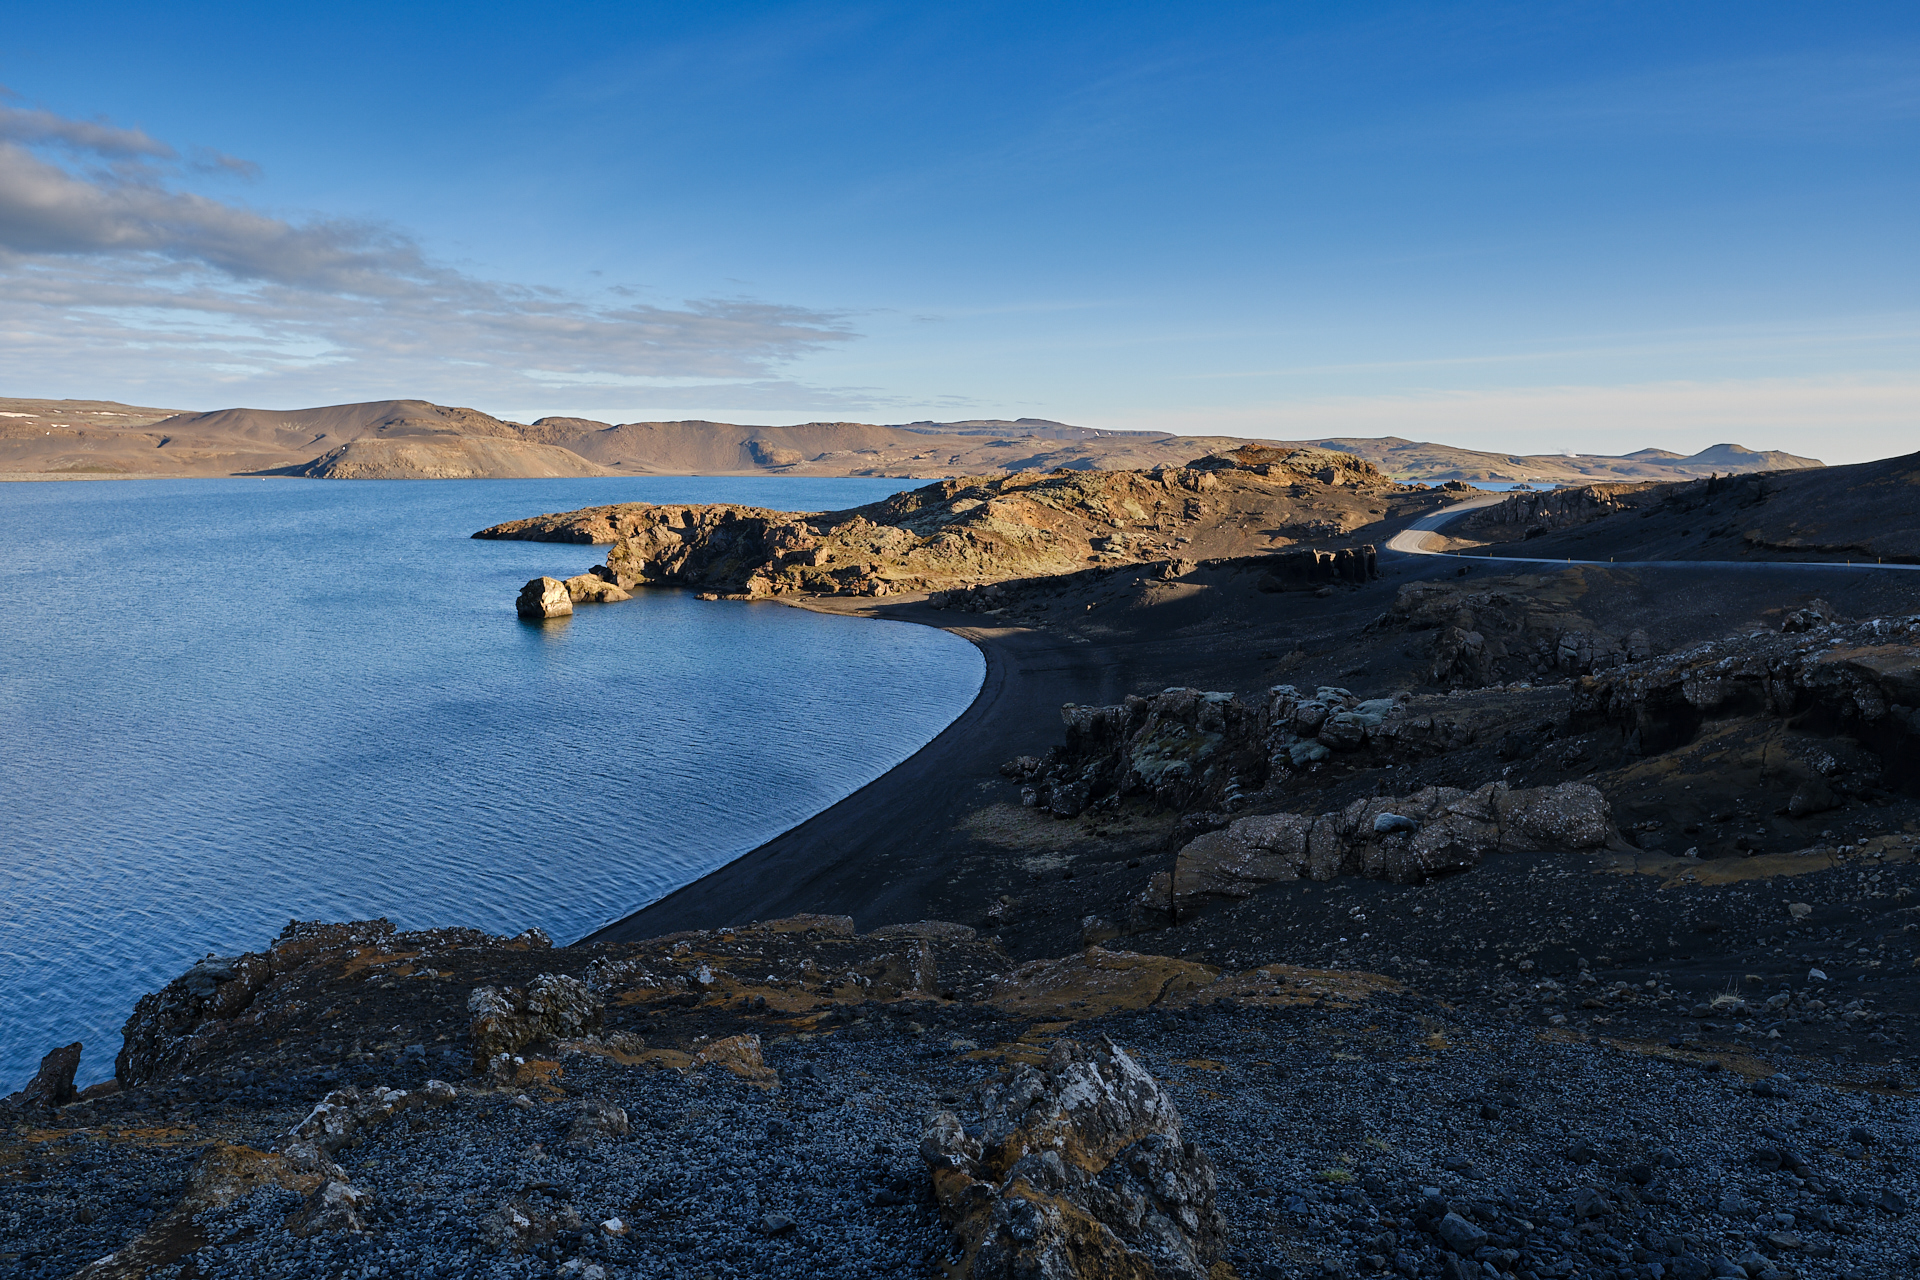
From here we drove the the famous Blue Lagoon, but instead of going in, we just walked around the outside half of the lagoon, that is simply freely accessible from the parking. This way we saved a lot of money and avoided a lot of tourists (as we would go to a very similar but not even half as busy or expensive place in the Northeast). If you are not doing a full round trip of Iceland, then it might be still worth going in for the experience here.

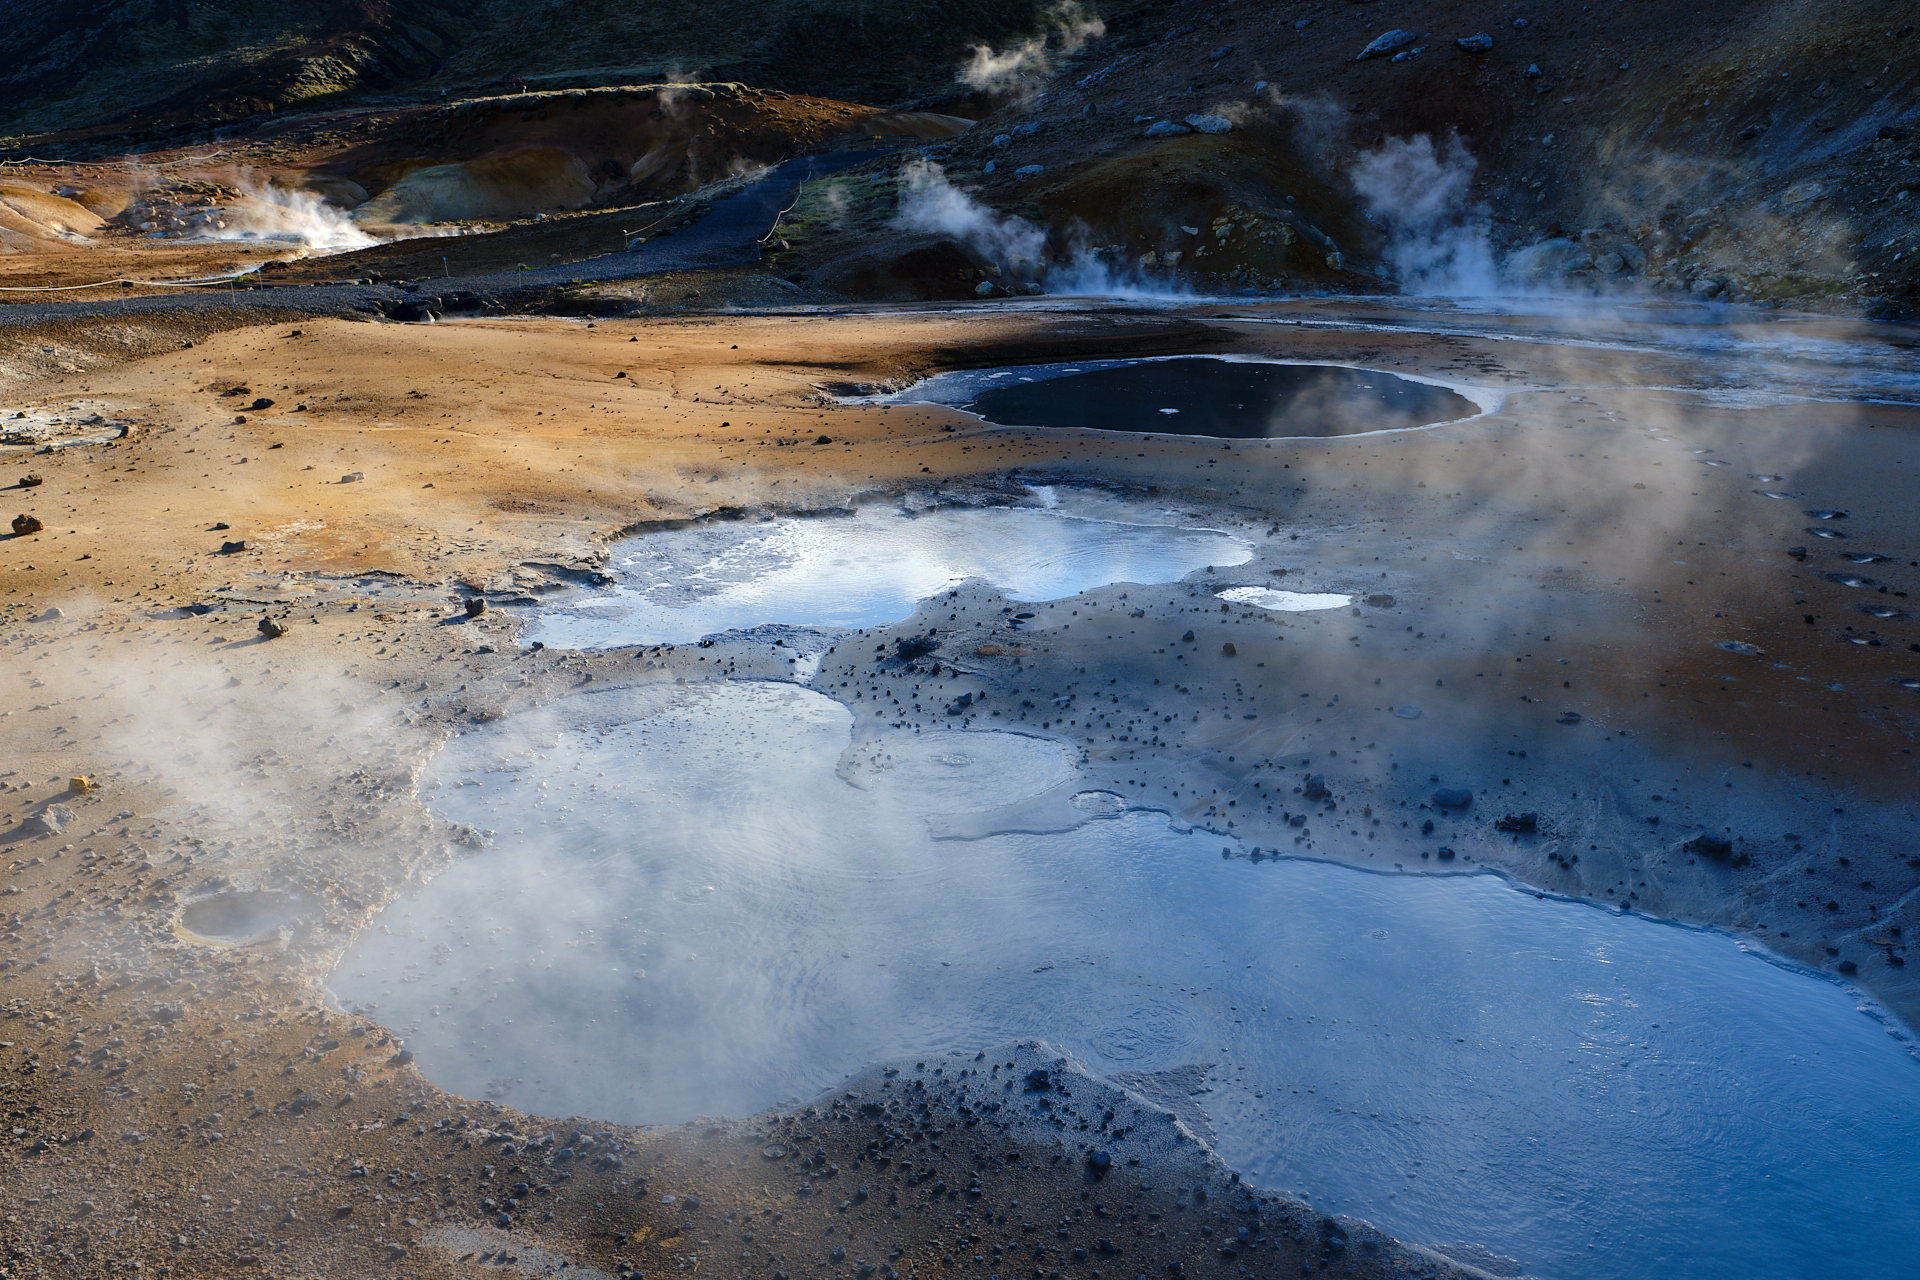
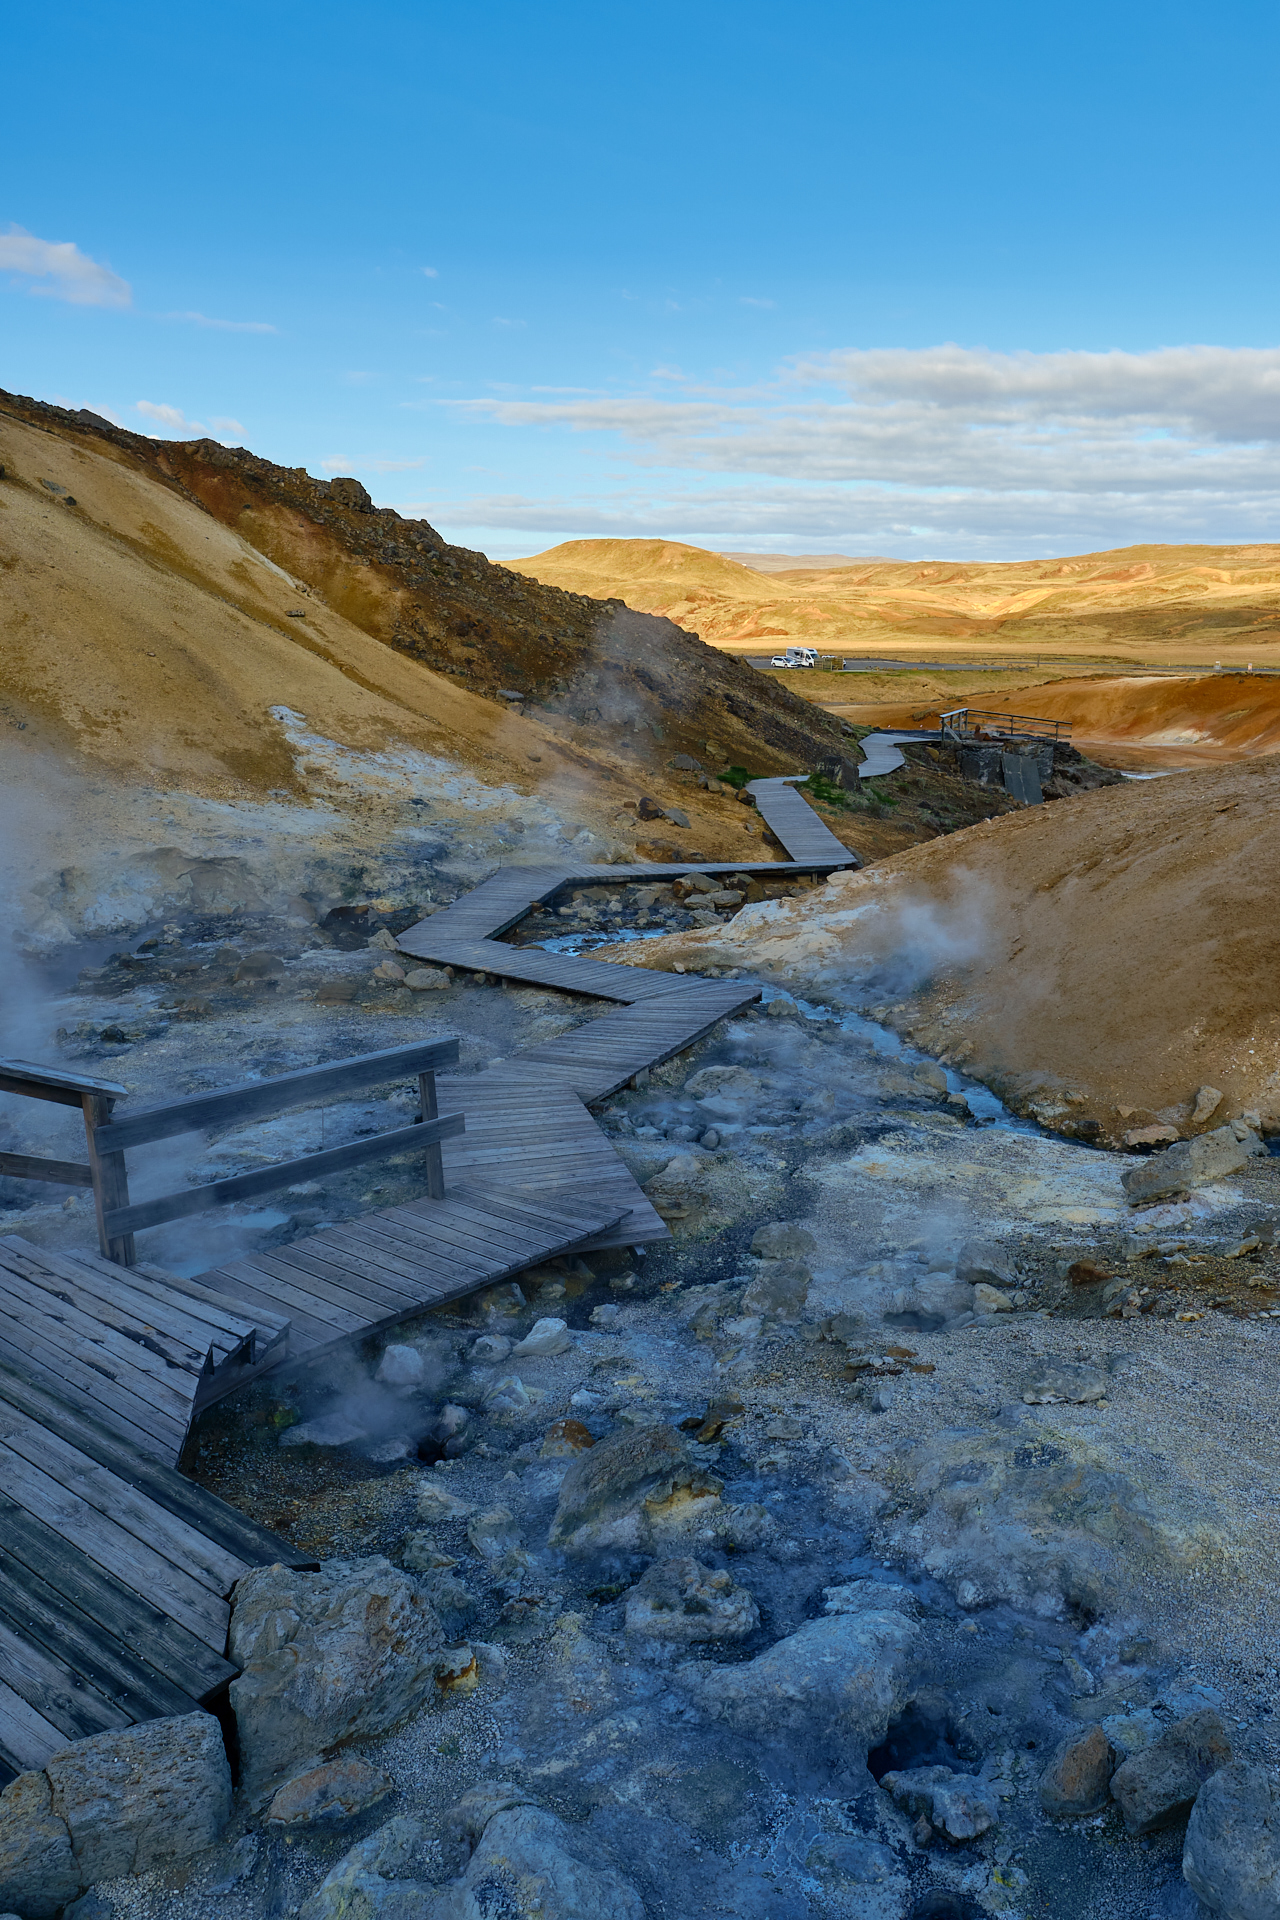
The last stop of the day was the geothermal area of Krýsuvík, where you can walk around smelly, slowly boiling mud pools and steam vents scattered over a colourful hillside.

There are even some nice wooden footpaths laid out to guide you and – most importantly – save you from stepping where you should really not be stepping. It is maybe worth noting it already here: lots of the sights in Iceland are boiling hot, so it is indeed not advised to leave the marked paths or to get in too close contact with steaming features.

From here on there is only one logical road to follow towards the capital, and the scenery is really beautiful (in the first half at least, then it gets a bit more boring/industrial/urban). We also encountered our first few kilometres of gravel road here, but nothing really bad.

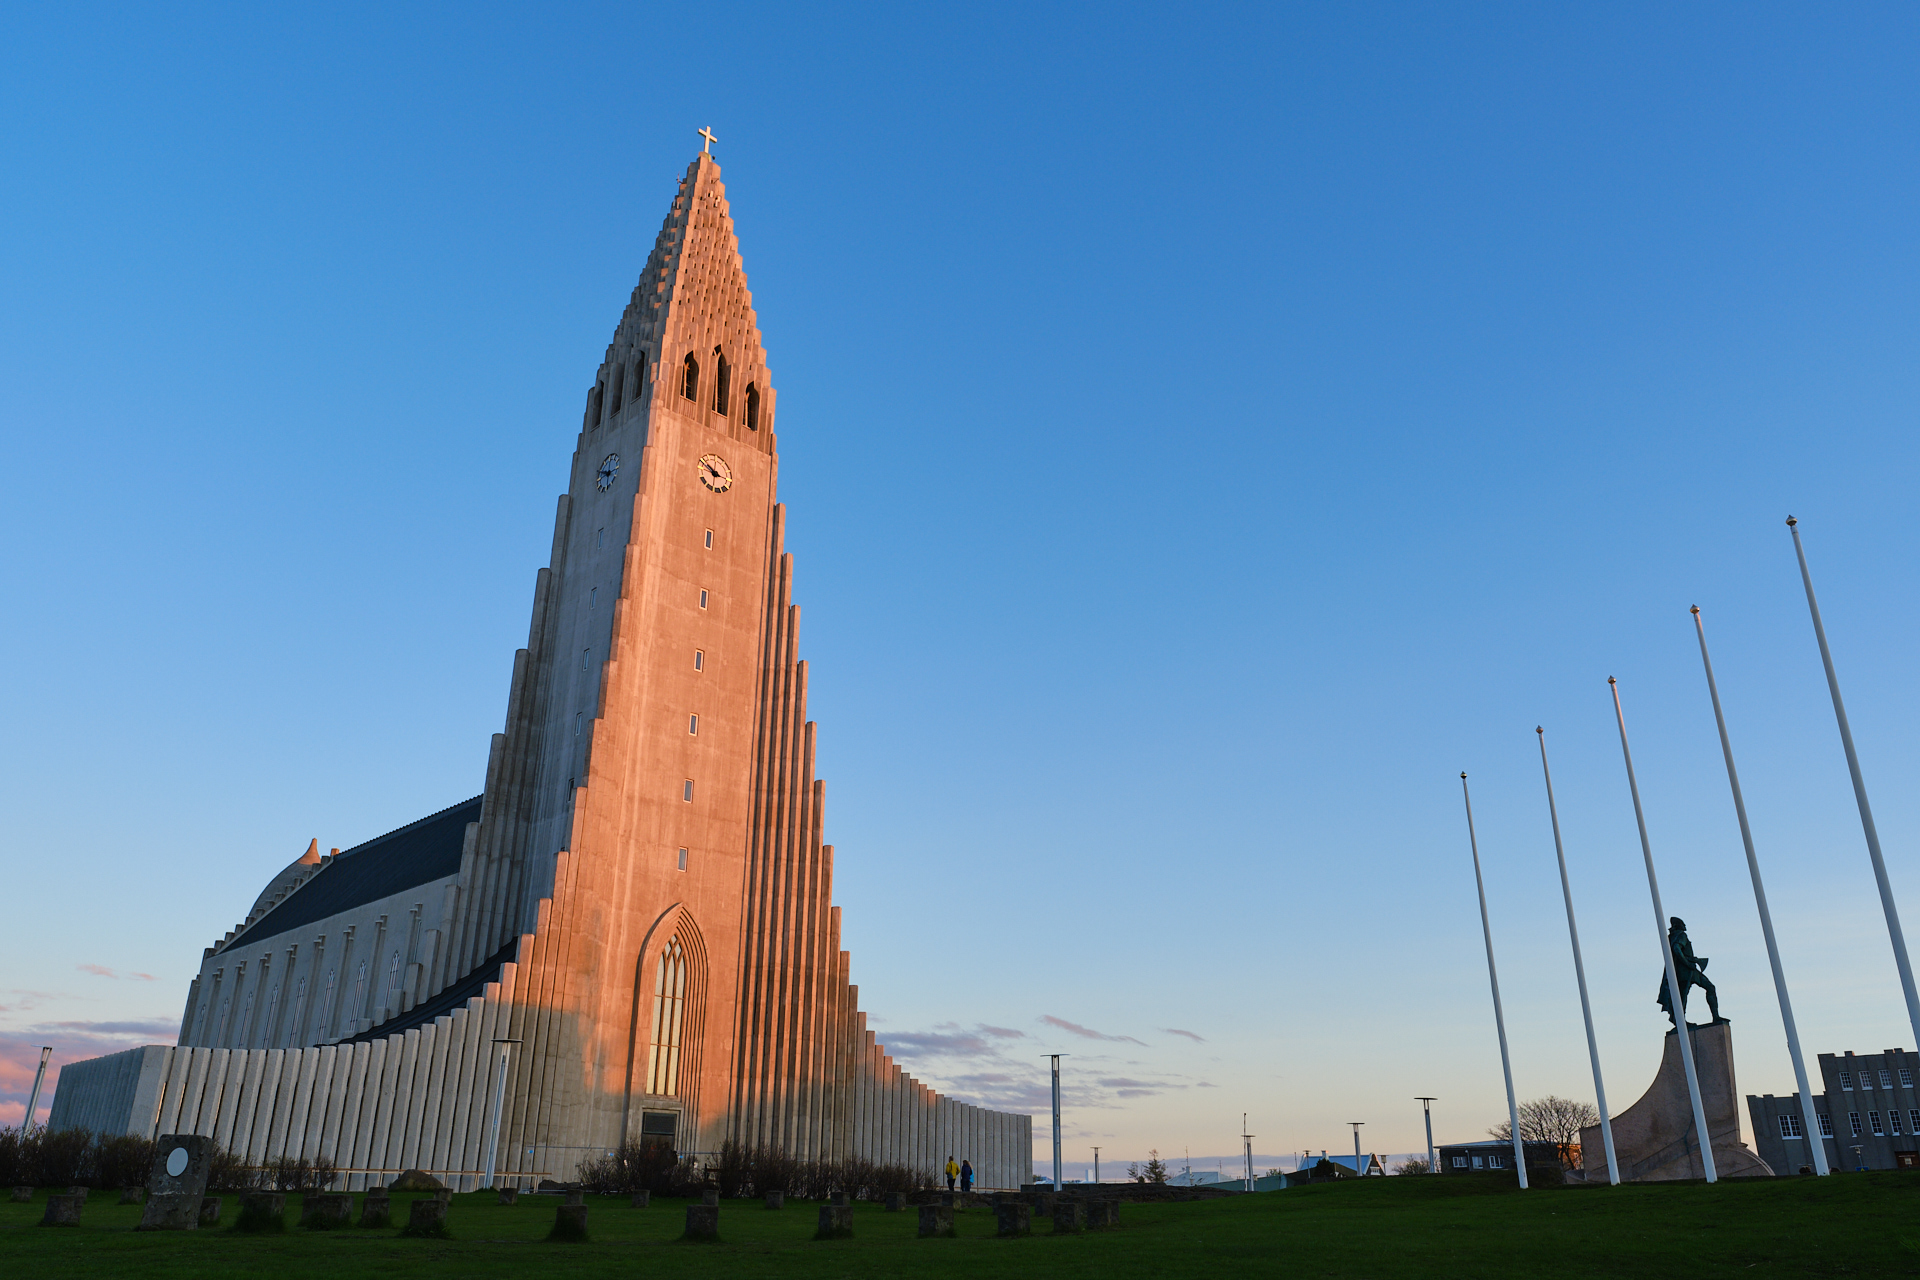
By the time we had checked in our hotel (Reykjavik Lights Hotel by Keahotels) it was already pretty late, but after a short (and expectedly expensive) dinner in the neighbouring pizzeria (Eldsmiðjan) I still walked into the centrum to catch the rays of the setting Sun (22:03) on the famous Hallgrimskirkja.

Thanks to the Northern location of Iceland the nights are already super short in May and it does never get fully dark anymore at this time of the year (hence the mentioned lack of – visible – aurora). On the way back to the hotel I still walked past the Sun Voyager, which looks very nice reflecting the colours of the dusk.

There are a bit more pictures on my Flickr. The story of the next days will follow.

From winter to spring

This February I turned 34. I have been writing this blog for approximately a third of my whole life… Crazy. Anyway, back to the story. So around my birthday I spent (with Clio’s help of course) around a week (mainly the evenings after work and one weekend) planning a two week road trip around Iceland. This involved 1) researching (mainly over Google Maps and blogs) all tourist attractions and putting them on an actual physical map, and 2) making a detailed day-by-day planning based on driving distances/durations and approximate sightseeing (walking/photography/nutrition) times for each location, parallel with 3) looking up suitable hotels/lodges for each day. For the 14 days this means a total of 84 rows of data (including ~63 sights outside of Reykjavik, 11 hotels, and 3200 driven kilometres) in an Excel/Numbers sheet. With the flights, rental car (a smaller 4×4), and accommodation included we saved around 50% of the price of similar packages offered by various travel agencies by doing everything ourselves. Of course now I have seen way too many spoilers thanks to Google Street View, but I had to do a bit of looking around anyway to plan a bit ahead in terms of photography locations and so on.

We are leaving on Sunday, so it is getting very close! By the way, we decided to go in May because 1) it is still before the super busy June-August main tourist season, and 2) May is – statistically, at least in Reykjavik – the least rainy and the most sunny month (even though there are more daylight hours during the summer), and it is only 4-5°C colder than the warmest month, July. Let’s hope we will not get a negative outlier May :)

The second half of February brought some very nice weather, so nice that right after the annual visit to the velodrome in Ghent (where from this year on there is digital time-keeping down to the 1/1000th of a second) I went for a ride outside in shorts (and arm warmers and a gilet, but still) before driving home with 132 km in my legs (including the fastest lap on the track from the team with 16.834 seconds, a good 0.5 seconds faster than the next person).

At work we had our annual company lunch at the Restaurant Arenberg this year, and even though it has a Michelin star, it is a bit too classic for my taste, so I still prefer the EssenCiel (where we went for Clio’s birthday last week) from the gastronomic places in and near Leuven. On the other hand the Easter chocolates of TML came from the Bittersweet Chocolatier this year, so it is confirmed: best workplace ever. On the same note, I have eaten so much chocolate during the past two weeks, that it really needs to stop. Luckily Iceland will be too expensive to eat too much, so there is still hope to keep my race-weight for the summer :D

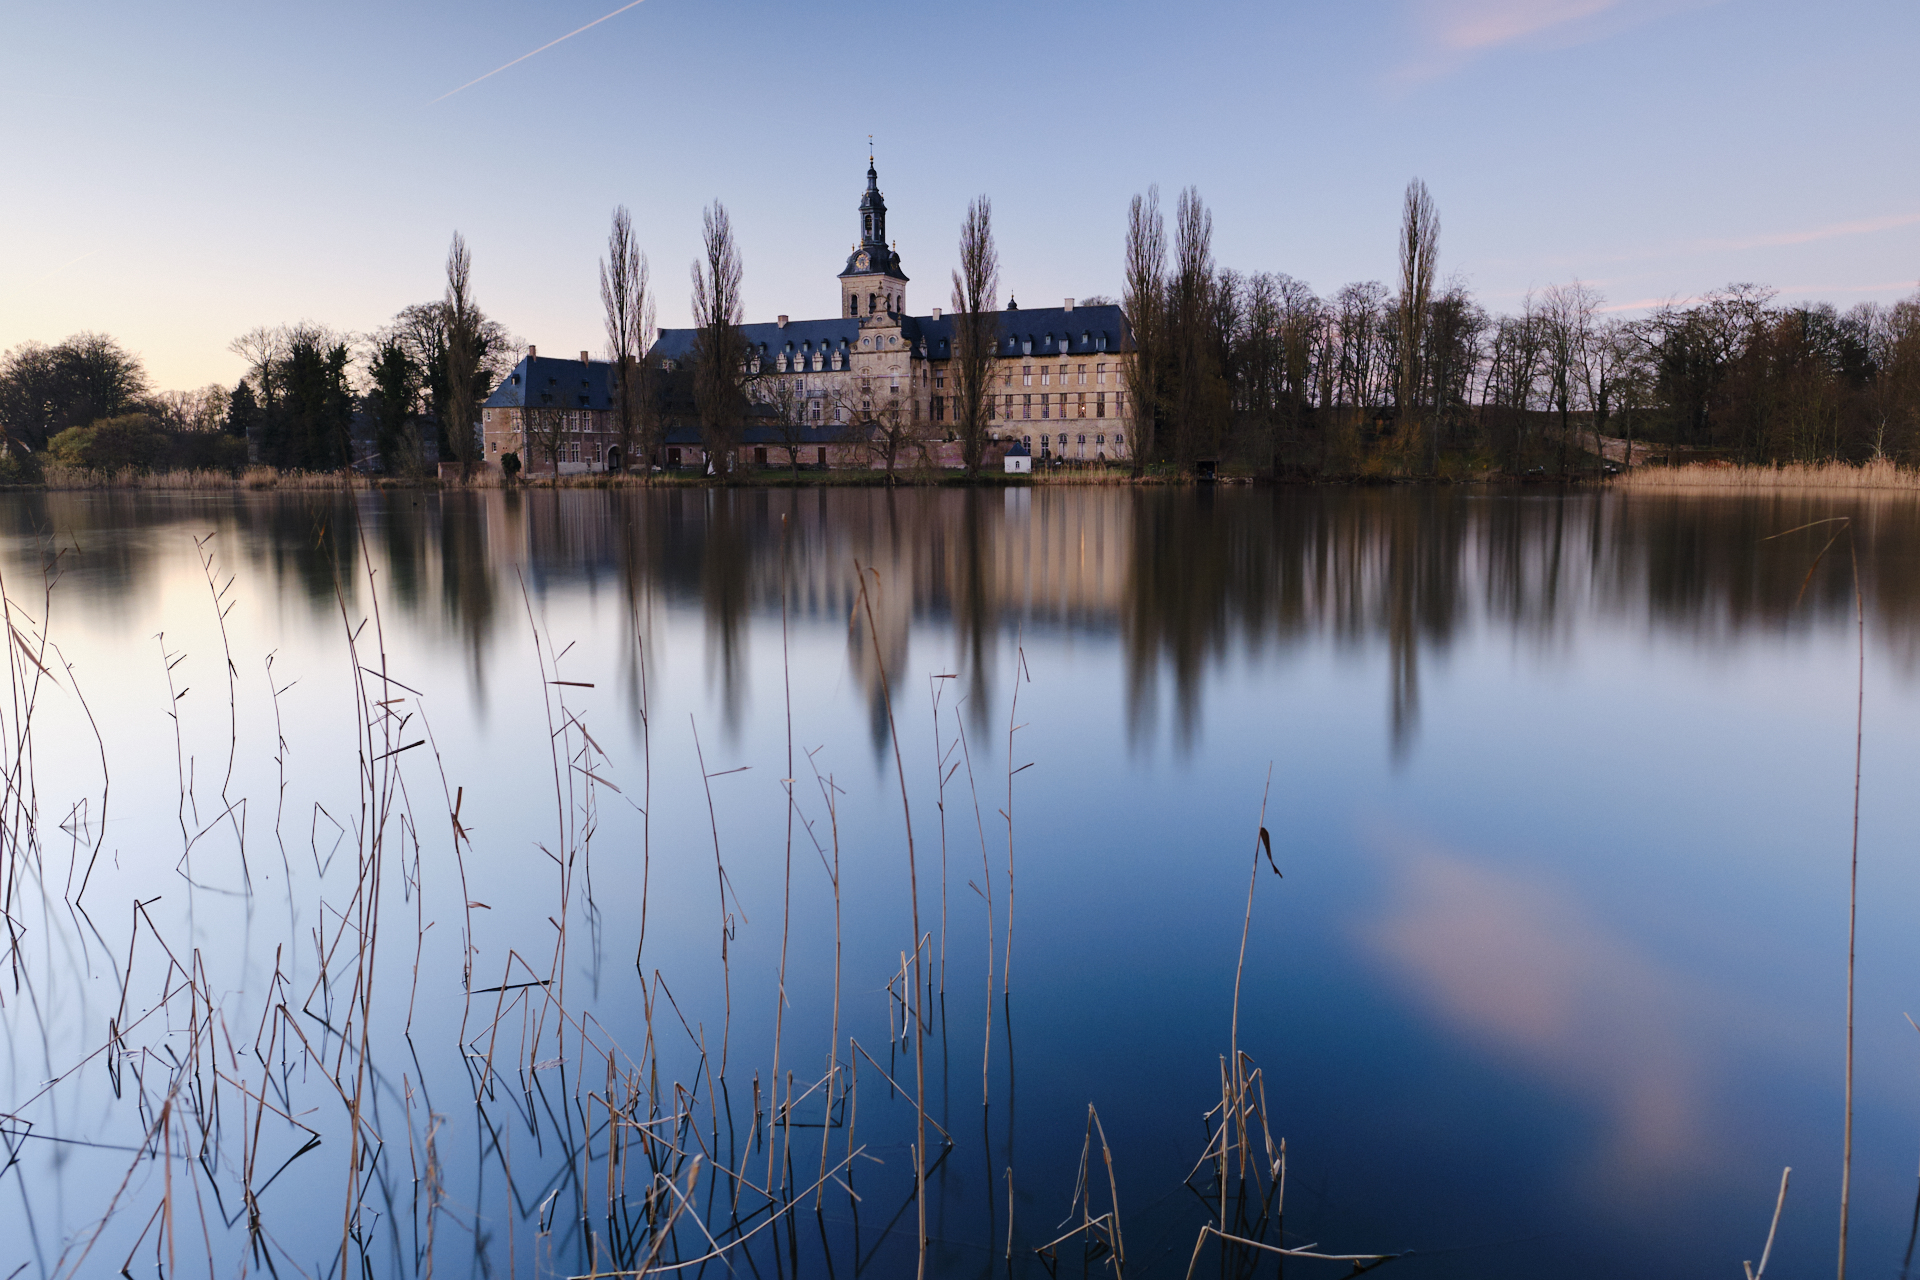
Preparing for Iceland I bought a NiSi filter system (basically for daytime long exposure shots, see example test-shot with silky smooth water from the nearby abbey above), a wide angle prime lens (Fujifilm XF 16mm f/1.4 WR), a backup camera for my Fujifilm X-T3 (a Fujifilm X-E3) and a small telephoto lens (Fujifilm XF 50mm f/2 WR). And a new carbon tripod (Manfrotto MT190CXPRO4), a camera bag (Lowepro FreeLine BP 350 AW), and some small accessories… Advanced stage GAS – Gear Acquisition Syndrome – I know. Truth be told, all my Canon gear (plus the old tripod and camera bag) is either already sold or up for sale, so overall, actually, I own less camera stuff now. (Still GAS.) Everything is already tested and packed nicely in the new camera bag (the whole kit fits perfectly, and the weight saving compared to my old Canon gear is significant), so really looking forward to Iceland now. The plan is to mostly use the X-T3 with the 16mm lens (this is a full weather-proof setup, so even in bad conditions I don’t need to worry about getting the camera out, and I like wide-angle landscape shots the most anyway), and get the X-E3 out with the 50mm lens only if I need to shoot some more distant details or a portrait. I don’t like changing lenses and I prefer the quality of primes over zooms, so this is perfect for me. I wish I did more photography, but cycling is still the number one hobby.

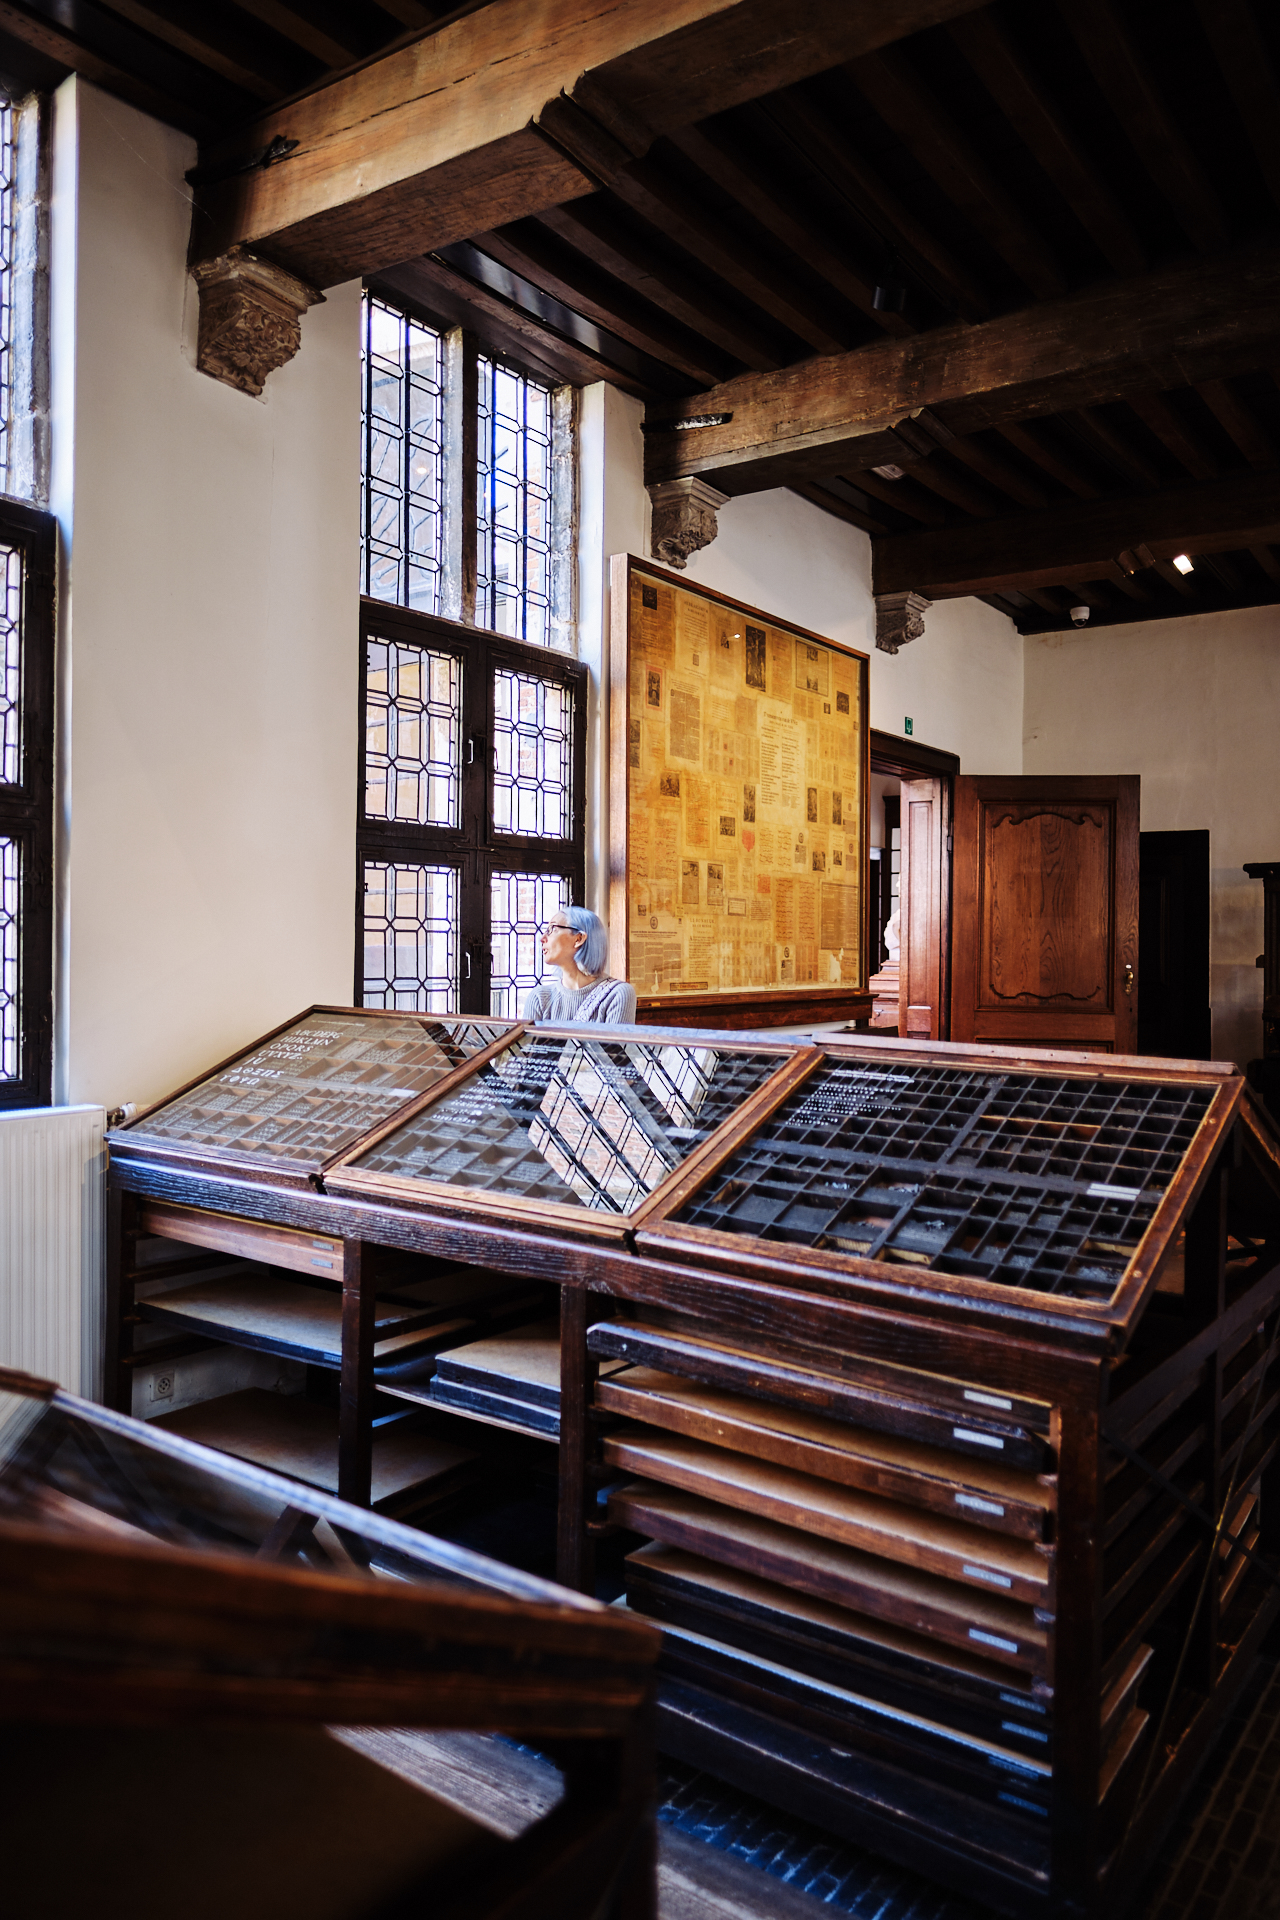
The first half of March had horrible weather (except miraculously for Saturday mornings at least, so I could bike a bit), then on the first better (meaning not constant rain) Sunday we went to Antwerp with Clio to visit the Plantin-Moretus Museum. It is a printing museum focusing on the work of the 16th-century printers Christophe Plantin and Jan Moretus, located in their former residence and printing establishment, the Plantin Press, and it is also a UNESCO World Heritage Site. Being a typeface-lover and map-geek, I had a really great time walking around the exhibits. Afterwards we made a small walk to the North to have a look at some of the new buildings, but the cold wind was not really suited for anything longer.

Back to work, in the beginning of April I wrote my first proposal outside of astronomy, and – after my steepest ride outside of the Canary Islands (with 3149 meters of elevation gained over only 134 km) – spent three days on a meeting/conference in slightly cold and rainy Aveiro (Portugal). Then winter came back (again) for a weekend (a ride in an average temperature of 2°C on the 14th of April, seriously?)  before the real nice warm spring arrived the week after. Luckily that coincided with the annual Tornado club-weekend, so we could have two beautiful days of cycling in the Southern Eifel region in Germany, with temperature above 20°C. I even had quite good legs (and the pace was friendlier than usual), so this year I was not at all the slowest on the climbs.

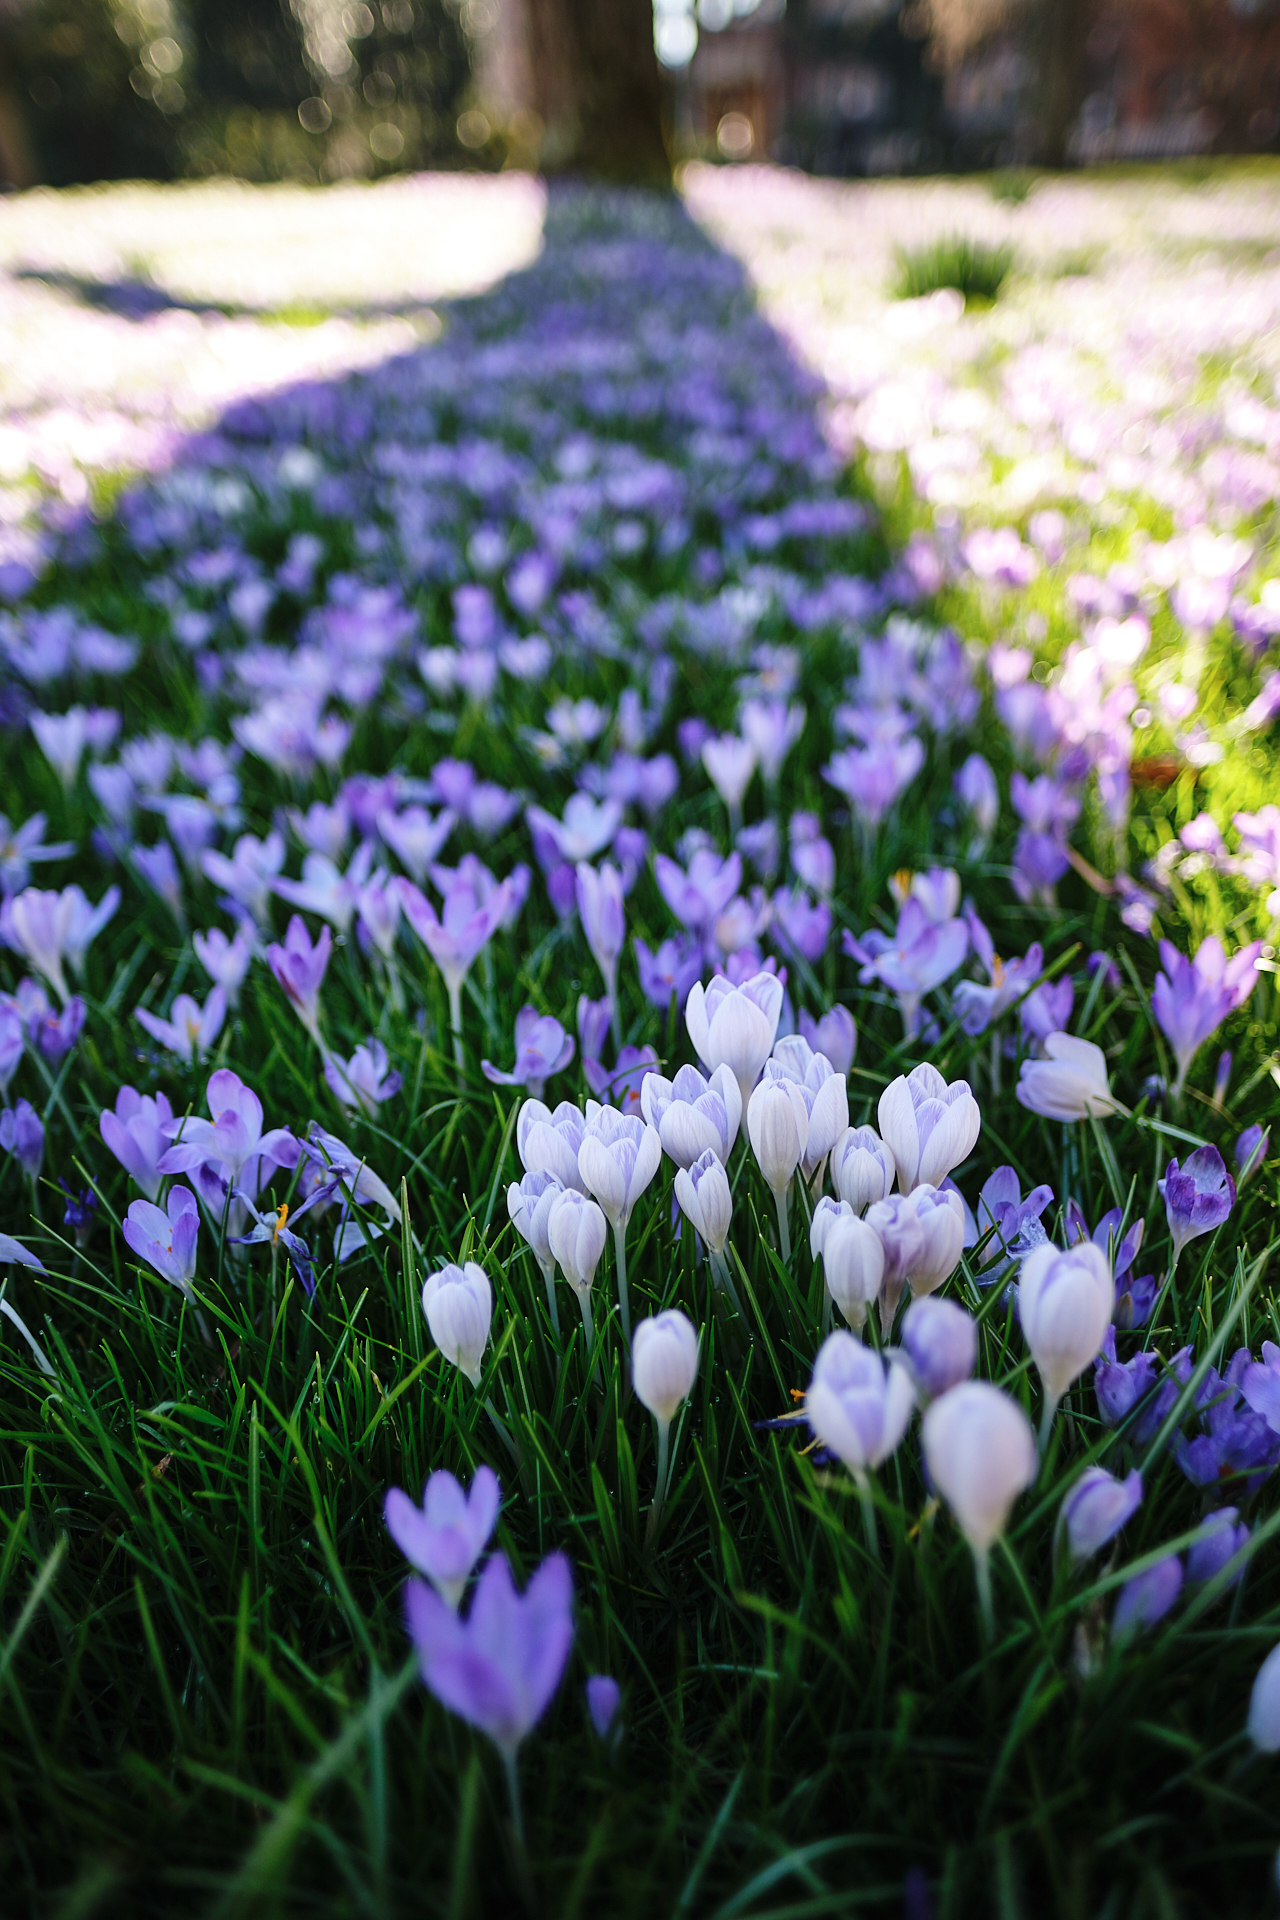
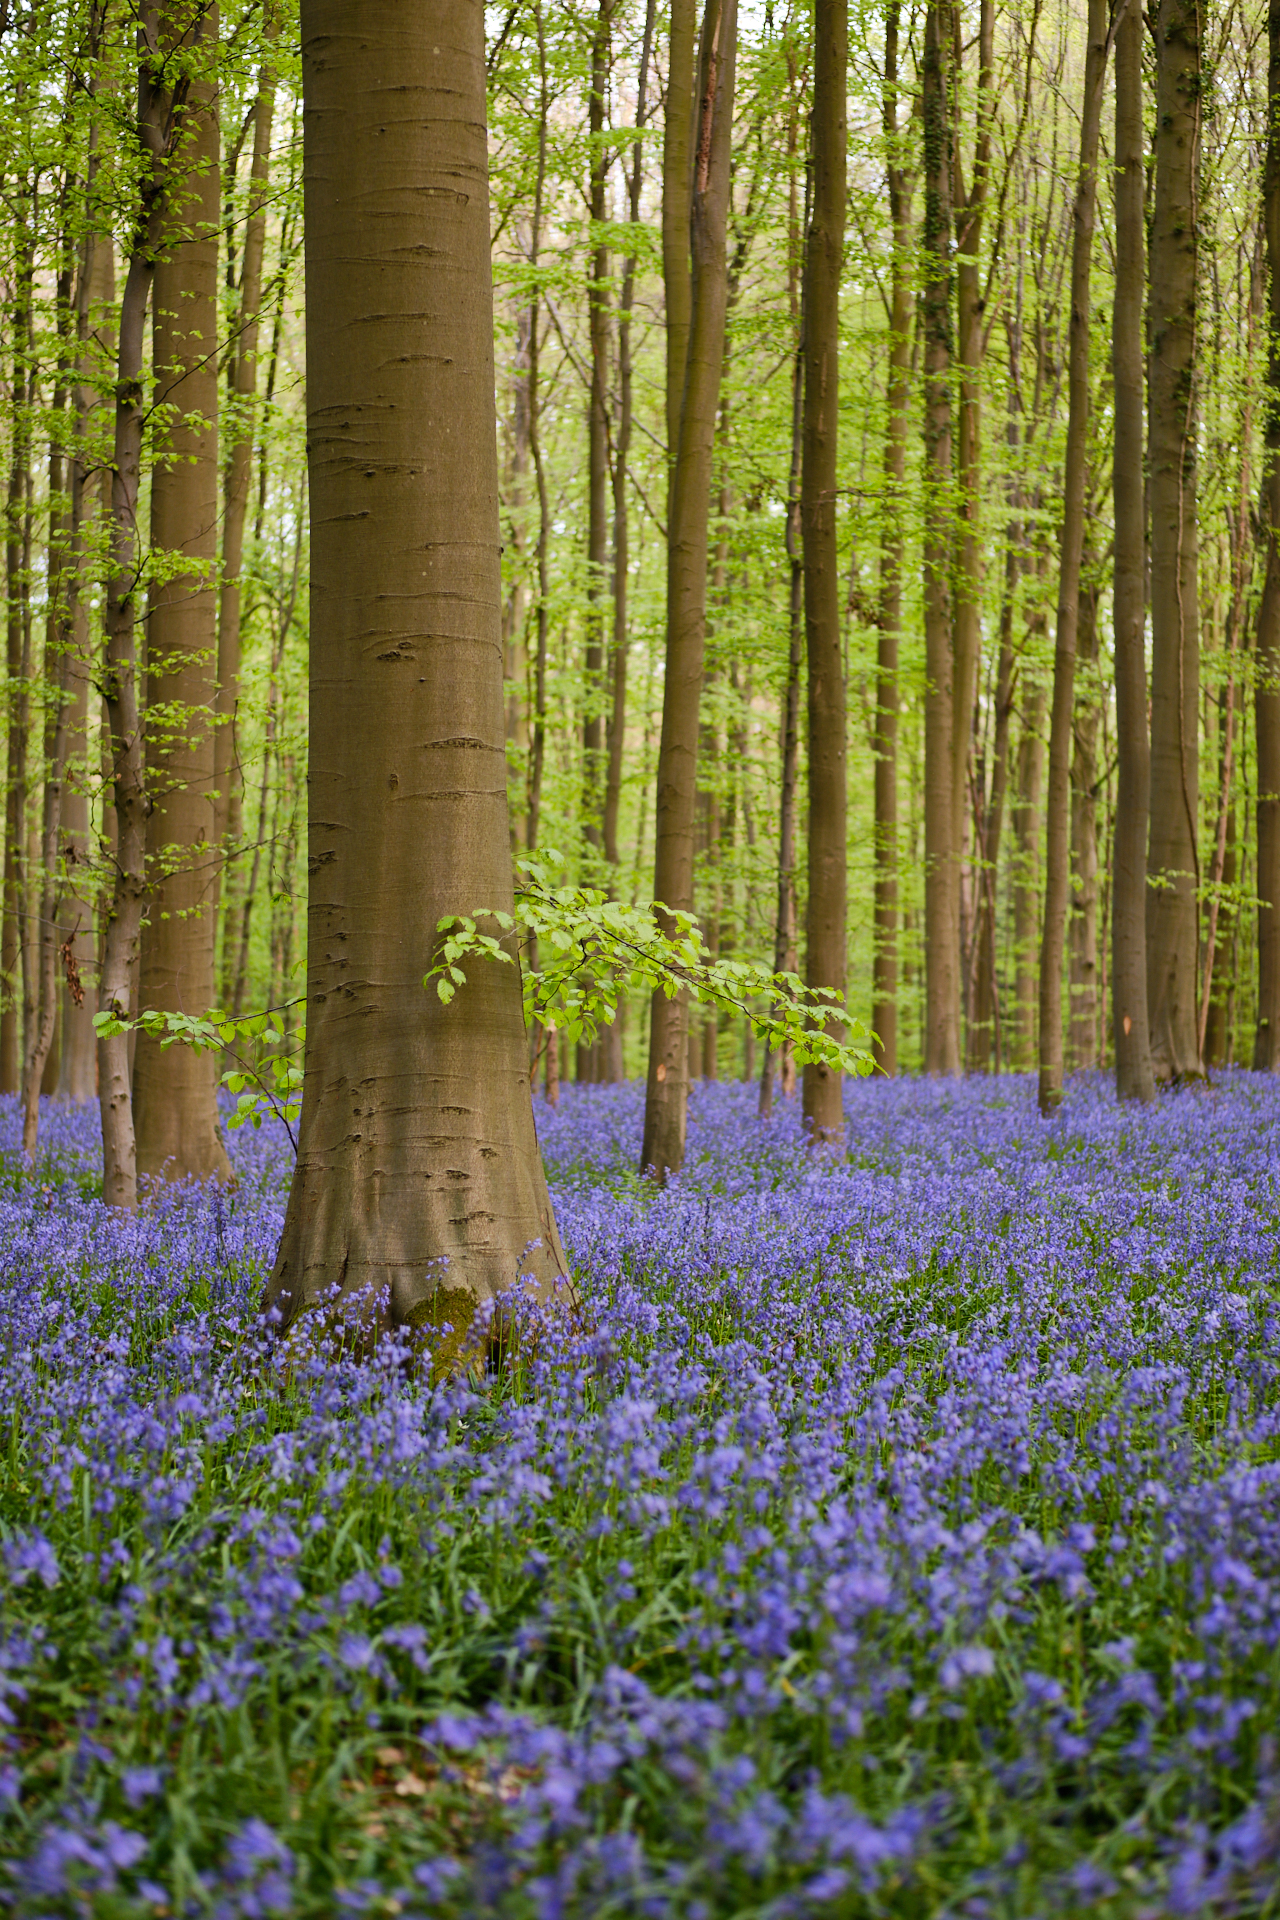
On Easter Monday we finally (as we have been planning this for years) went for a walk to the Hallerbos, to see the famous blue and purple carpet of the blooming bluebells. It was definitely worth it, but next time I should be less lazy and take my tripod too.

On the gaming front (besides FIFA 19) I have been playing quite a lot with the Division 2 lately (since I really liked the original Division too a few years ago, up to the point of having to stop because I felt addicted – this time I am taking it much more casual), and I also got Mario Kart 8 for the Switch for an occasional race against friends – as a holiday entertainment.

This time there will be no daily blog posts from the road trip, because it was super tiring in Scandinavia (even though I was happy that I did not have to process three weeks’ worth of photos afterwards), but I will post photos on social media every day, and when we are back there will be one or two posts with the ‘best of’ here too. Keep your fingers crossed for good weather!

Weather and air-quality monitoring system (an update after 1 year of operation)

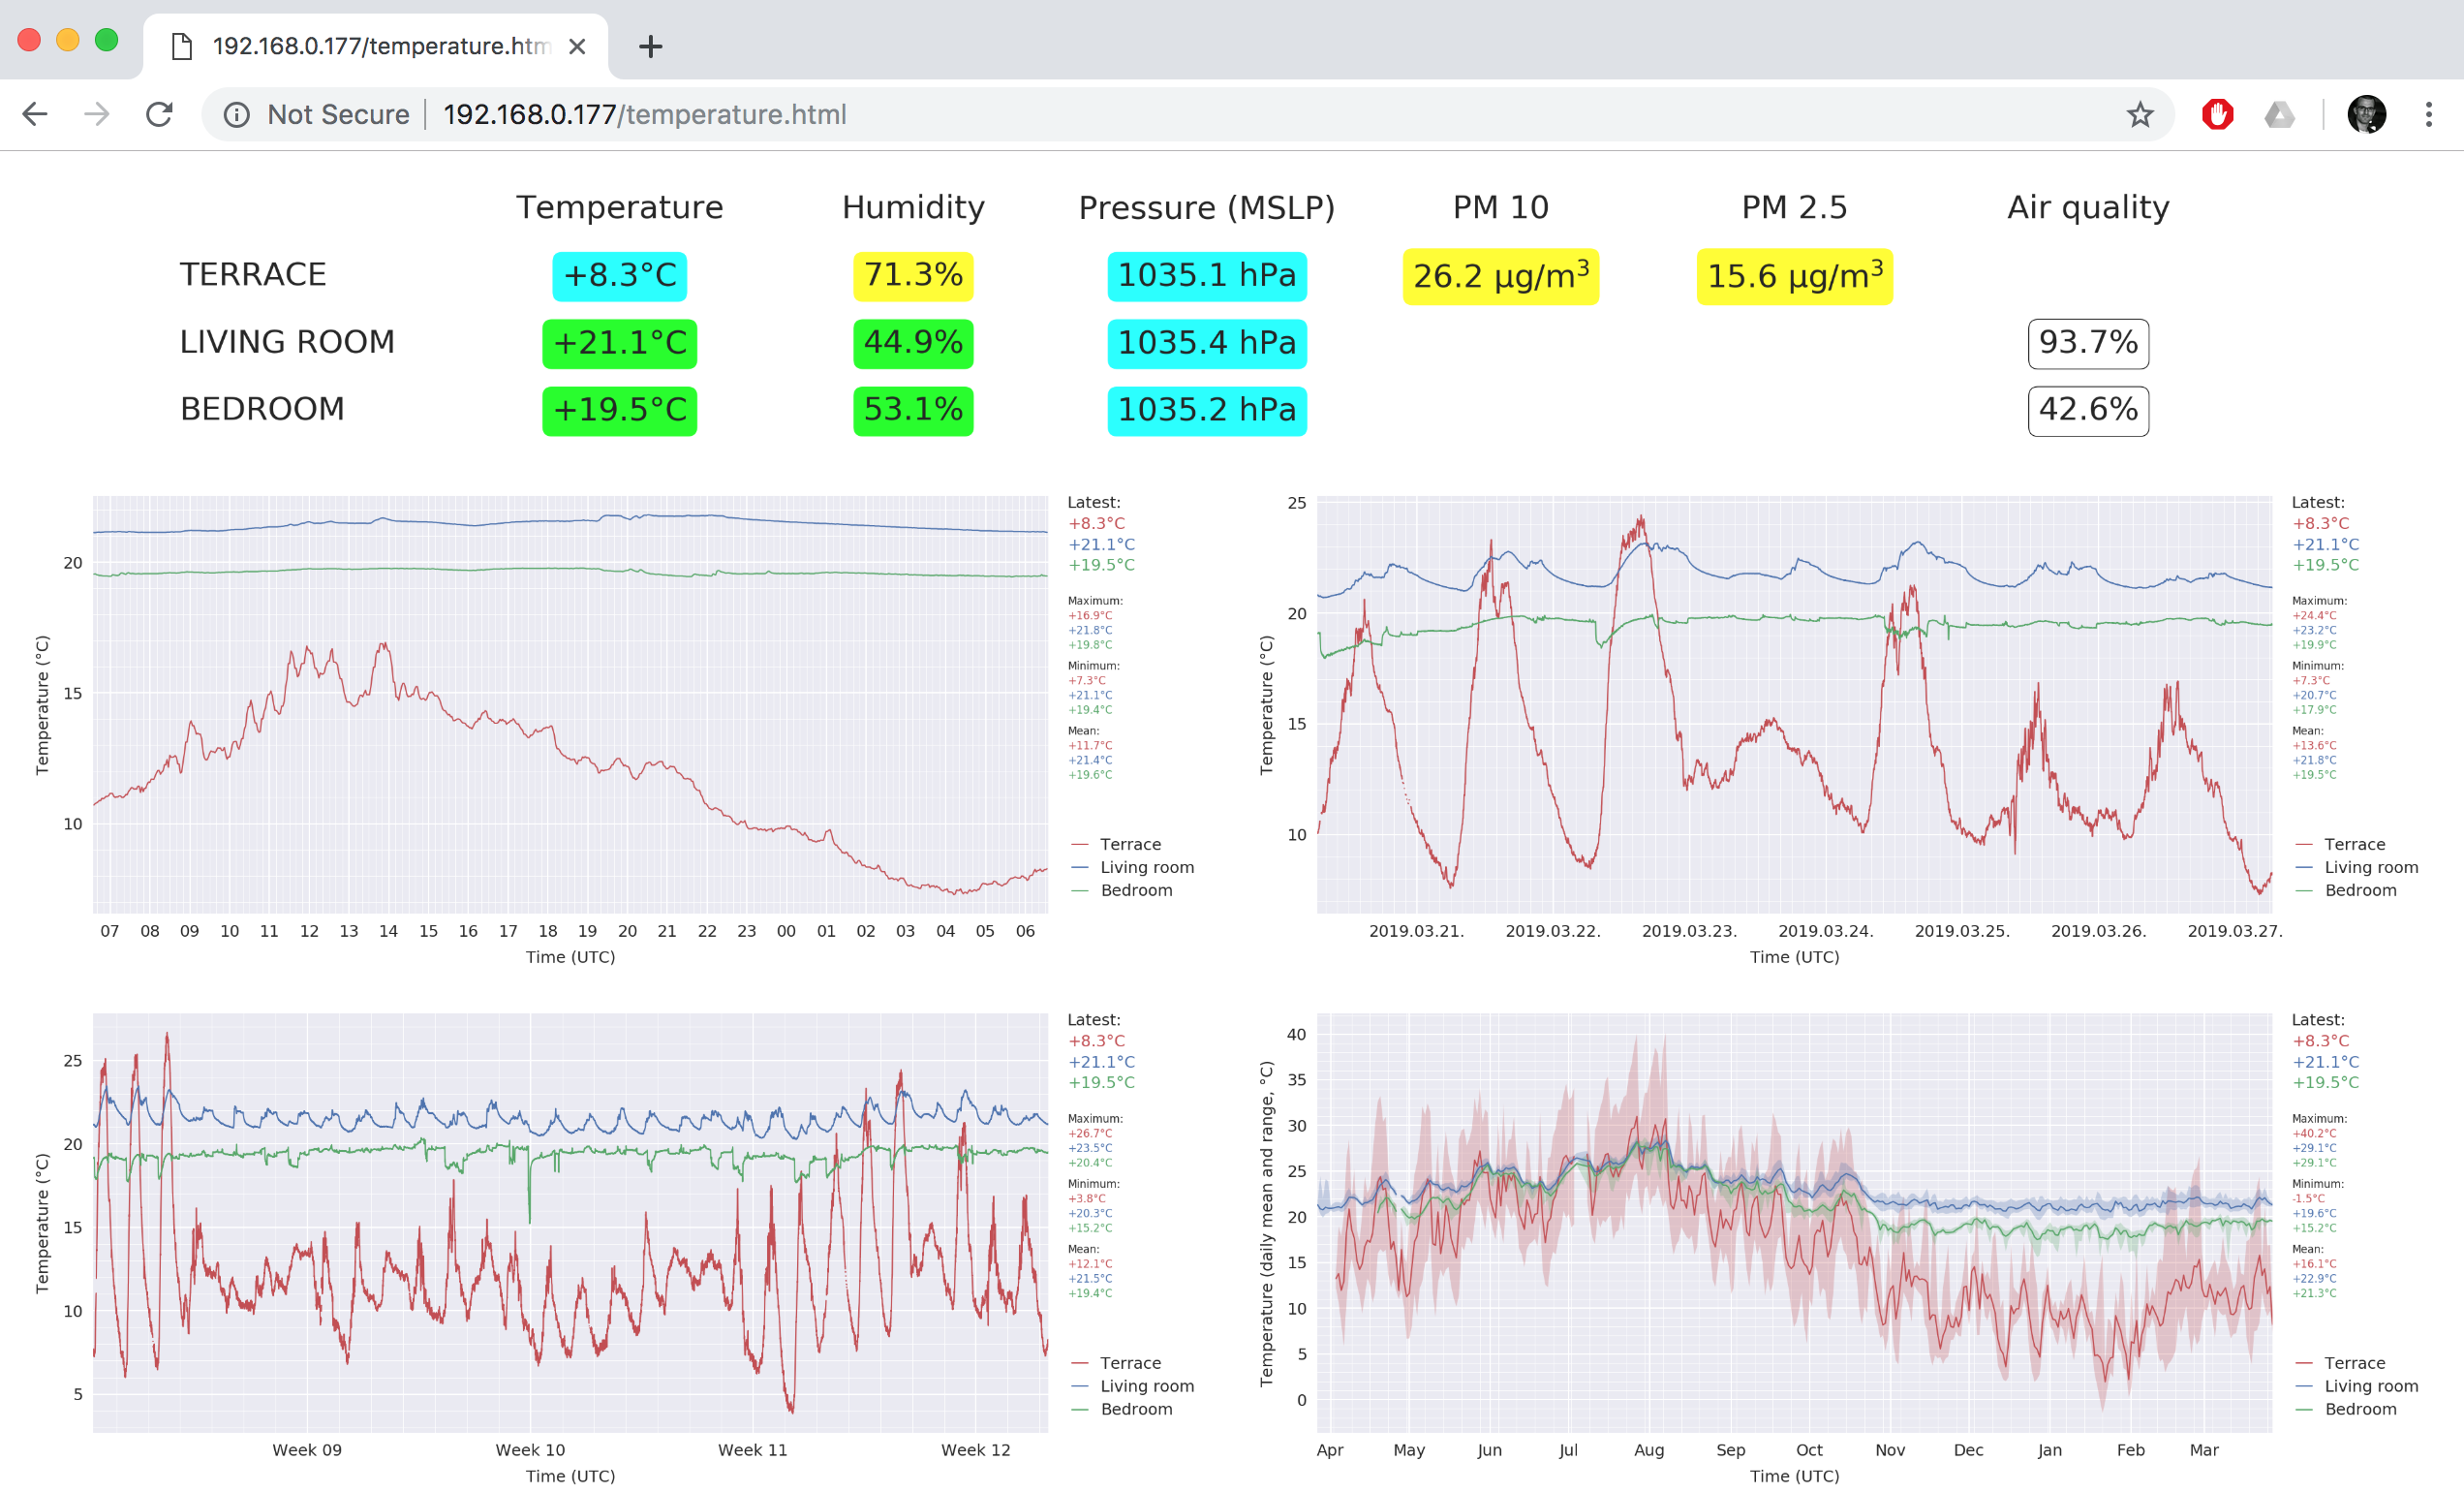
Those who still follow this blog (I am very proud of you, also, hi Mom and Dad!) might remember that a year ago I put together a small home-monitoring system. A few days ago it passed one year of recorded data on the longest active components (the fine dust concentration sensor and the indoor temperature and humidity sensor). Therefore I thought it might be interesting to give a small update on the status of the system, and how it performed on the long term. First of all, just for the show, here is the look of the monitoring dashboard after clicking on one of the temperature plots (by default the daily plots are shown for temperature, humidity, pressure, and fine dust concentration).

It is very satisfying that the ever-shringking gap in the beginning of the yearly plot is finally gone! So what are the main changes I made during the past 12 months? First of all, the “Wireless indoor sensor 1” in the living room got upgraded to the same model as the “Wireless indoor sensor 2” was in the bedroom, meaning that I replaced the DHT22 sensor in the living room with a BME680 sensor. Since then (12 September 2018) I have pressure and air quality measurements from the living room too, and most importantly, the temperature measurement is reported with a 0.01°C resolution (instead of the 0.1°C before). This actually makes a big difference in nicely recording the smooth cooling and warming cycle during the day.

On the plotting front I switched from displaying the raw data in the yearly plots to only plotting the daily averages and the minimum/maximum ranges, because the raw data was just too busy to look at. (Note below how the more-or-less stable indoor temperature of the heating-season differs from the warm summer months where outdoor temperature influences the indoor temperatures very strongly. Also, during the heating season there is a constant temperature difference between the living room and the bedroom – where we never turn the heating on and open the windows often even during winter -, while this difference disappears during the hottest months as the walls of the building get warm.)

Most of the time the system works perfectly fine with zero down-time. As you can see above, there was only one week in July when the system was down, as the result of a power outage just after we left on holidays. I think there was a conflict with the IP addresses distributed by the wireless router after the power came back online, so even though both the wireless sensors and the Raspberry Pi rebooted just fine, the RPi did not get its preferred IP address (something else got it instead – unluckily this can happen when you have a ton of wireless devices and a router from an internet provider that does not allow fix IPs). Therefore the wireless sensors could not connect to the RPi and that kind of screwed everything up, because the script running on the RPi can not handle not receiving any data from those (I know, bad programming). It still happens once in a few months that the wireless network needs a reboot, but most of the time the whole system just works, so overall I am satisfied with it.

Maybe the only real annoyance is that the data from the outdoor sensors is actually read from the server of https://luftdaten.info and not received directly via MQTT like it is done with the two indoor wireless sensors. This is because the outdoor sensor setup is not my own creation but part of a citizen science project with its own firmware that does not support the MQTT protocol, so setting up any kind of direct access would be way too complicated (for me, and for the amount of time I am willing to invest in this). As a result there are – although quite infrequently – periods when getting data from the server is difficult because the API becomes very slow (because of heavy load on the server), and that can result in missing some data points…

Standert Triebwerk Mach3 – custom steel road bike build

I was thinking about building a custom titanium or steel bike for a while already (partly motivated by this article too), but so far I always settled for buying a factory model from Canyon (with admittedly zero regrets). But after riding the Canyon Endurance CF SLX DISC 9.0 SL for a half year, I realised something: there are no upgrades possible from such a top-of-the-line model (and really, I would not even want anything else, this bike is a dream to ride), so if I want another bike at one point, then I could go for a totally new experience this time. So the idea of building a bike from scratch was born.

I wanted to experience how building a bike and picking out all the right components makes me feel like. And I also wanted to build a bike that is simply very pretty to look at :) I was sure that I want something more classic looking (so externally routed cables and rim brakes), but I was not really decided between titanium and steel for quite a while. I did not want to buy a too expensive frame set, because I knew that I would still pour way too much money into the rest of the components, so I was looking at more reasonably priced options.

At the end I choose the Triebwerk Mach3 frame from Standert, for multiple reasons. The frame had a very similar geometry to my previous road bike (the Canyon Ultimate CF SL 9.0 Di2), it was metallic blue, was very classic looking with minimal branding (plus a waving kitten), and most importantly it came with high-quality Chris King parts (headset and bottom bracket). Also, it was possible to ask the Chris King parts in matte punch colour (a.k.a. pink). I bought the frame in October right after selling the Ultimate for a still very good price.

First I just wanted to put on the lightest possible components and some light and cheap HUNT wheels, but soon I made up my mind and decided that I will go for the maximum bling-factor, letting the costs and weight go a bit higher, but creating something that I can be fully satisfied with. This meant having wheels also built from scratch, using matching coloured Chris King hubs (that cost a fortune, and takes ages to have them delivered from the USA). At the end I went almost 50% over the initial price limit, but luckily it took me almost 3 months to get all the components, so it did not feel so bad after all. I had the wheel itself built up by the owner of Fietsen King, whom I already known from earlier (via biking, Instagram). (They also cut my fork at the end, but these were really the only things that were done by someone else than me.)

The easiest part of the puzzle was choosing the groupset: since all my other bikes have SRAM components, and I wanted the lightest option, there was no question that it will be SRAM Red 22. (Originally I was not going to put a power meter on, but then I could not resist so this purchase was further inflated by a SRAM Red DZero crankset).

Deciding about the chainring and cassette combination took a bit more time, but at the end I went for a 50/34 combined with a 11-30, since it gives the same easiest gear as the 52/36 & 11-32 on my Endurance (which I really appreciate on the steepest climbs), but it has a better coverage in the 30-32 km/h range (I don’t really like the big jump from 52/22 to 52/19 on the Endurance, here in the same range the jump from 50/21 to 50/19 is nicer, overall the spacing on the 11-30 cassette seems better to me than on the 11-32).

My tire choice is the quite unknown Continental Grand Prix Classic. Originally I just wanted something else than the Vittoria Corsa tires that everybody else is putting on their classic looking bikes, but then I also realised that the darker brown sidewalls of the GP Classic go really well with the matte punch and blue colour combination too.

I did not want to mess with my saddle so I stuck with the Fizik Arione (although went one level higher with the R1 model), and when your saddle is Fizik then your bartape needs to be Fizik too, where I went with the newly released Vento Solocush Tacky (after I noticed that my original choice – the Superlight – had white backing that was totally visible from the side…).

Picking out the handlebar, stem, seat post combo was a bit more nerve wrecking, mostly because (… long story short …) I am a way too difficult person. But seriously, I just wanted something relatively light, with matching looks, without visible branding. At the end I ended up with Zipp parts, and while I was considering Ritchey and Fizik part too, these were the cleanest looking ones thanks to the black on black branding (that is called beyond-black by Zipp). I went for carbon only for the handlebar, because a) I don’t like too much flex under my saddle and b) I wanted the same metallic black stem and seat post (but the extra comfort for the hands is welcome). A minor complication was that the first stem that I received had a minor scratch on it, so I had to get that exchanged…

The remaining small choices were the pedals (just picked the lightest Look pedals just like for my Endurance), the bottle cages (what else than the famous titanium King Cage), the headset spacers (matching Chris King ones), and the mount for my Wahoo BOLT (K-EDGE Aero Race Mount, simply because a metal mount goes better with a steel bike than the original plastic one).

I have a big (top secret) Excel (ok, Numbers since we are Mac users, at home at least) spreadsheet containing all the parts with their official weights, price, description, webstore-link, etc., so I know exactly how much the bike cost (ouch). Since weights reported by manufacturers are notoriously inaccurate, and/or do not include parts like cables, housing, the Chris King parts in the frameset, etc., I also measured everything by myself so I know the actual weight too very accurately (confirmed by total weight measurements just before cabling and at the end). The weight is 7762 grams without pedals, bottle cages, and the Wahoo mount (for people new to cycling, that is how people measure bike weights), while with everything included it is 8120 grams. For a steel bike this is quite nice, especially given that the wheels are not even near the lightest (you could easily gain another 300-400 grams there, but I preferred a more bomb-proof configuration), so I am quite satisfied.

Building the bike up was actually pretty easy, I got only delayed by a few things. First of all, the bolt of the front derailleur: the original SRAM bolt is a proprietary bolt that serves as a female part for the smaller bolt that fixes the chain catcher to the whole setup, but this bolt only works with SRAM derailleur clamps. Now SRAM clamps only come in 31.8 mm and 34.9 mm diameter, but my tubing diameter is 28.6 mm, so I have a custom clamp. Therefore I needed a new bolt, and a new chain catcher, which was all-in-one solved by simply buying a K-EDGE Chain Cather. Then there was the already mentioned incident with the original ugly-looking bar tape (the new one looks so much better, I am glad I did not stick with the original choice), and the fact that I managed to cut the last cable housing too short, and I ran out of cable housing so I needed to order a full set just for that. Also, while everything was quite easy with a multitude of manuals and YouTube videos online, guiding the cables in a symmetric and tidy way took quite some effort, but at the end I was very happy with the result.

While I will have to wait with the first ride of the bike until the weather gets considerably better (as I don’t want its first experience to be a salty water bath), it looks perfectly as I imagined, and that is already something. (I also sat in the saddle once and the position also felt good, but this is not surprising after the mentioned geometry-similarity with my earlier bike.) My only minor complaint is that I feel like that the shifter cable towards the rear derailleur is guided way too close (at the closest point there is less than 1 mm of clearance) to the chainstay, so I had to put cable donuts there too, but there is nothing I can do about that. I had a great few months planning and building this bike, I hope it will also be as nice to ride it on the road. All my cycling friends that own a steel bike speak super positive about their ride qualities, so I am sure it will be worth the wait.

The bike even got picked by the guys at the Global Cycling Network as a supernice bike! (Although this is not such a huge achievement, given what kind of bikes they give the supernice badge sometimes…)

Update after 4 rides with the bike: I am happy to report that the bike rides as good as it looks, I have totally fallen in love with it. Now I understand what people mean when they talk about the special ride quality of (modern) steel bikes. I was a bit afraid while building up the bike that I was spending way too much money on a fancy looking bike that I might not even want to ride that much, but that feeling is totally gone now. I even think that if I was allowed to keep only one of my bikes, then I would pick this one over the Canyon. I am also happy that after some small adjustments on the front derailleur, the chain catcher’s position, and the pre-load adjuster of the crankset during the first two rides, everything works super smooth and without any unwanted noise, so I must have done a good job assembling everything. (Of course now I don’t know which bike to take to France, so I will probably take both…)