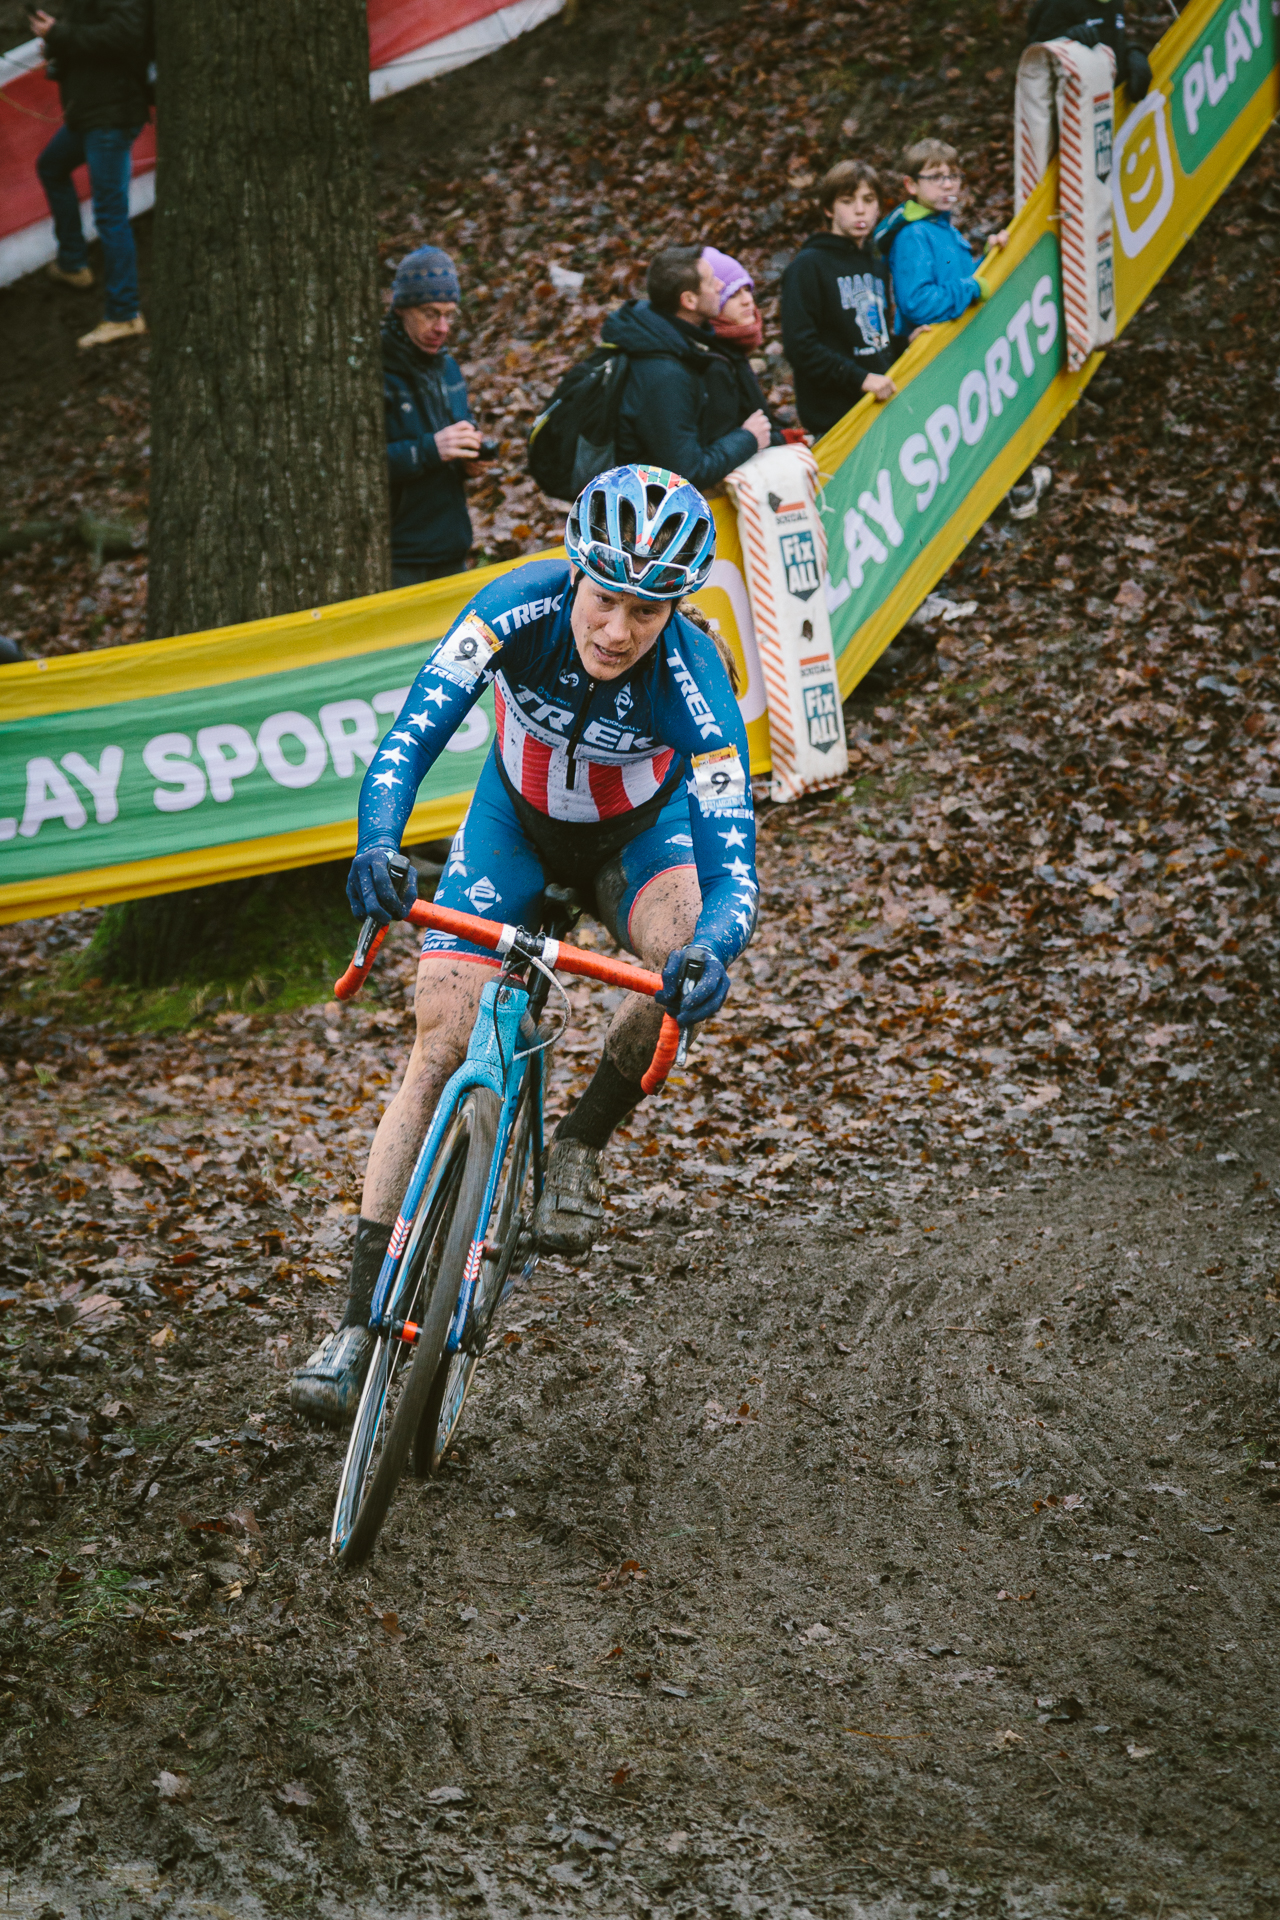
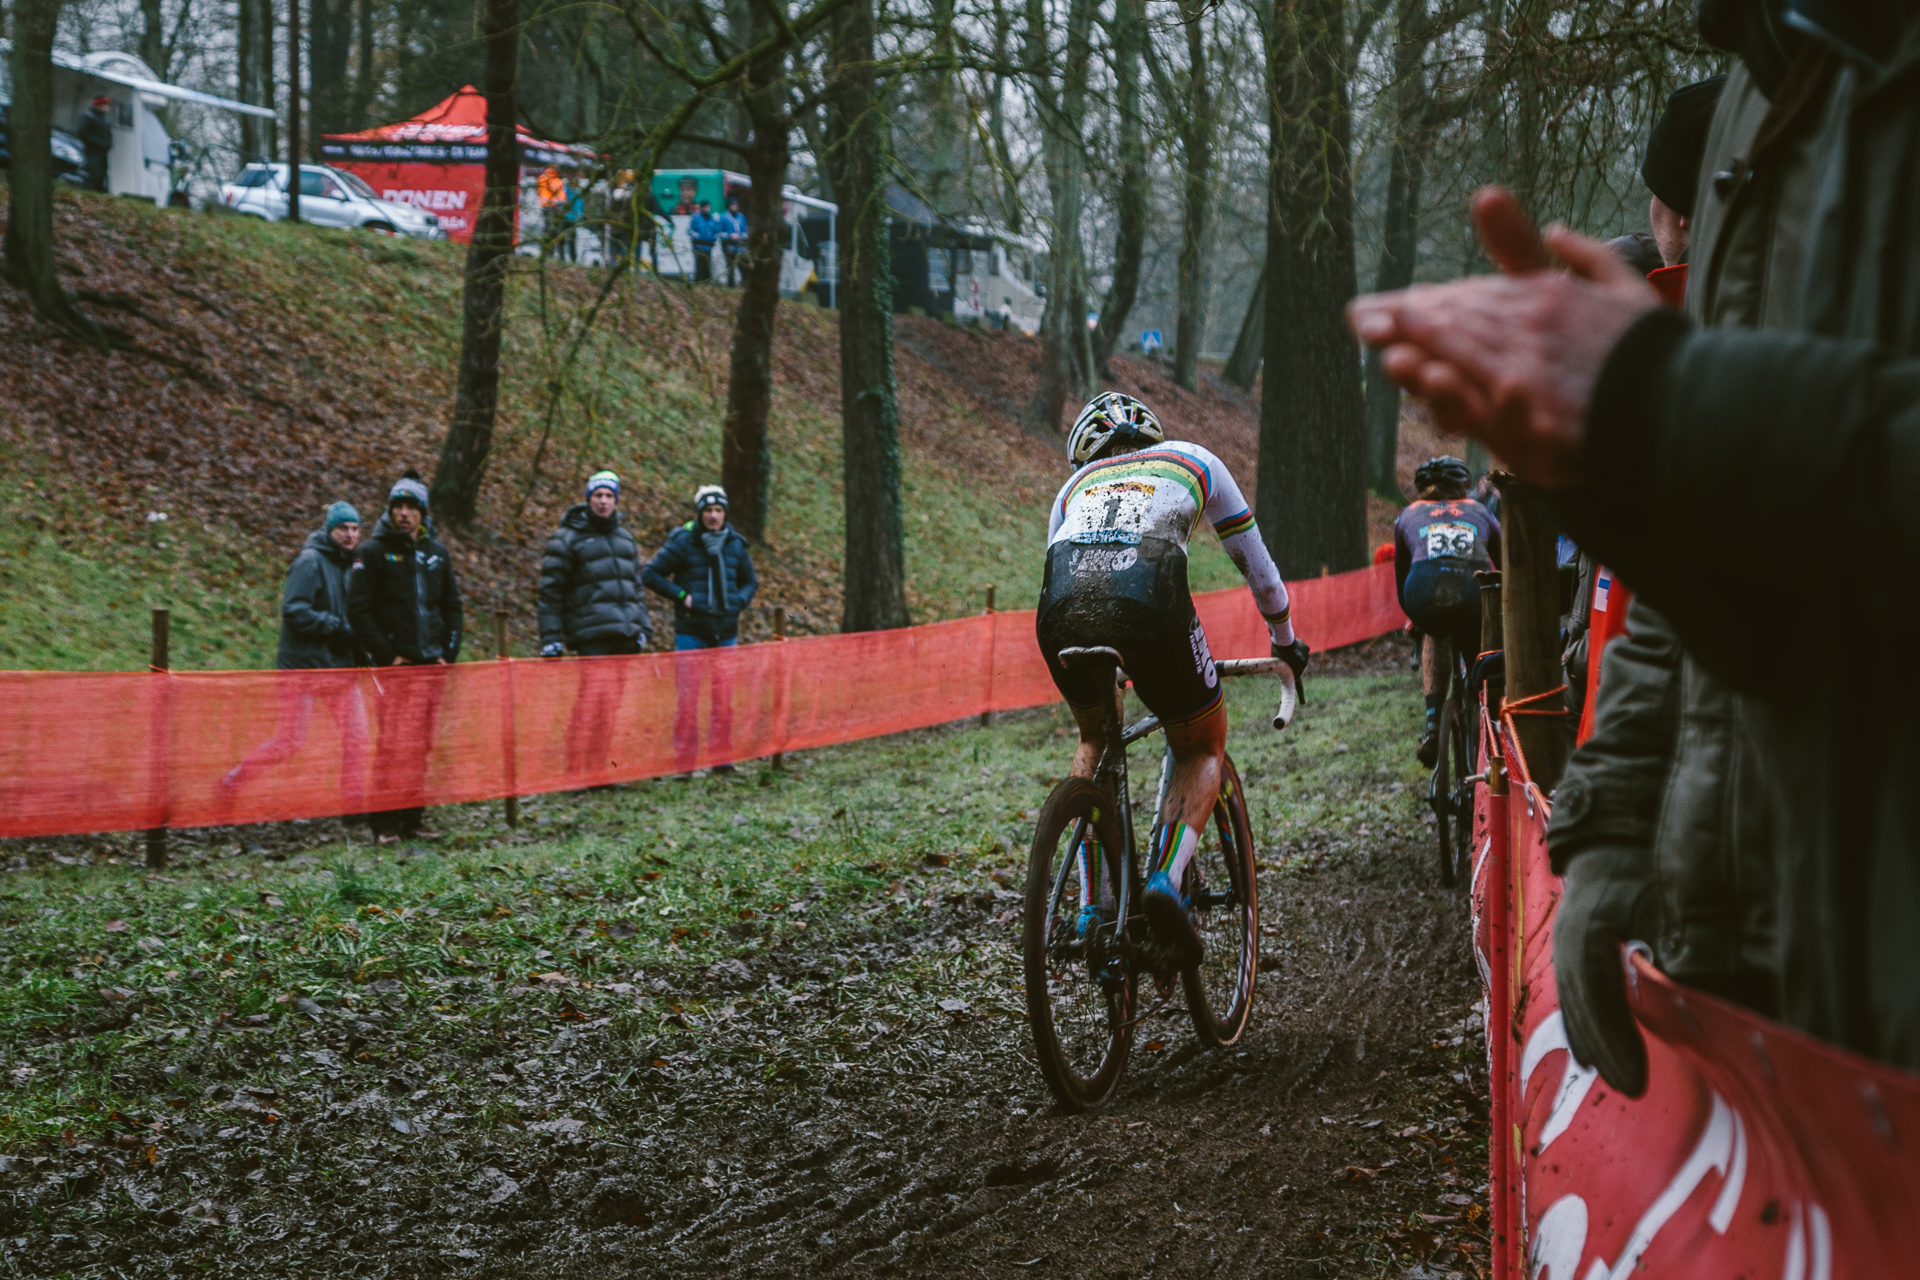
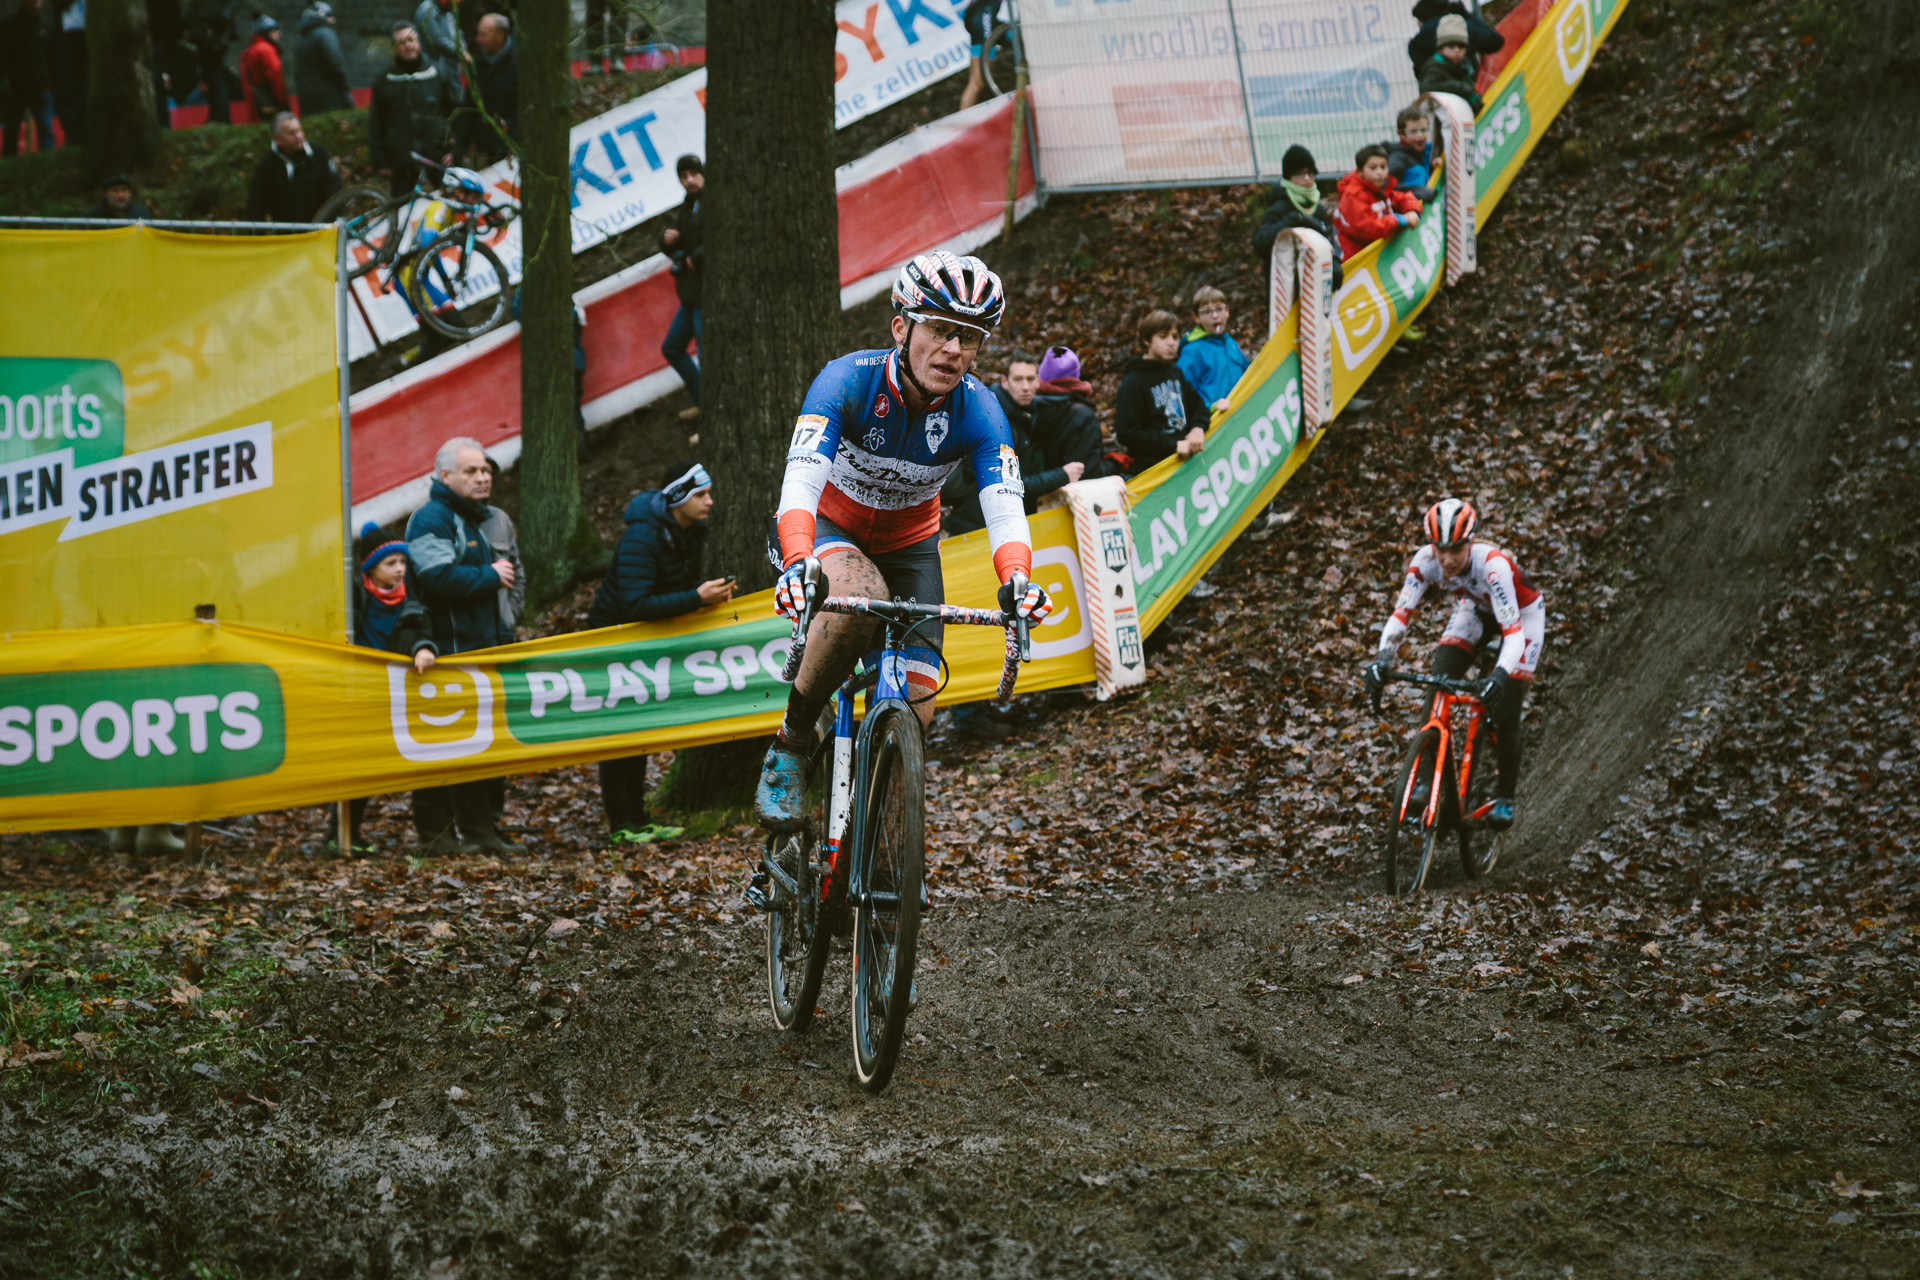
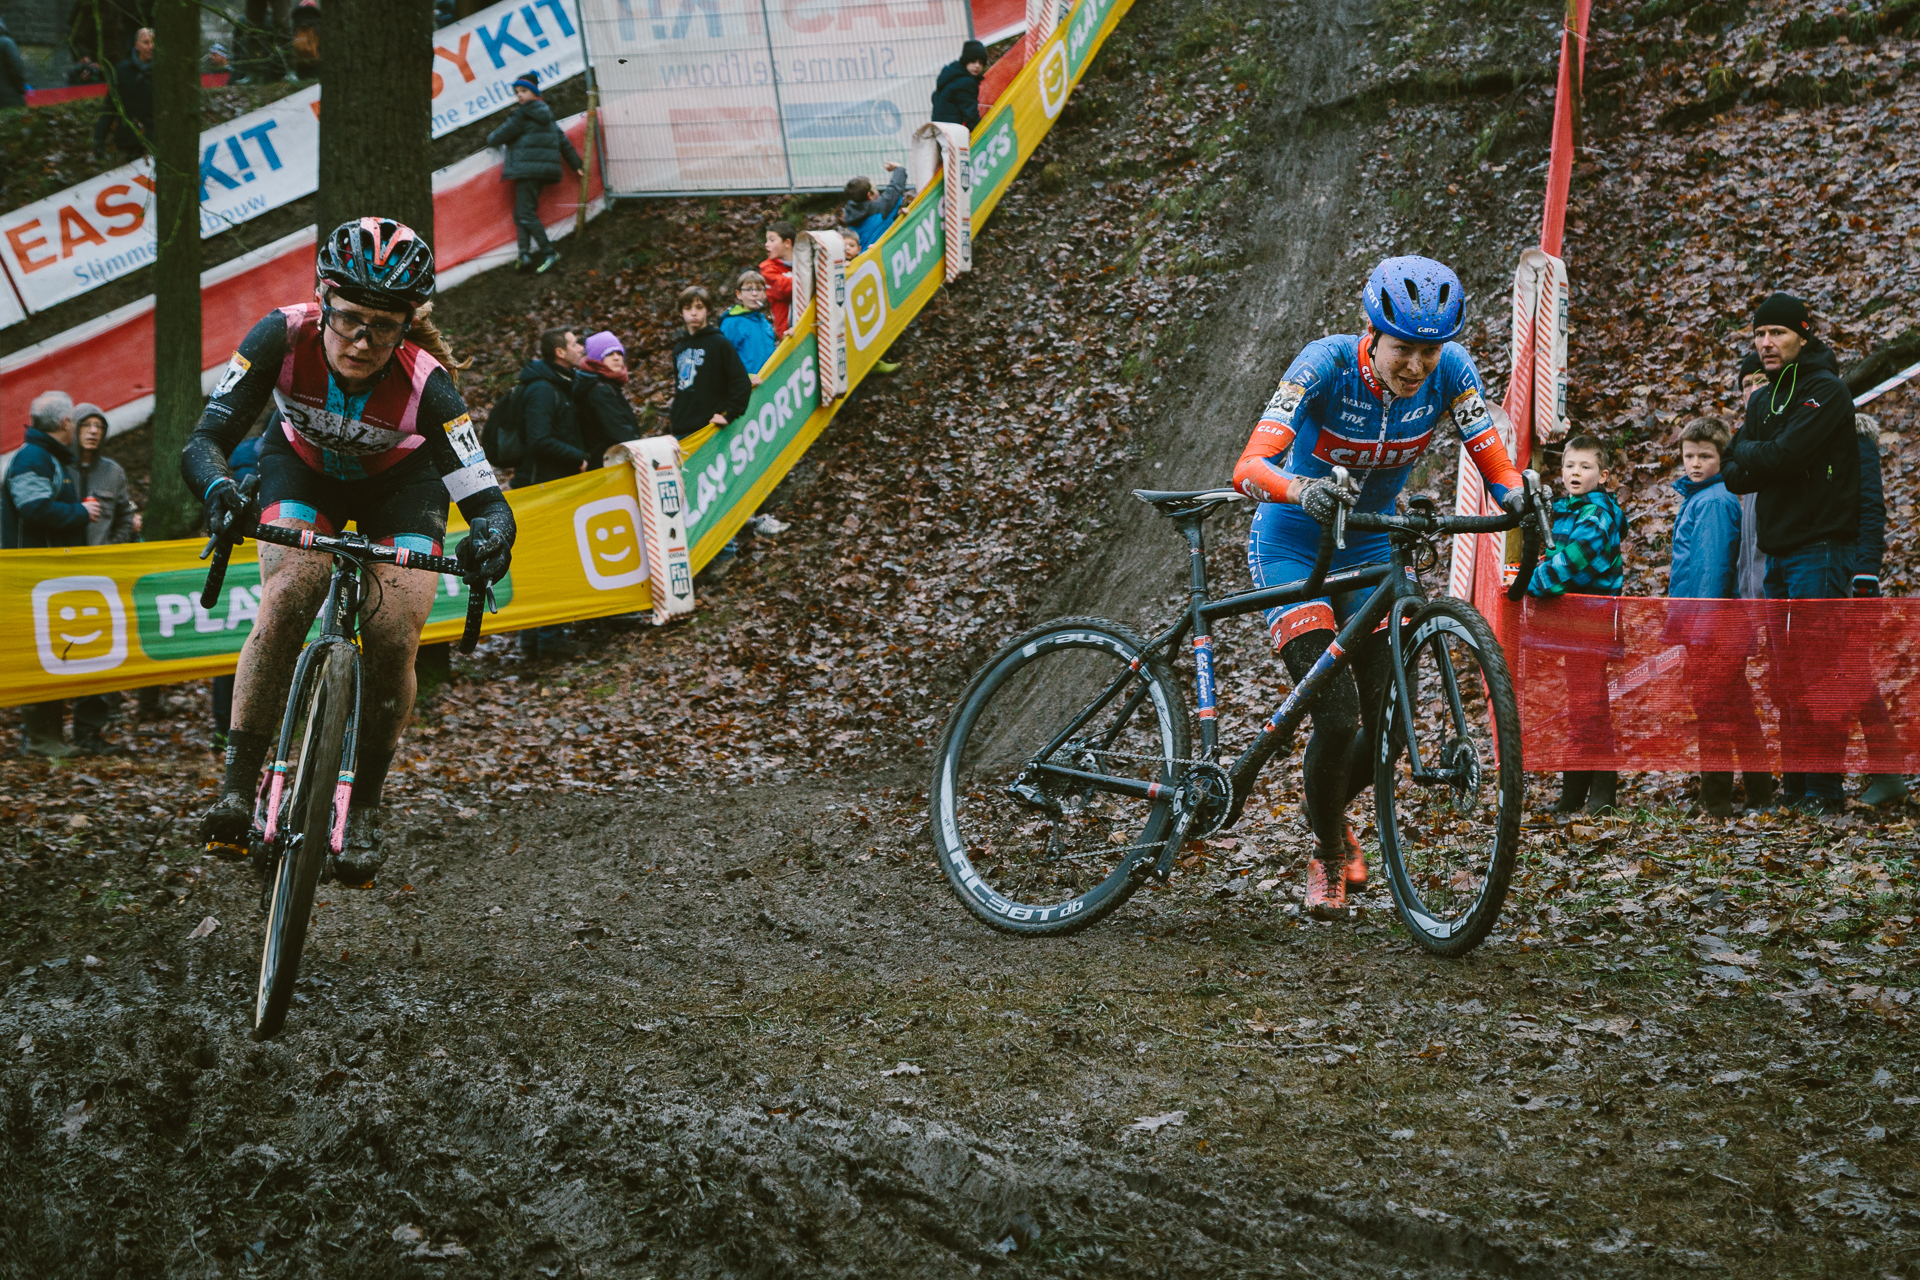
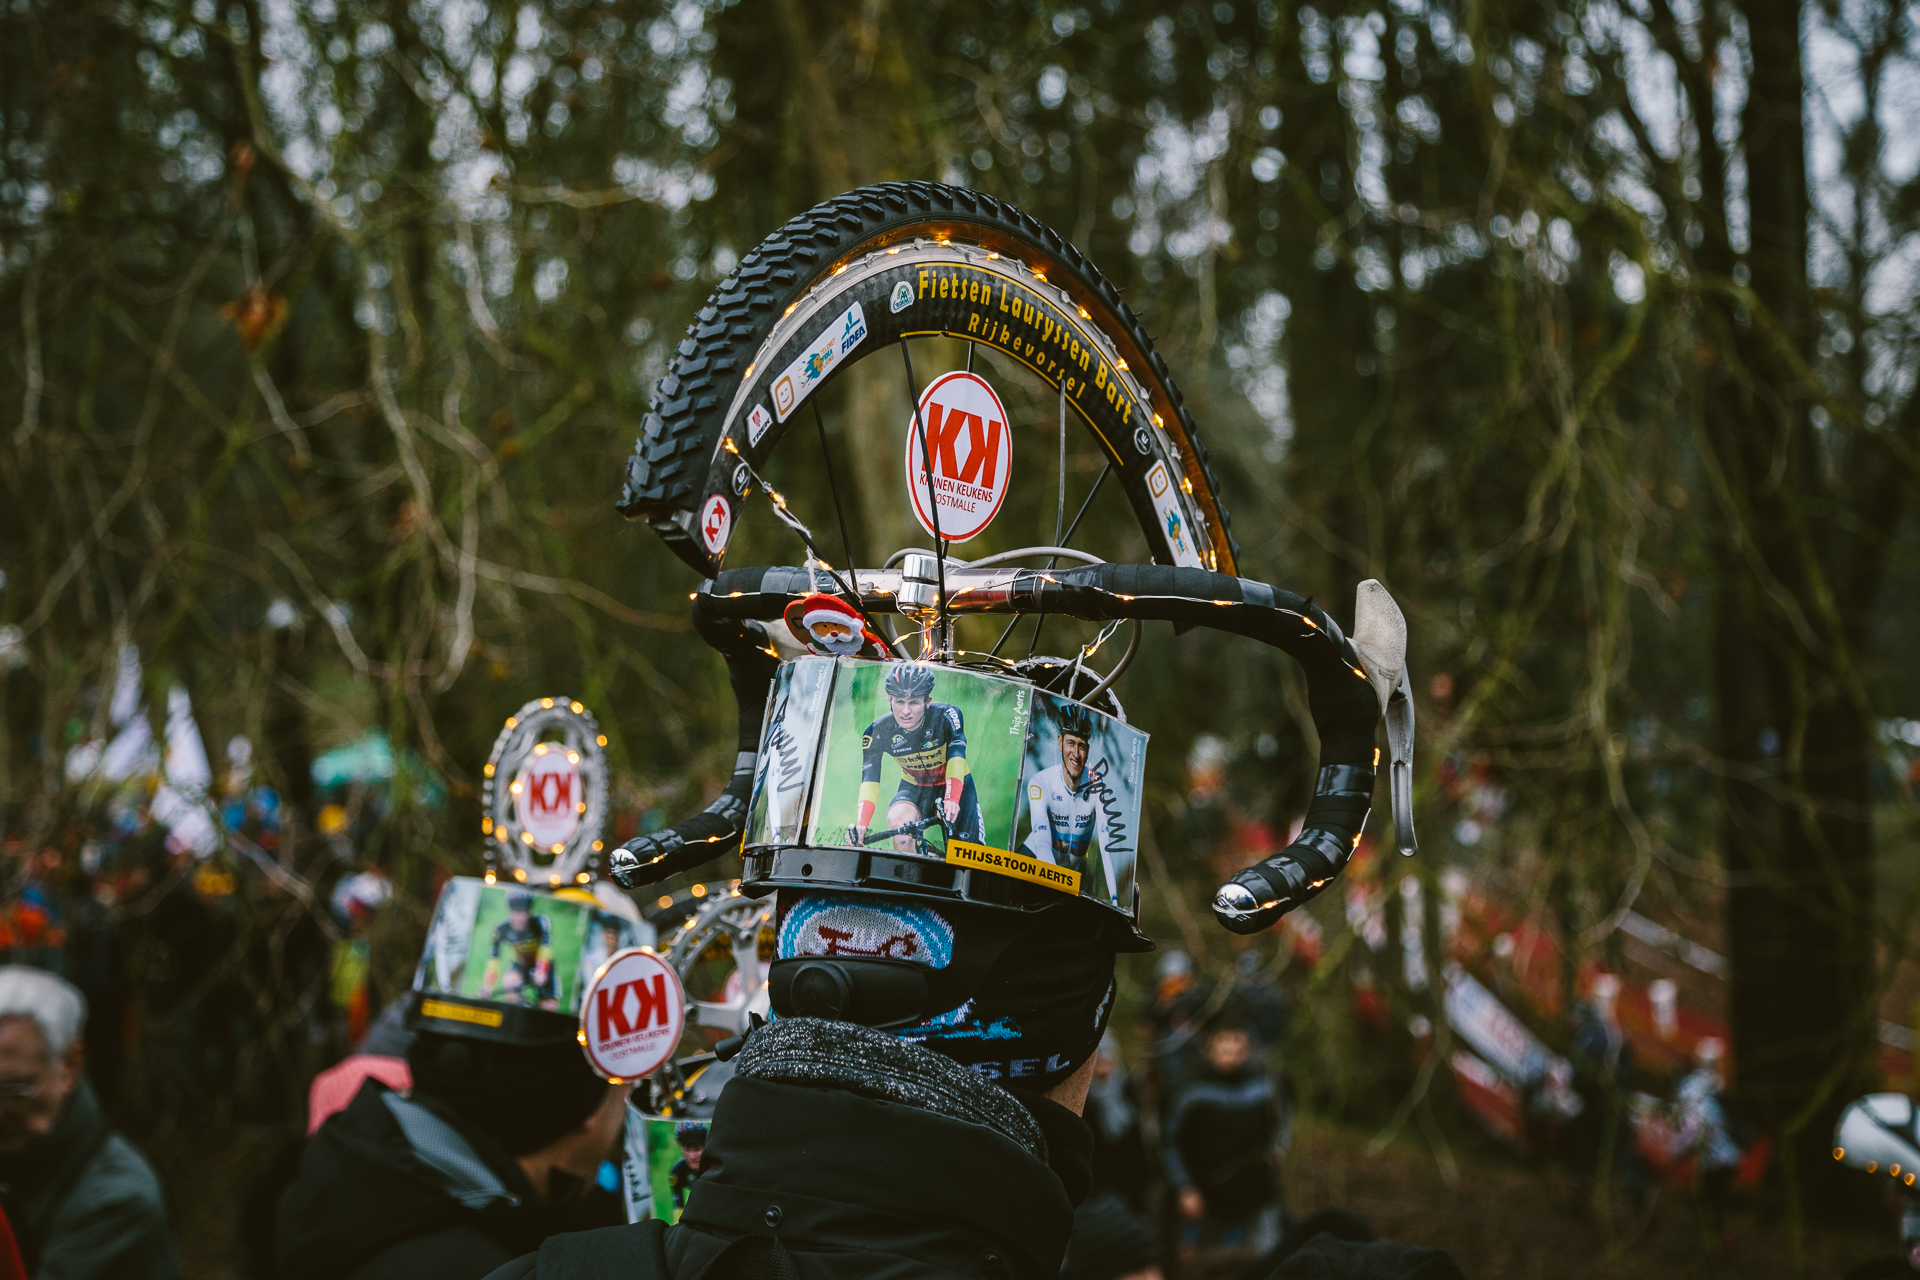
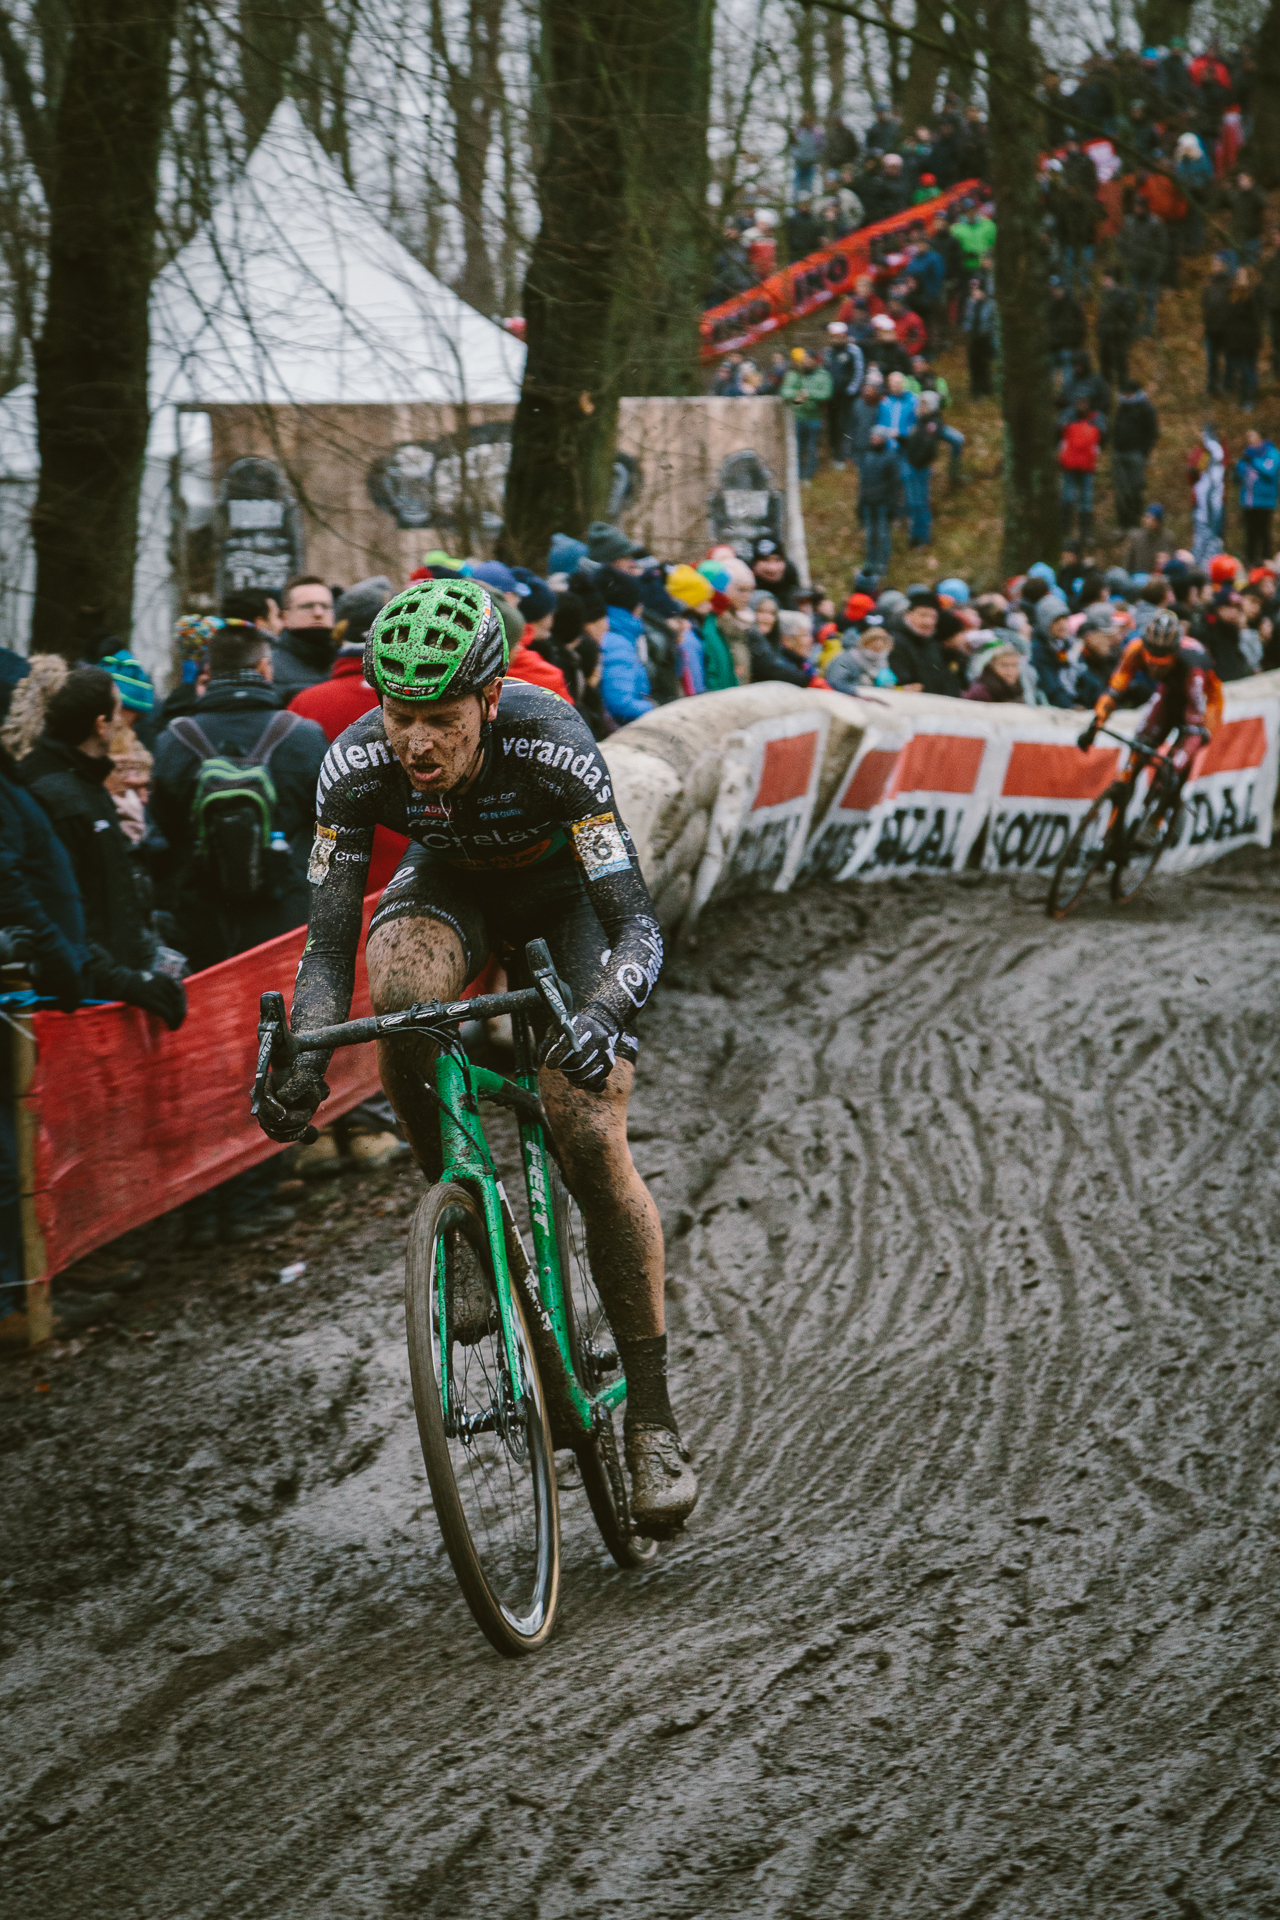
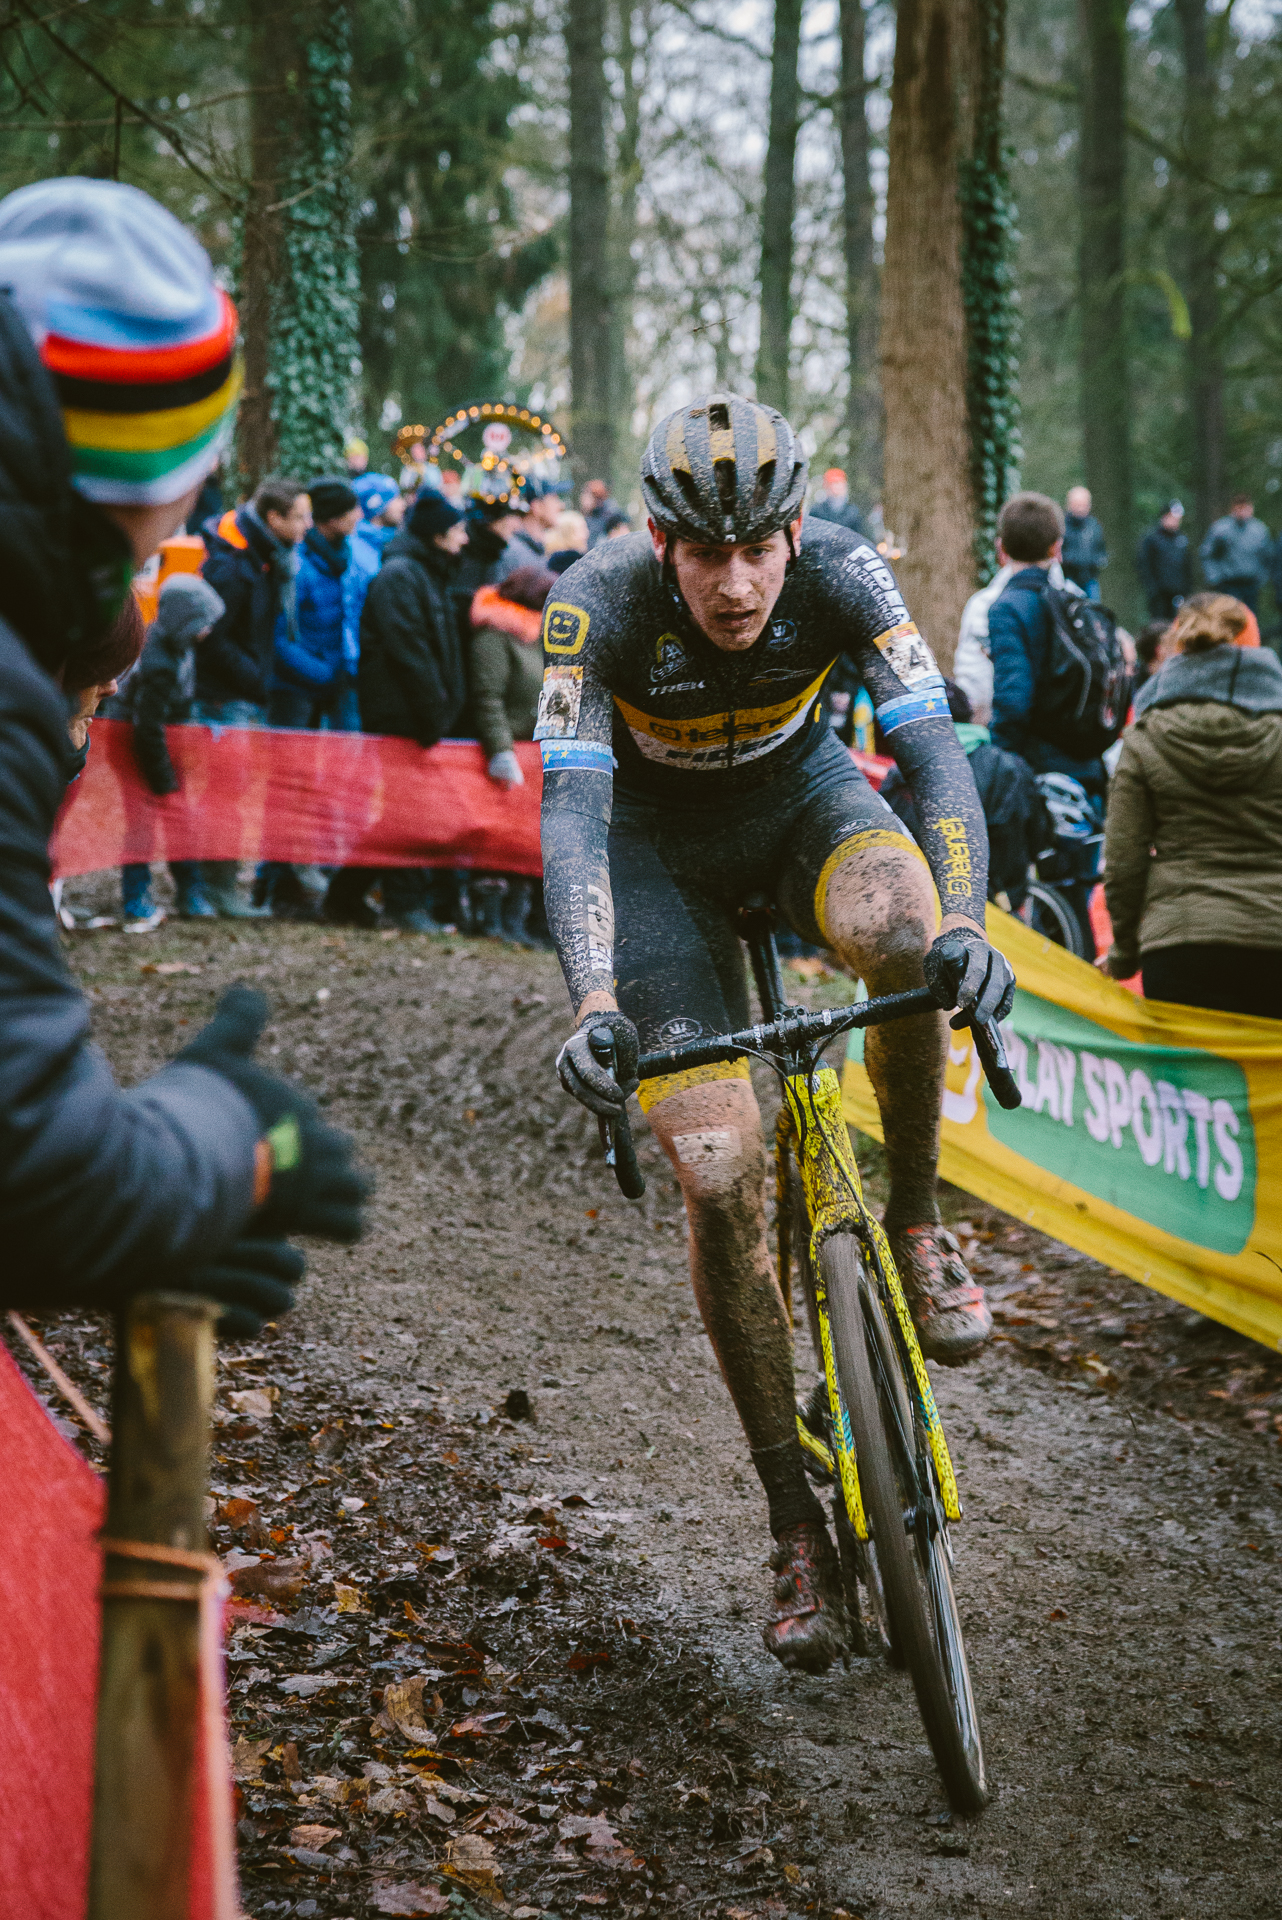
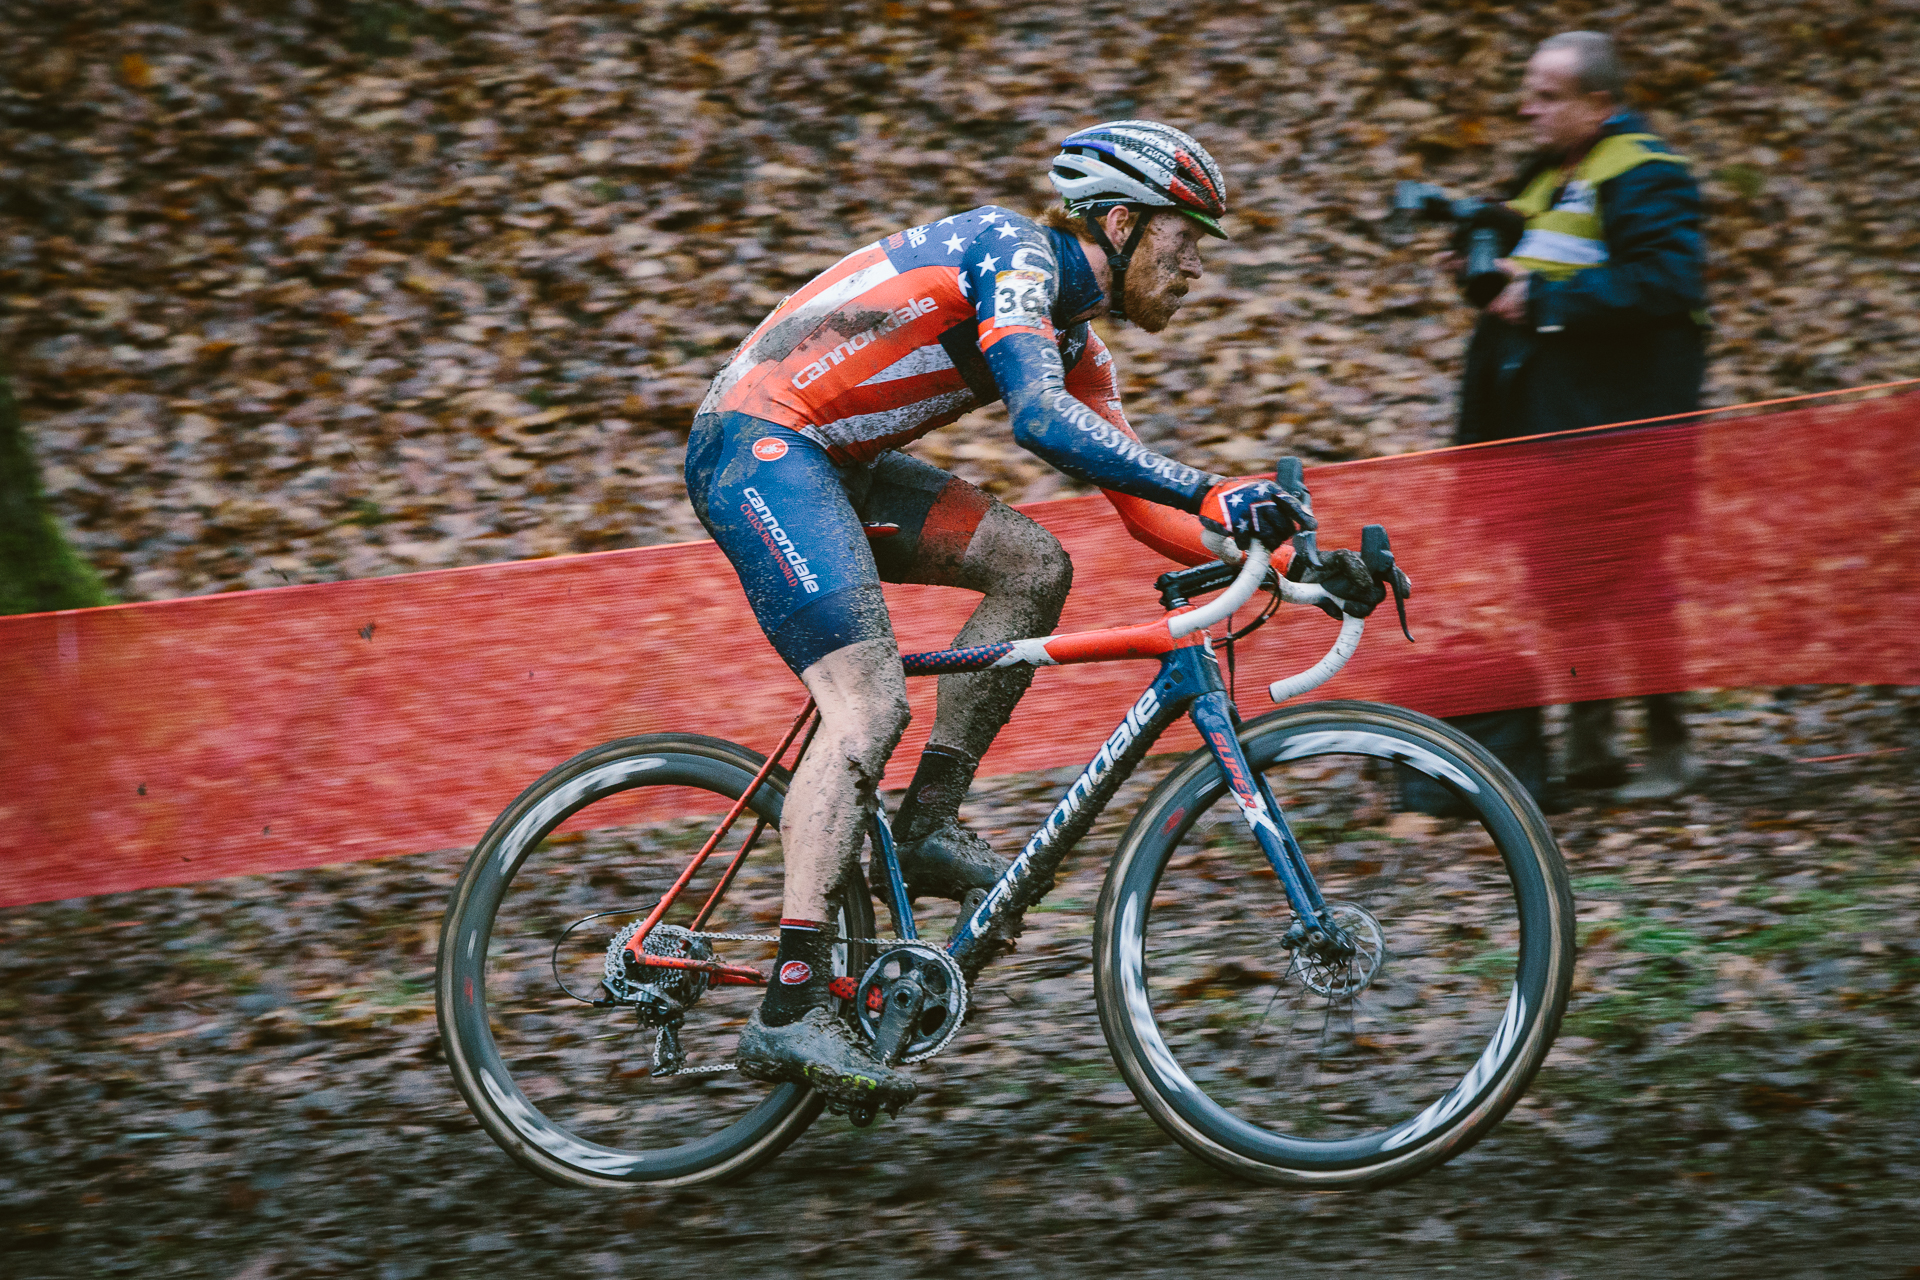
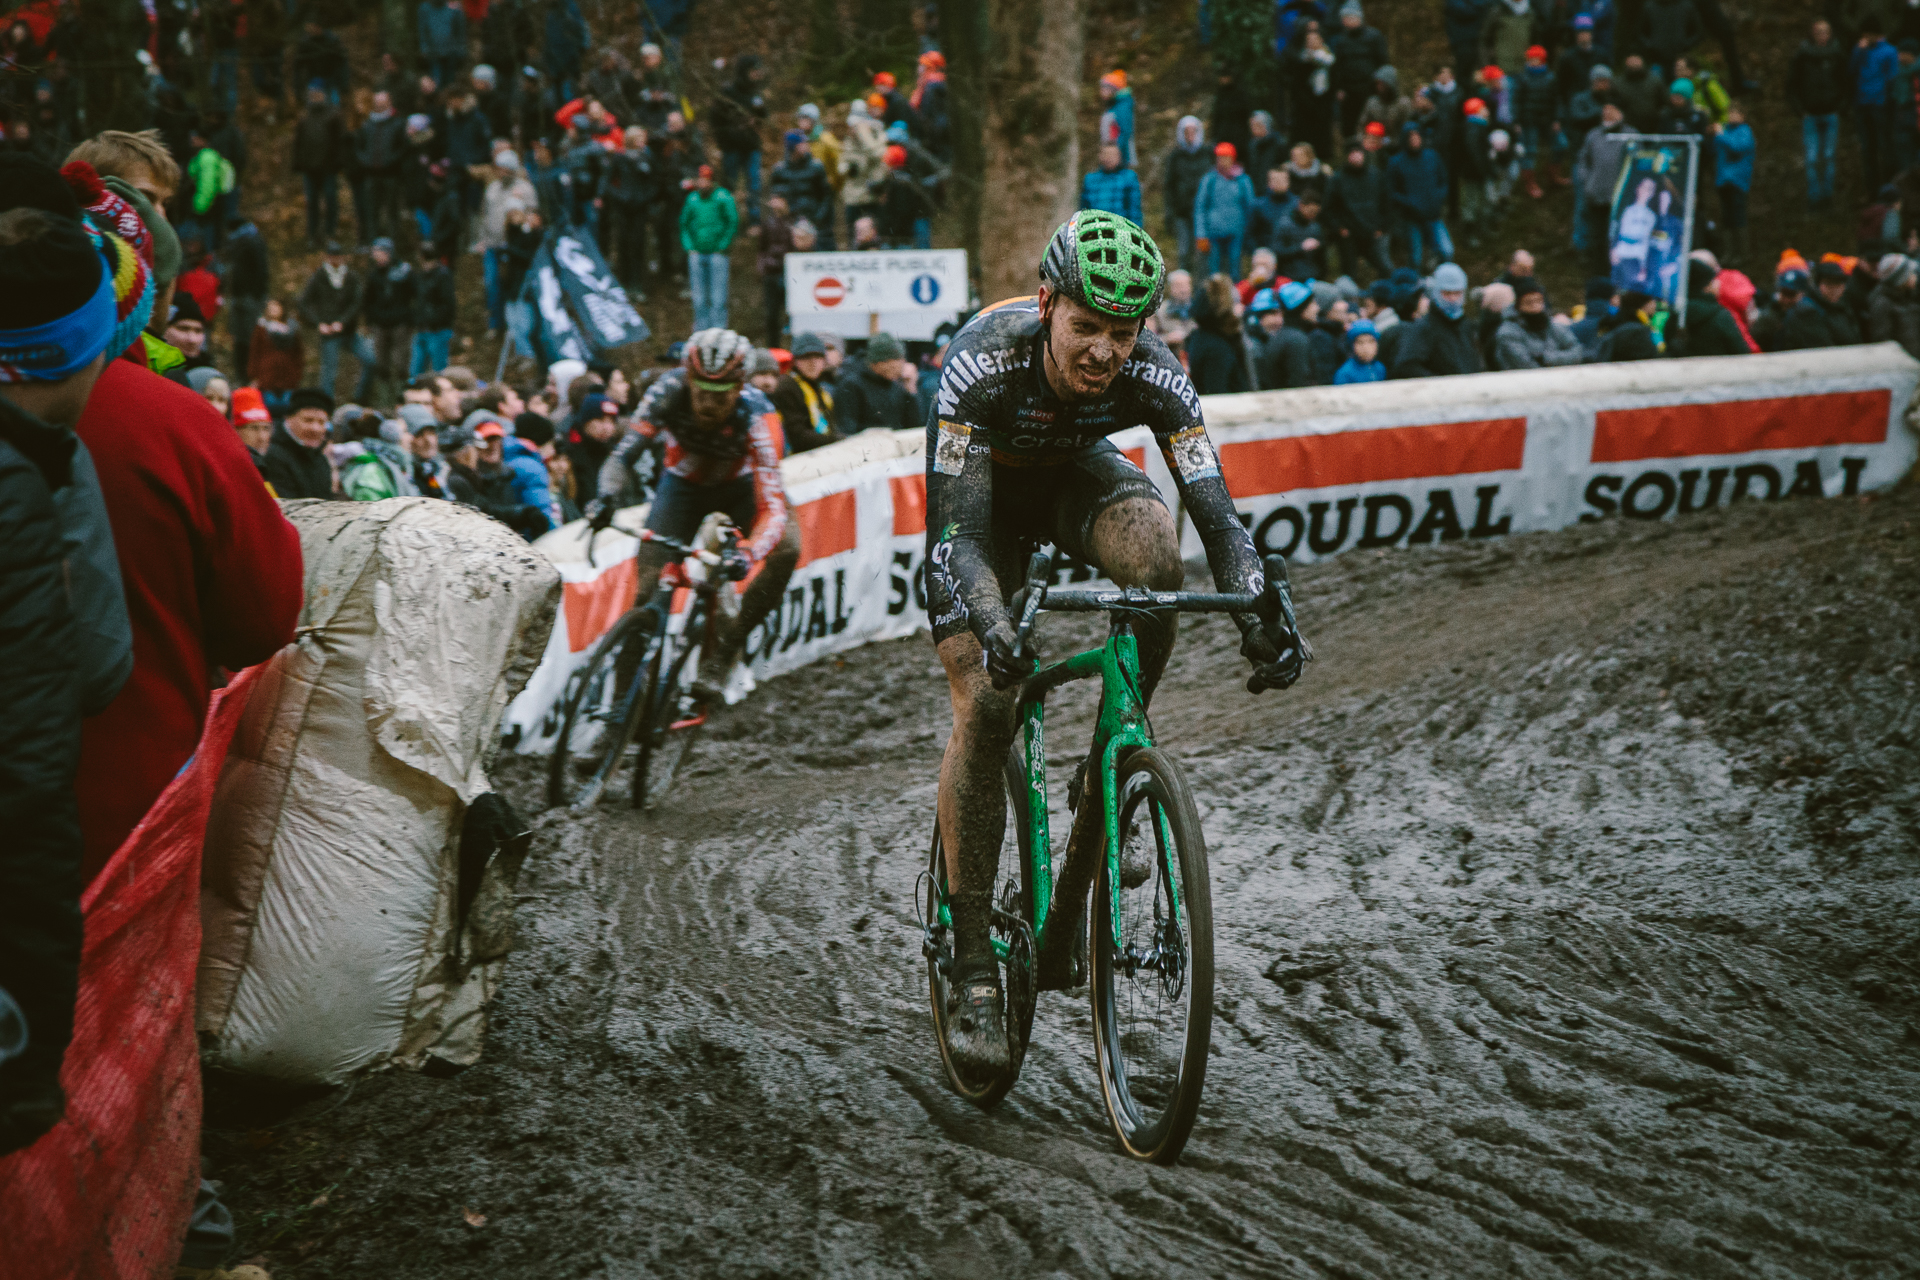
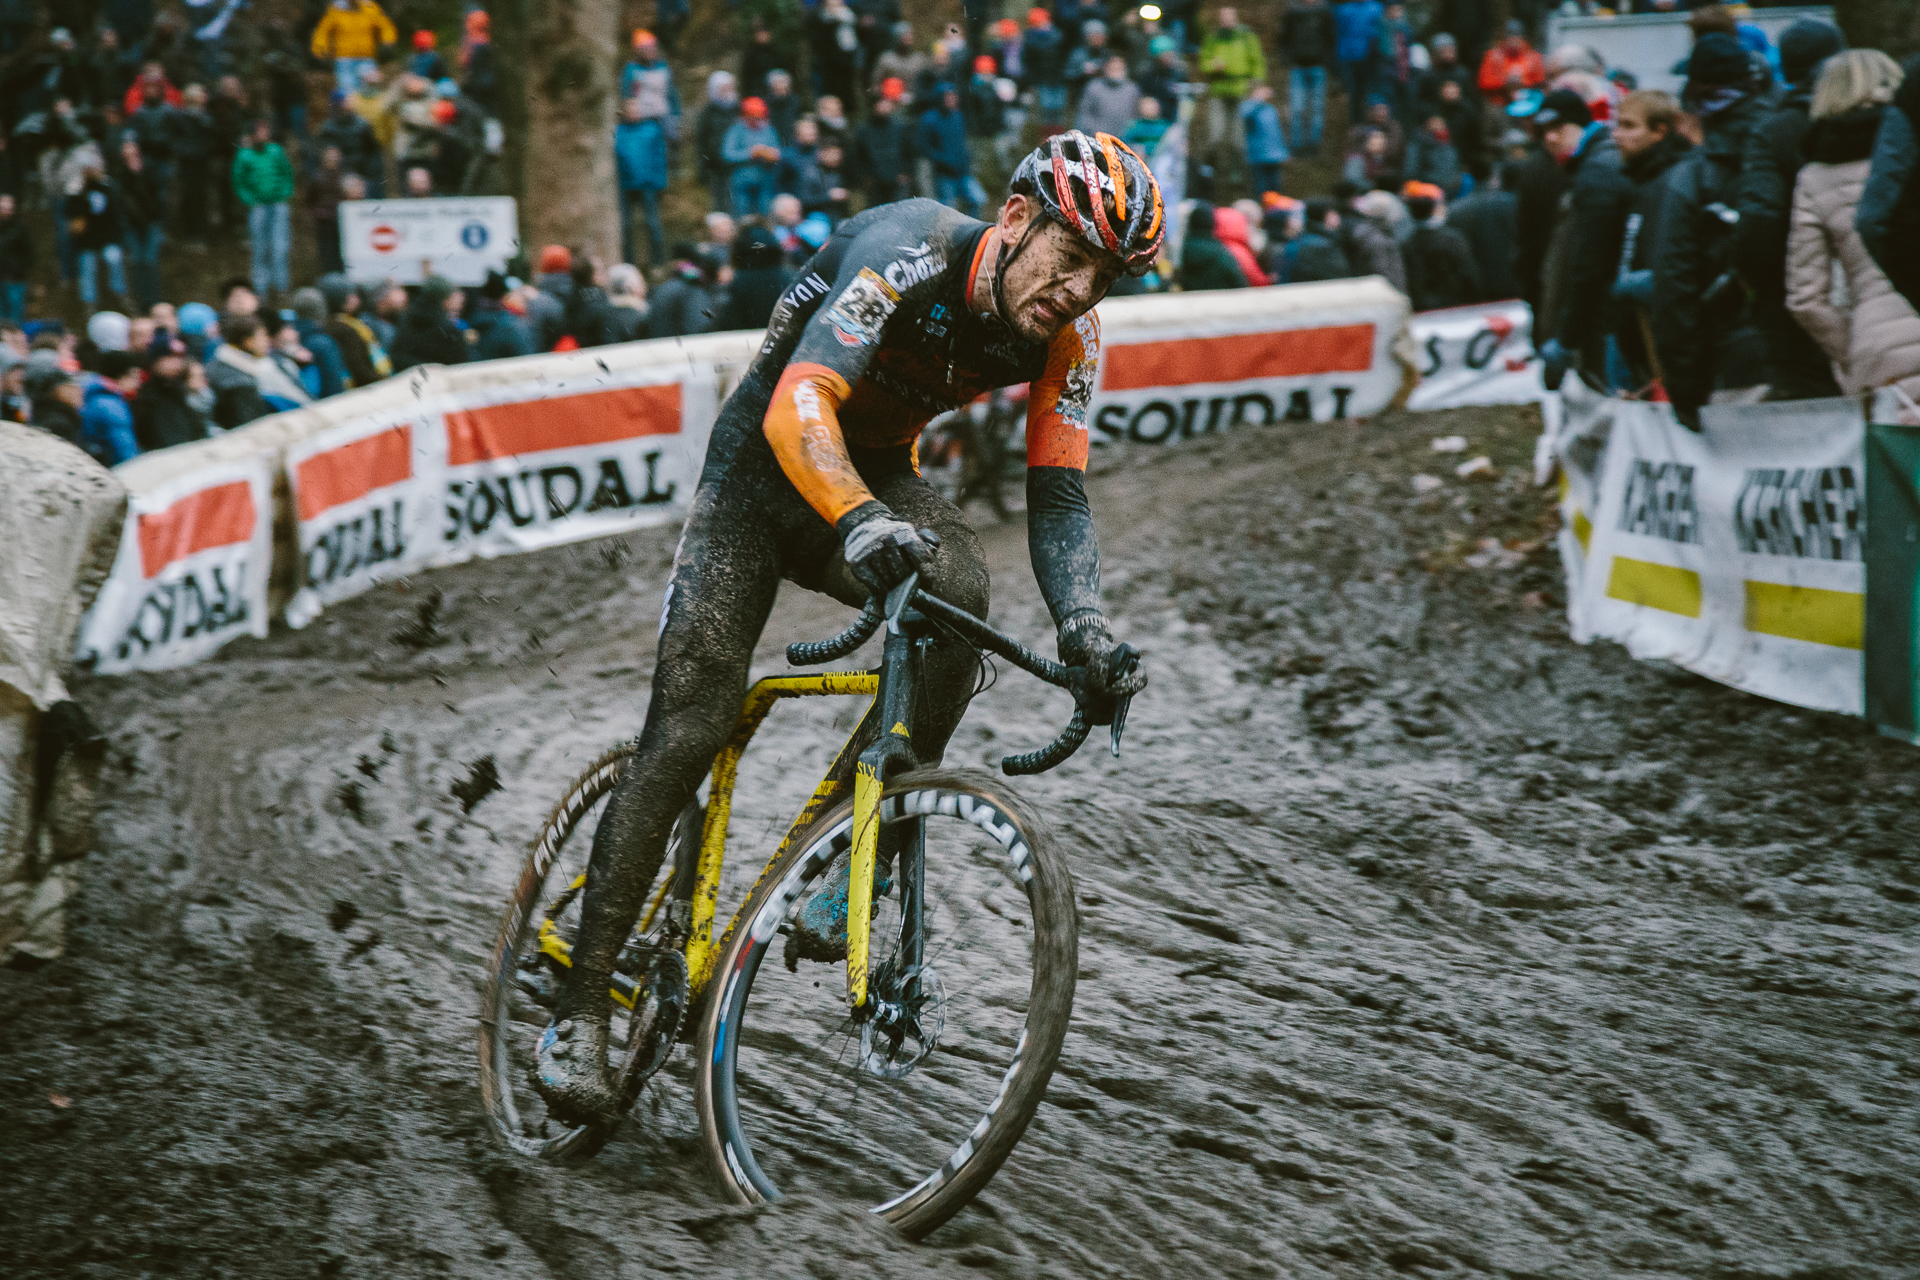
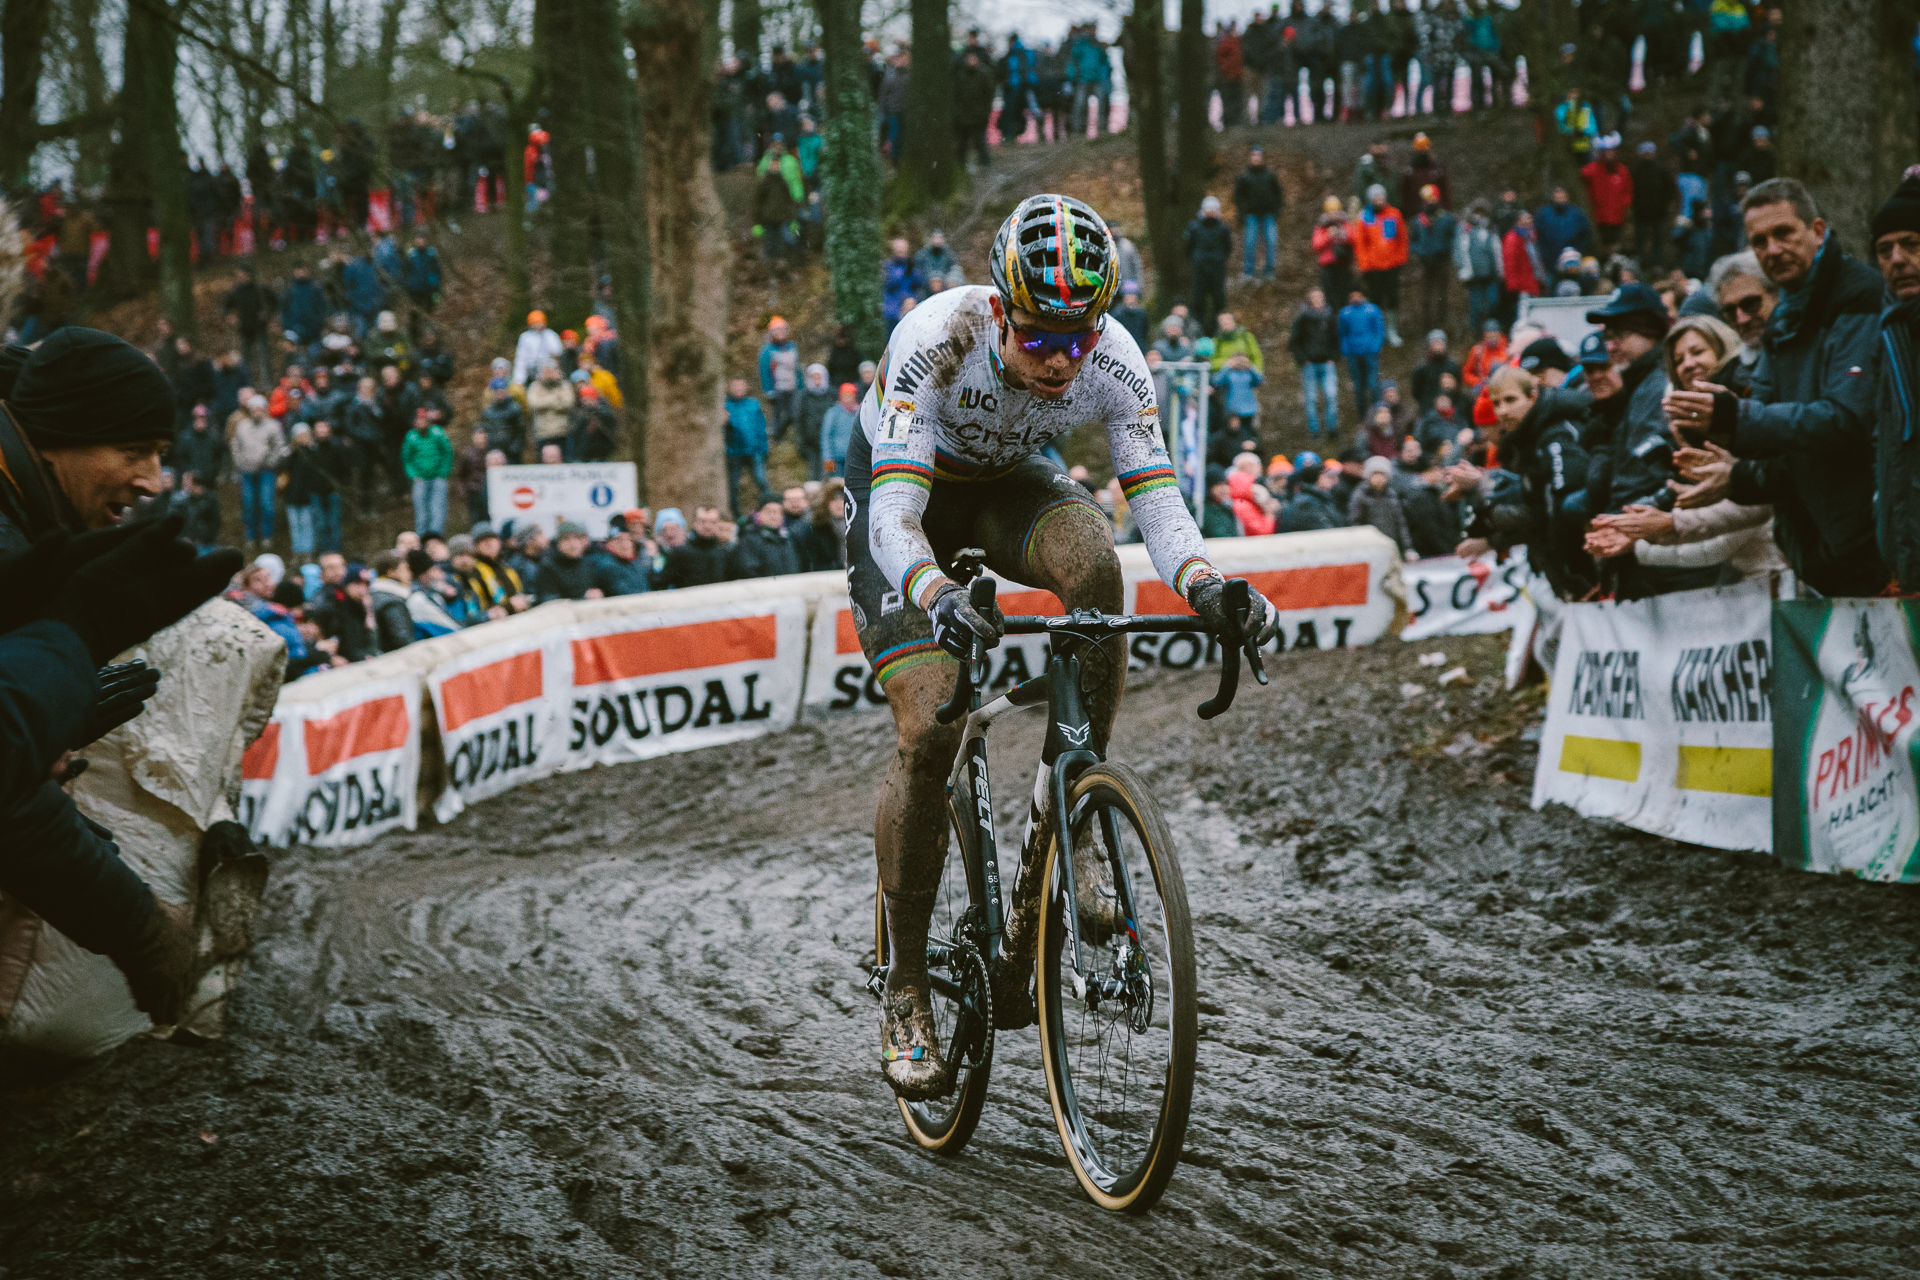
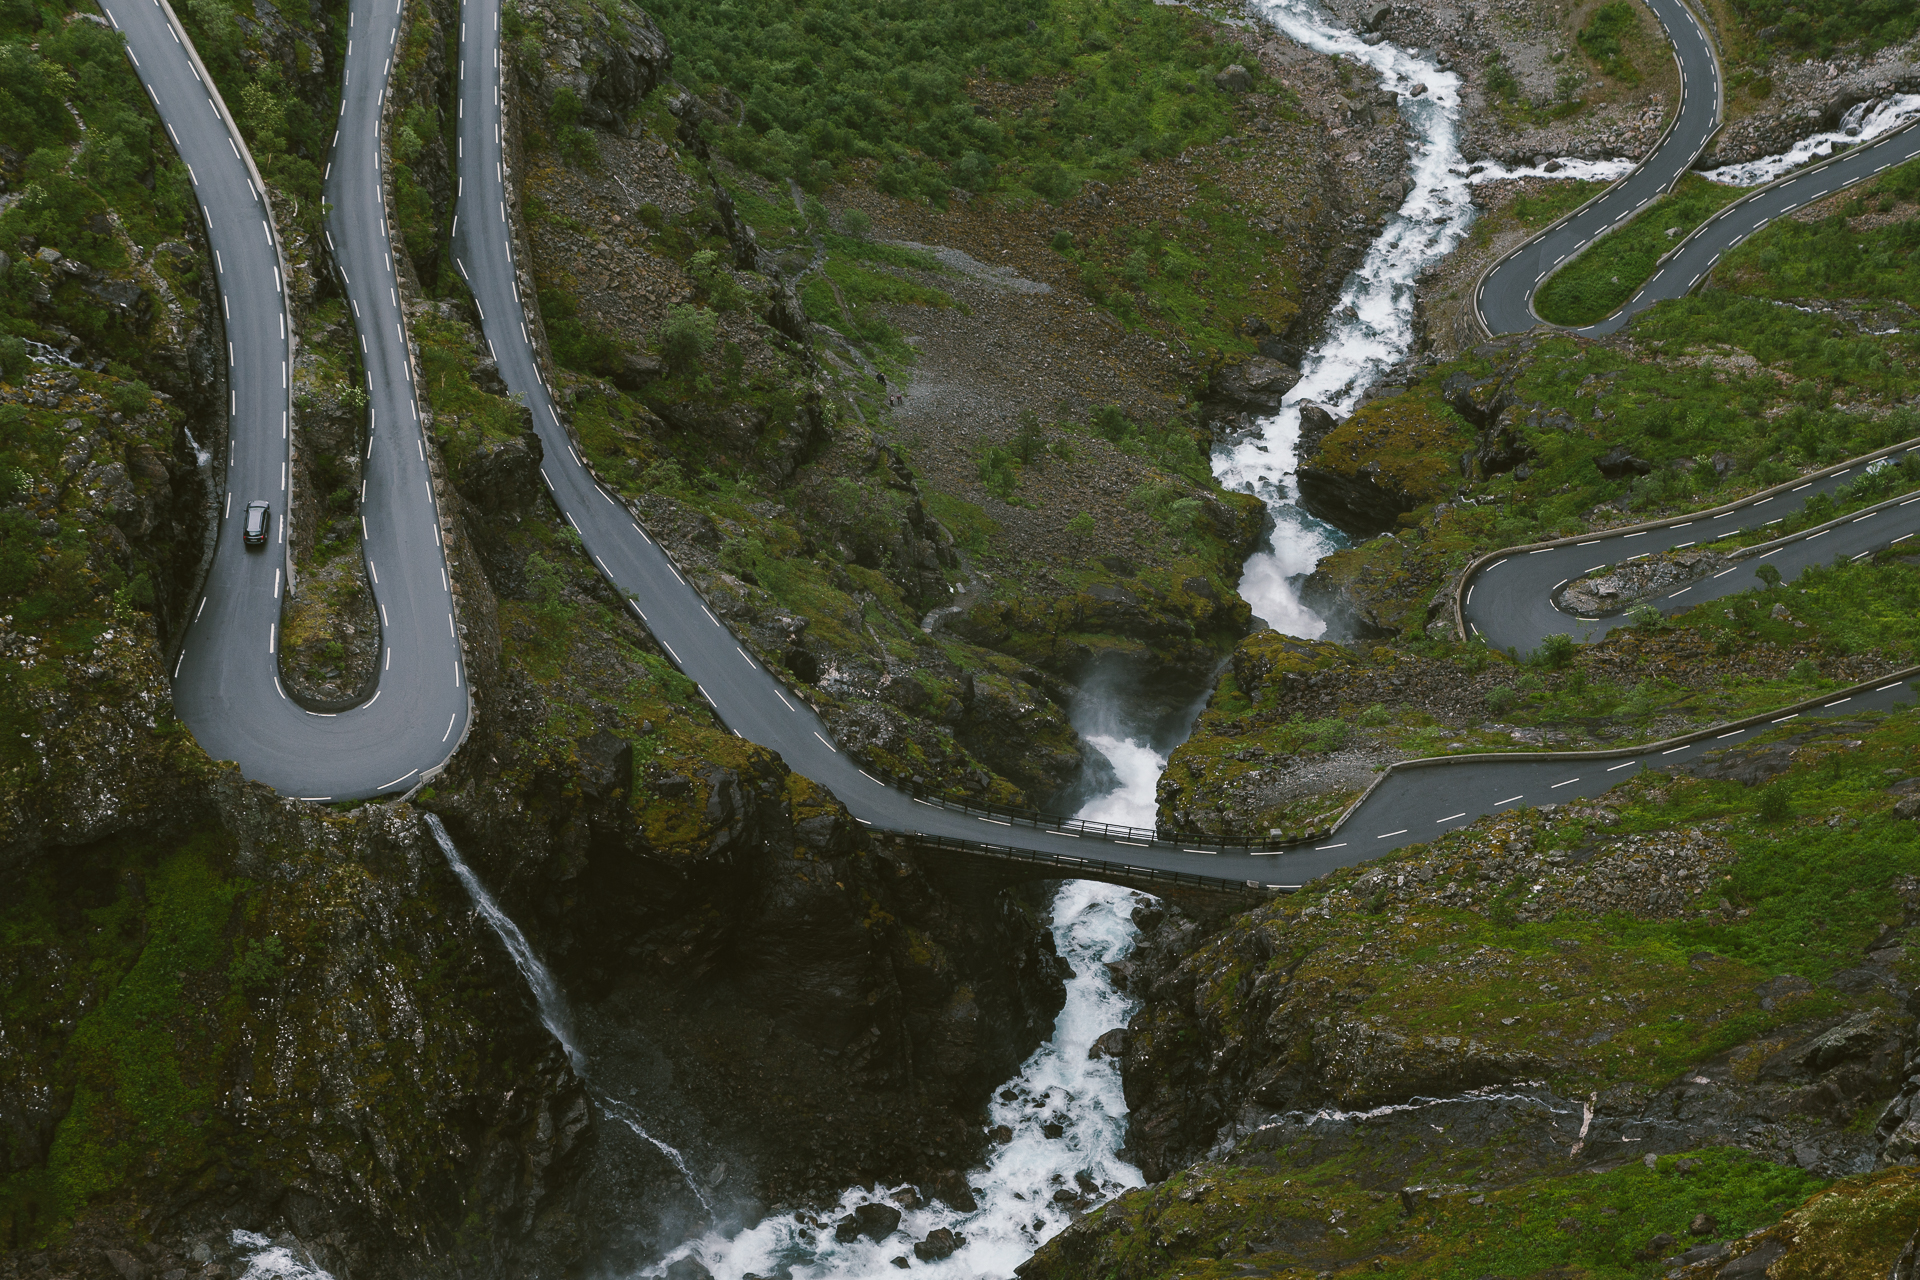
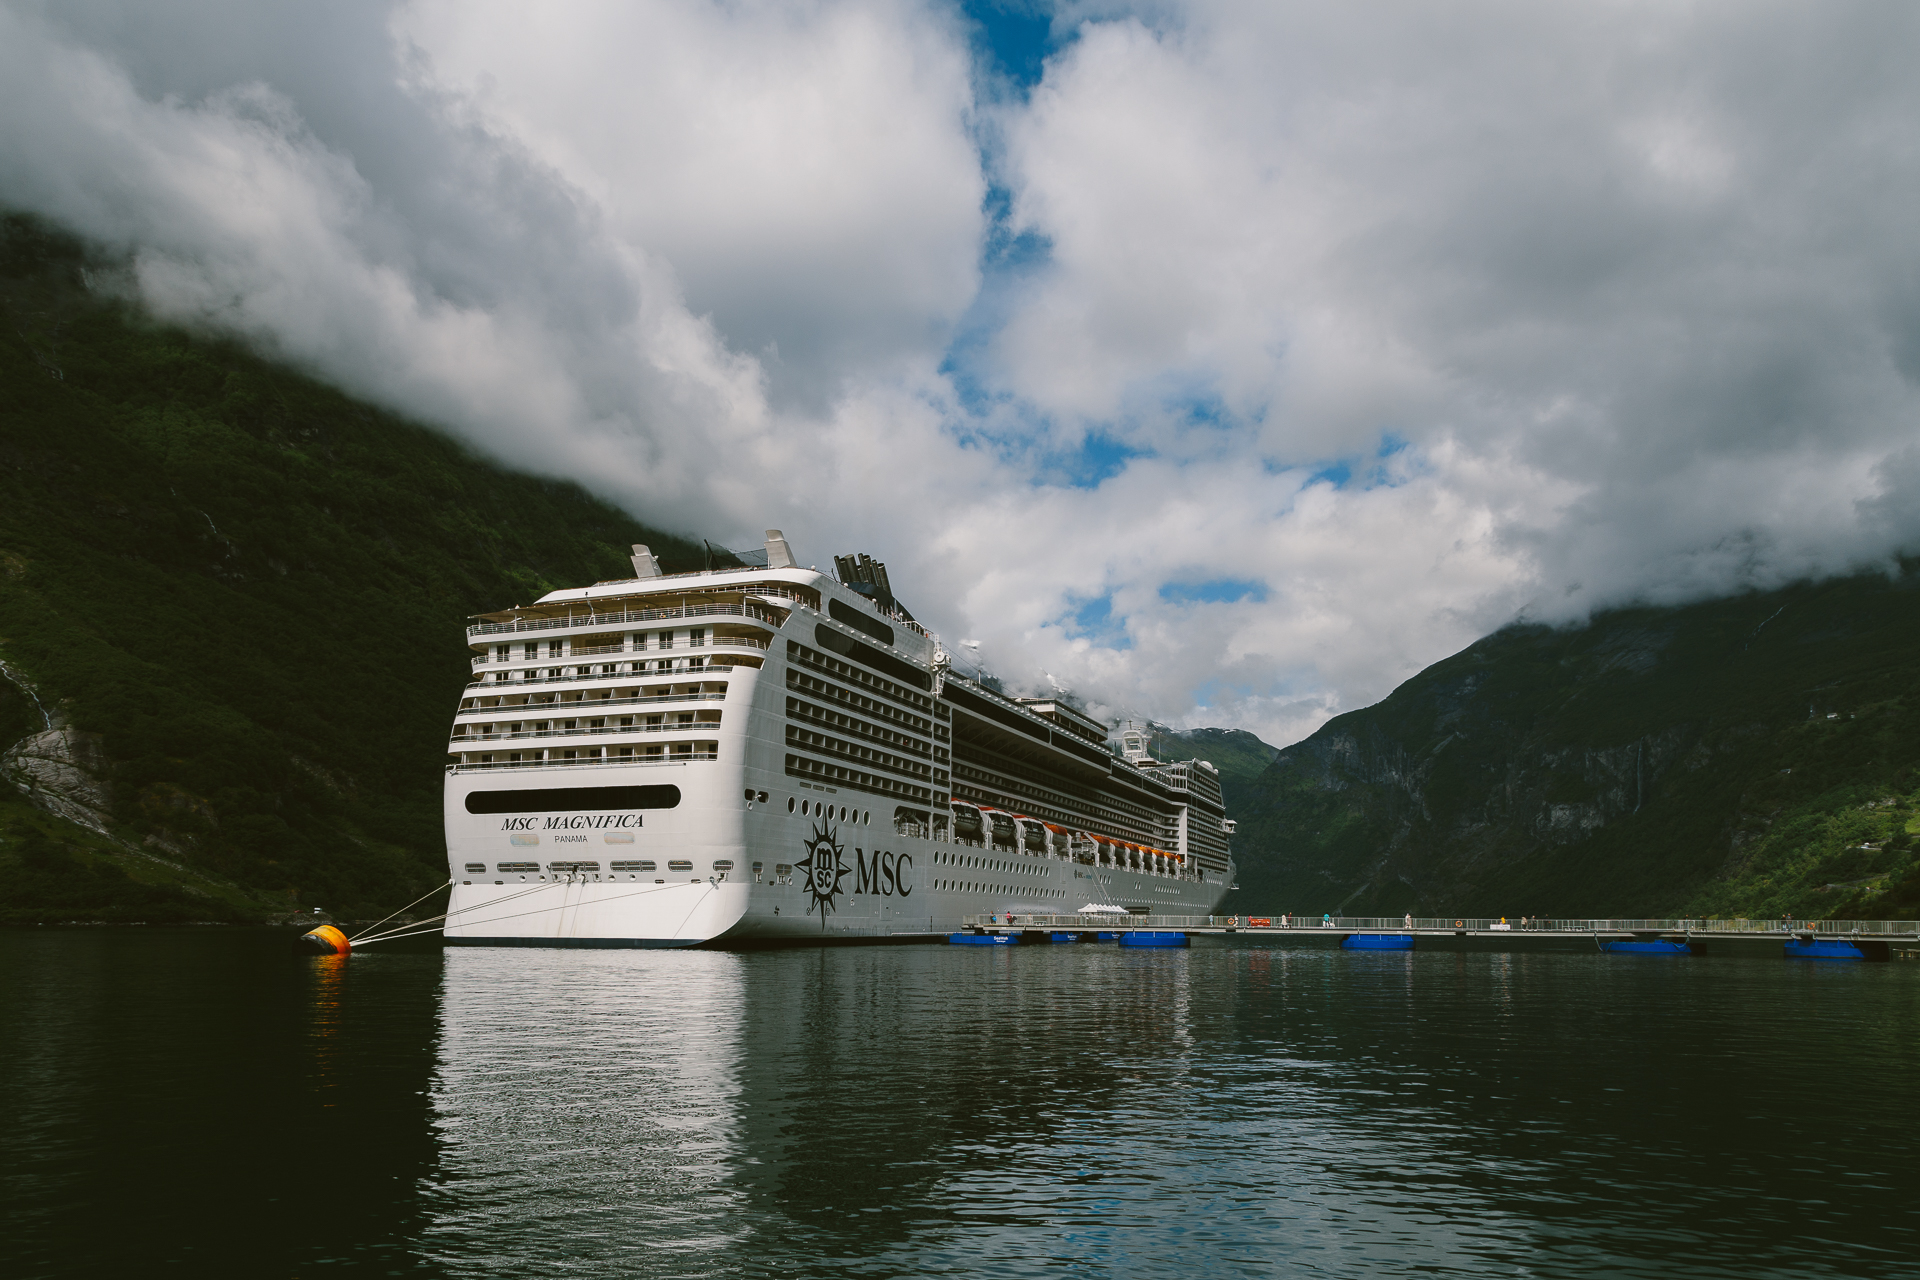
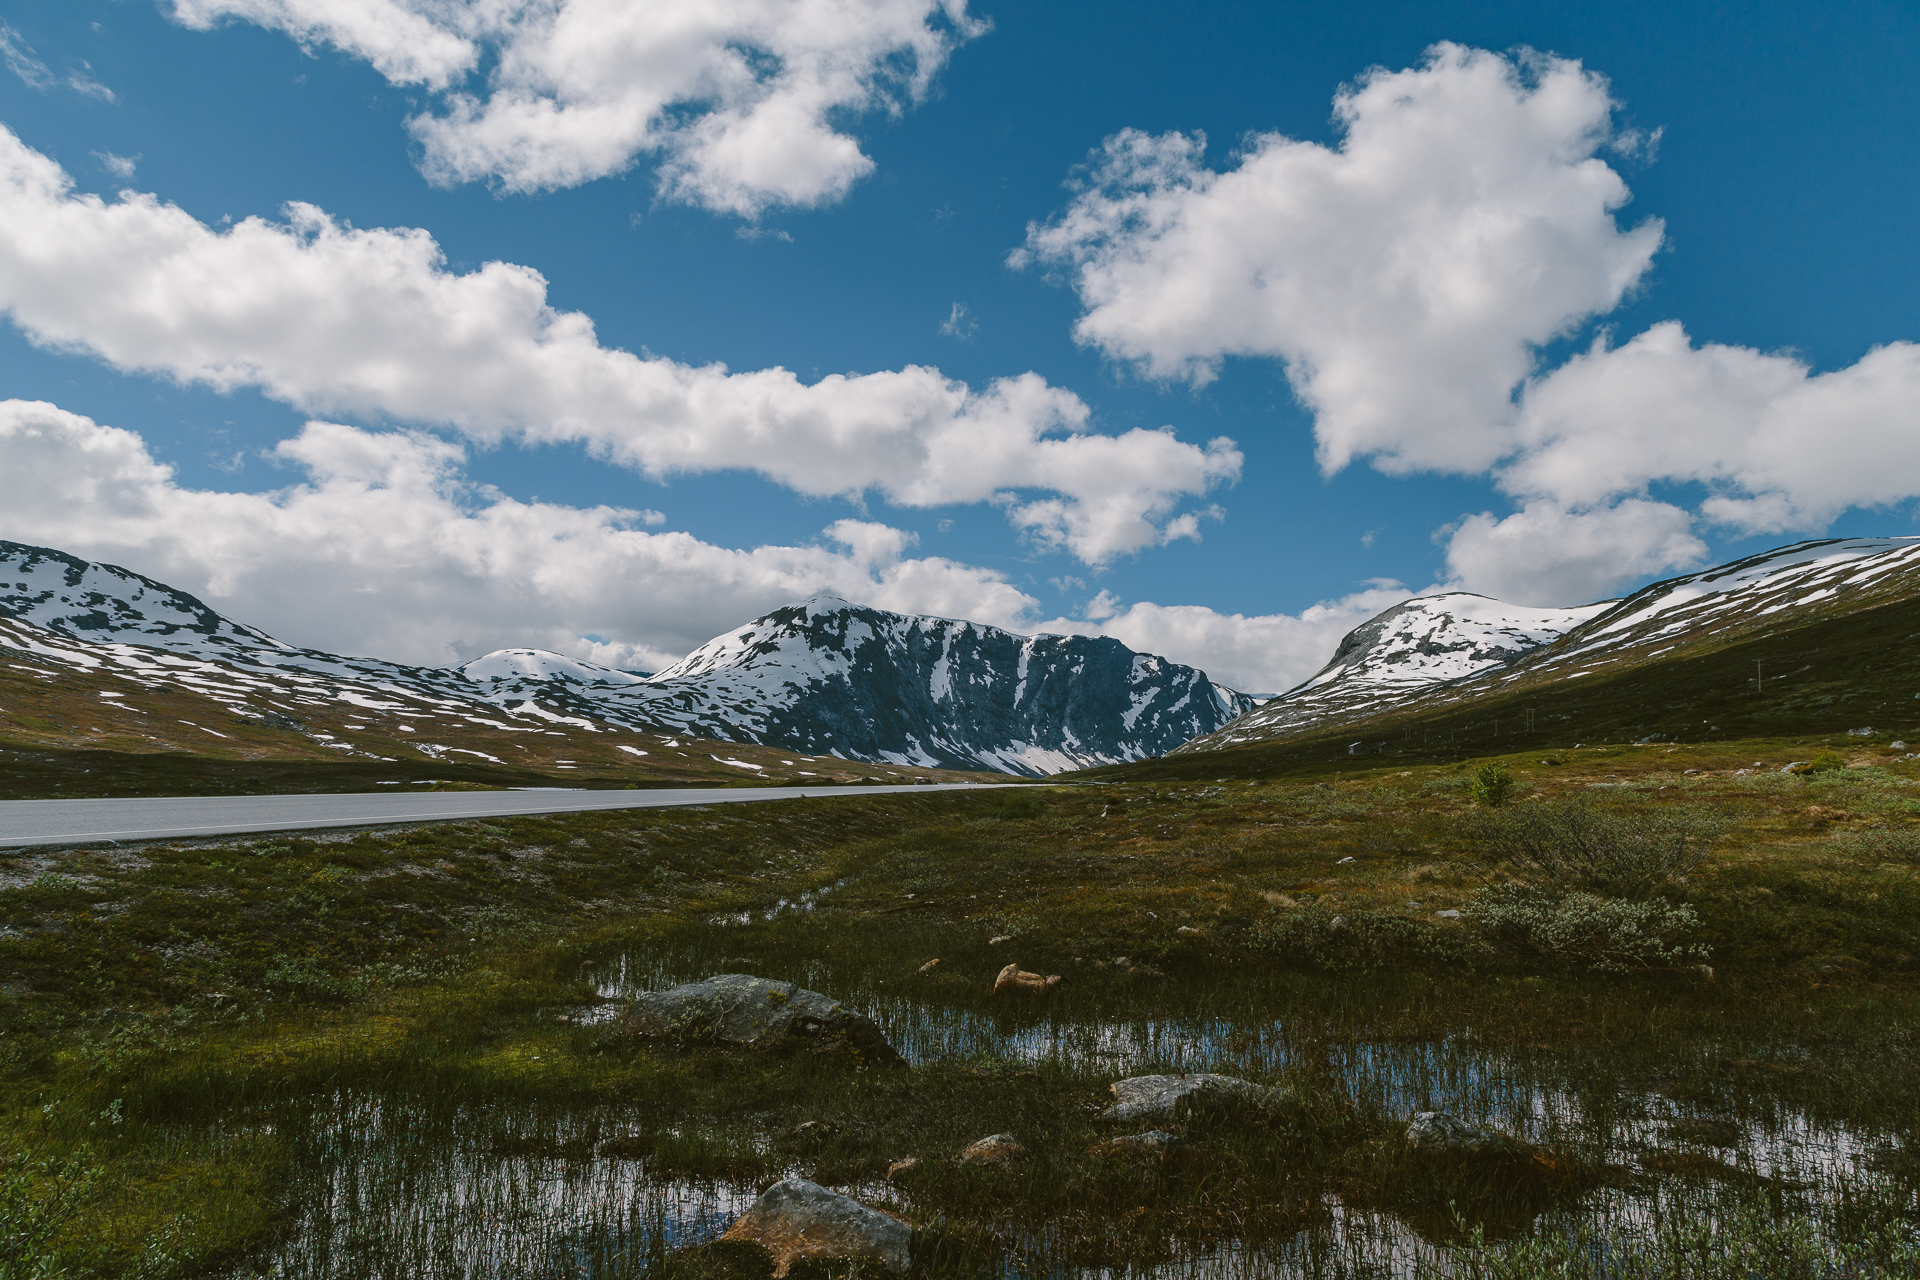
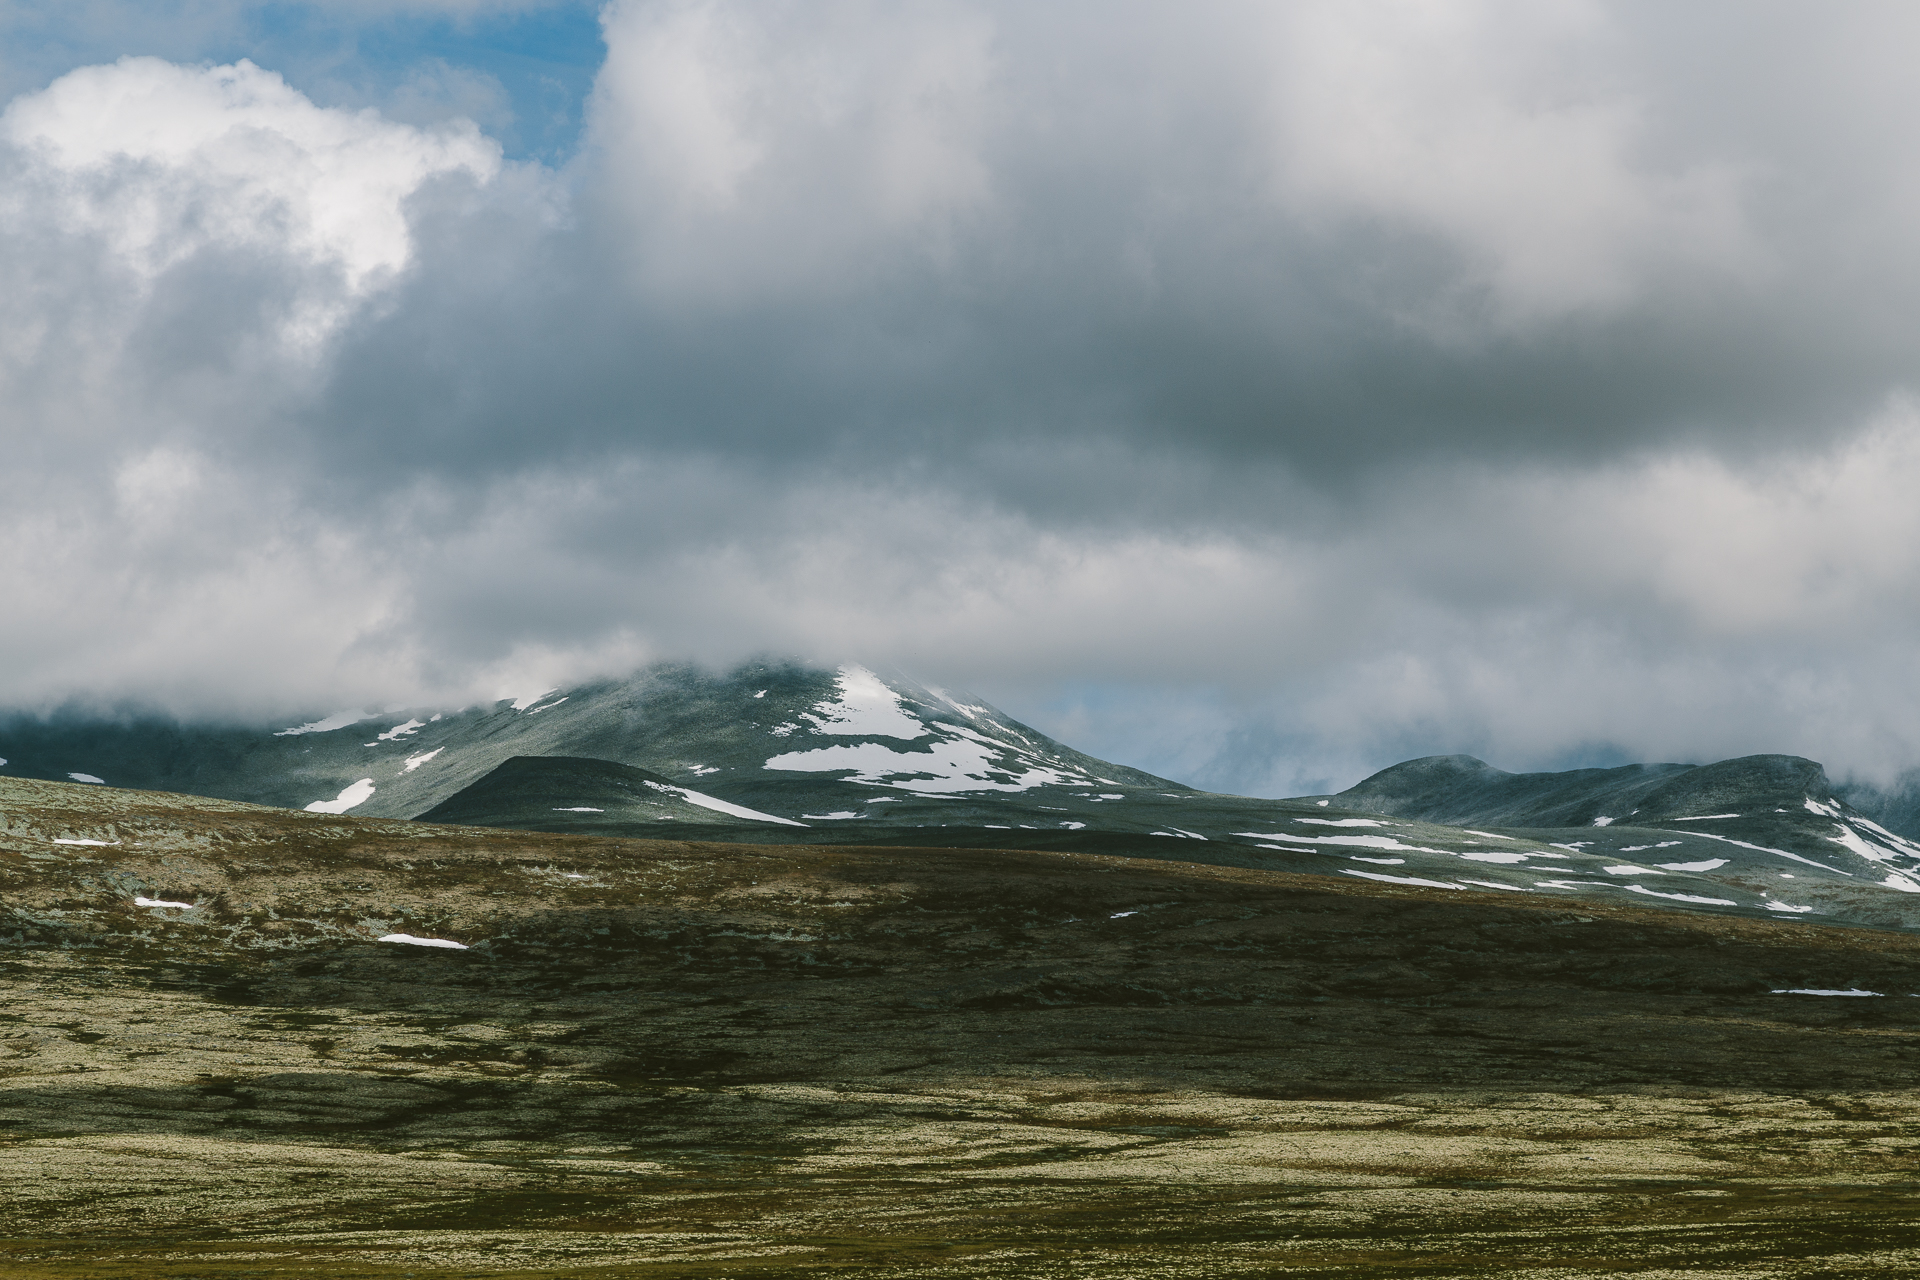
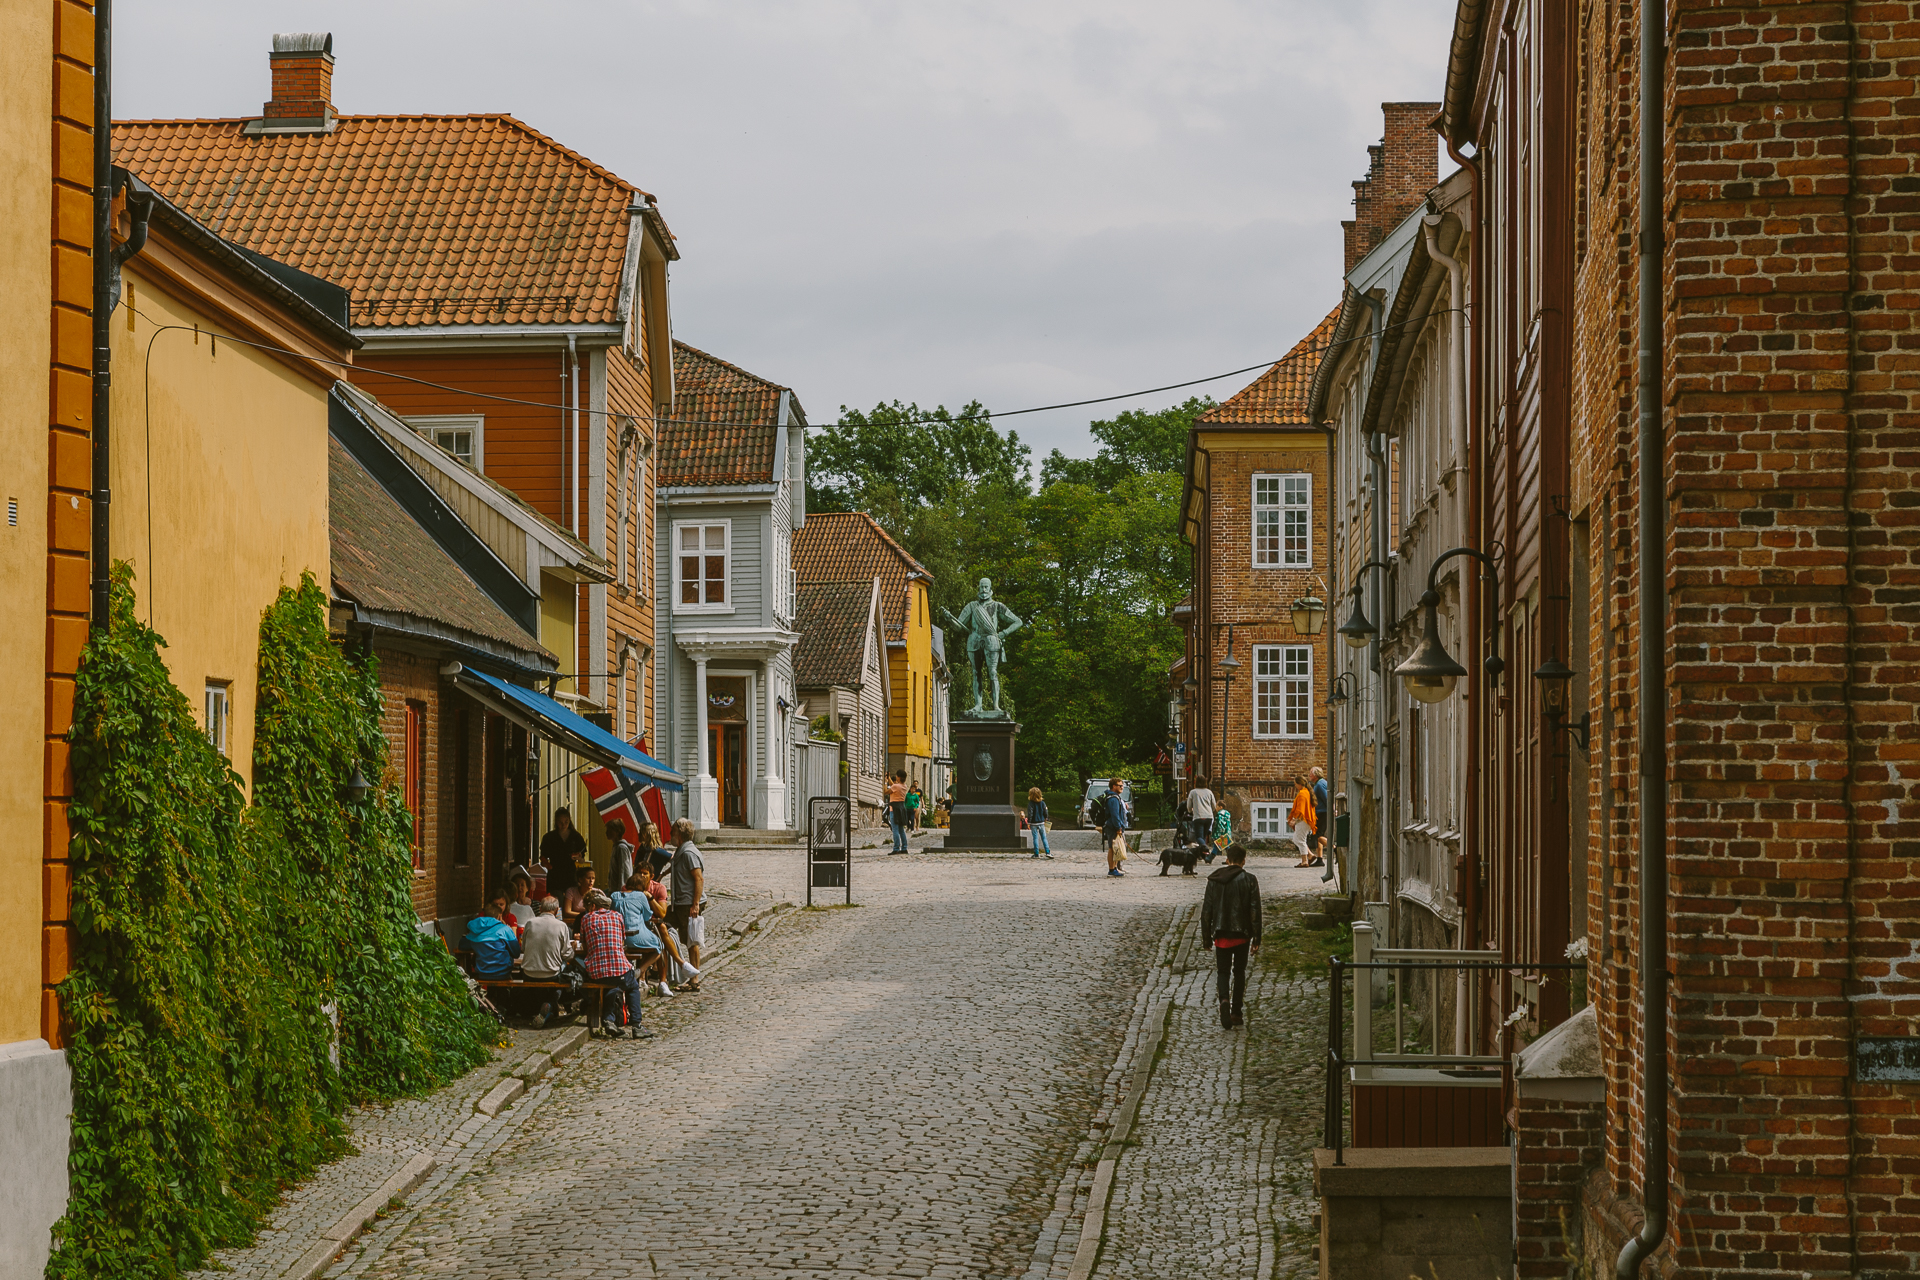
On the 17th of December I went to Namur with Willem, not only because he had VIP tickets to one of the best cyclo-cross races in the calendar, but also because that’s what Belgians do on the weekends during winter (while shame on me, I have never done it before). The whole day was great fun: I got to drive with a manual gearbox again (and I still owe Willem with ~1000 km of driving from our Trans Pyrenees trip :D), we met some interesting people, and of course we got to walk (and here and there slip) around a muddy course while soaking in the atmosphere and taking a few (or ~500) nice pictures. (Yes, we also got to use the VIP shuttle, and got free food and drinks, but that’s not the point.) We saw both the Women and Men Elite races, and while the former delivered a quite unexpected winner, the latter was unquestionably dominated by the reigning world champion, Belgium’s Wout Van Aert. Here is a small selection of the photos, I hope you will like them. (The conditions were not so easy to work with, there was very little light on this foggy, late afternoon, and these cyclists are way too fast even in the mud.)
Category Archives: Uncategorized
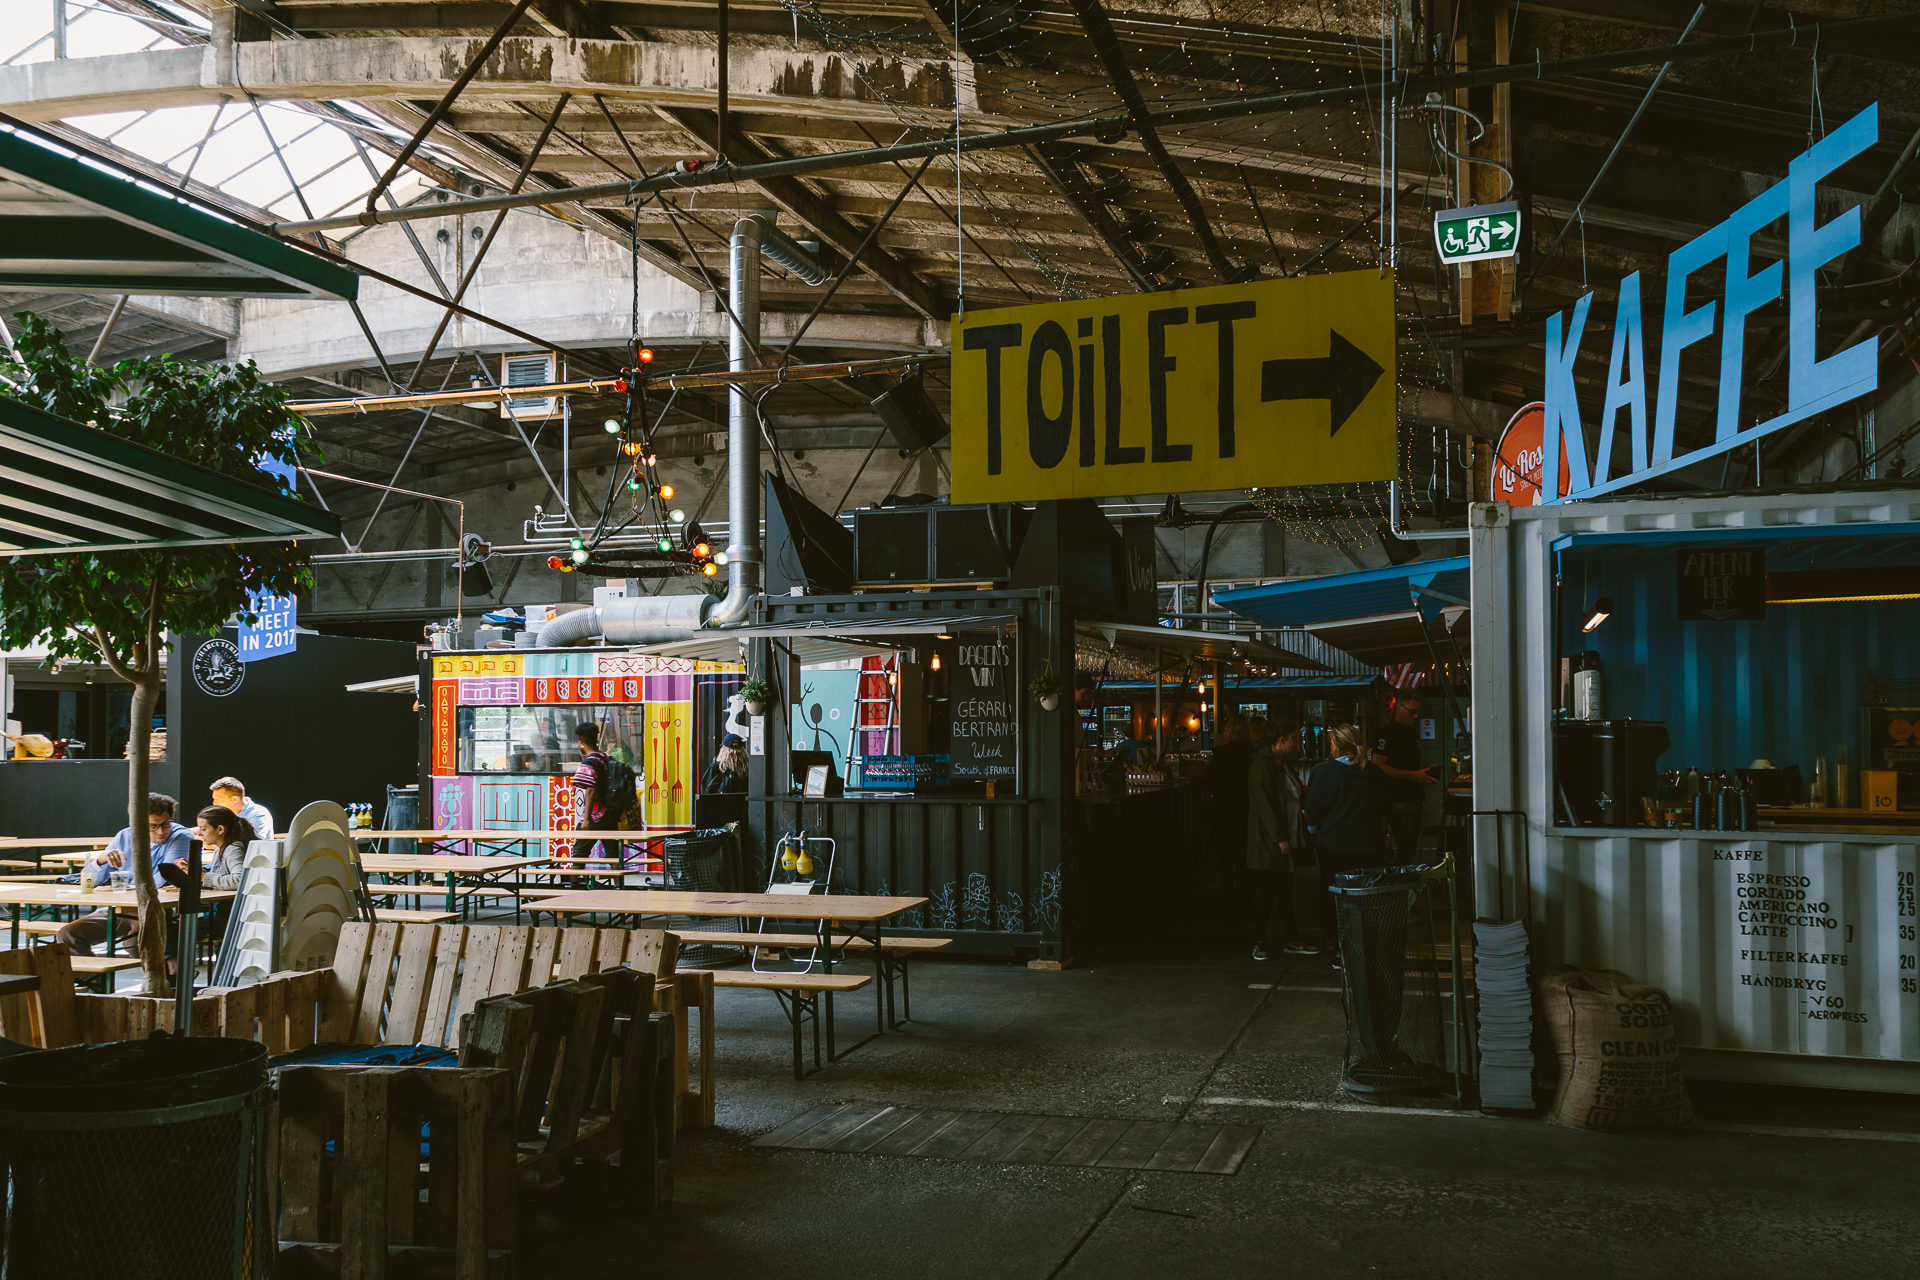
Road trip Scandinavia: photos from the B roll
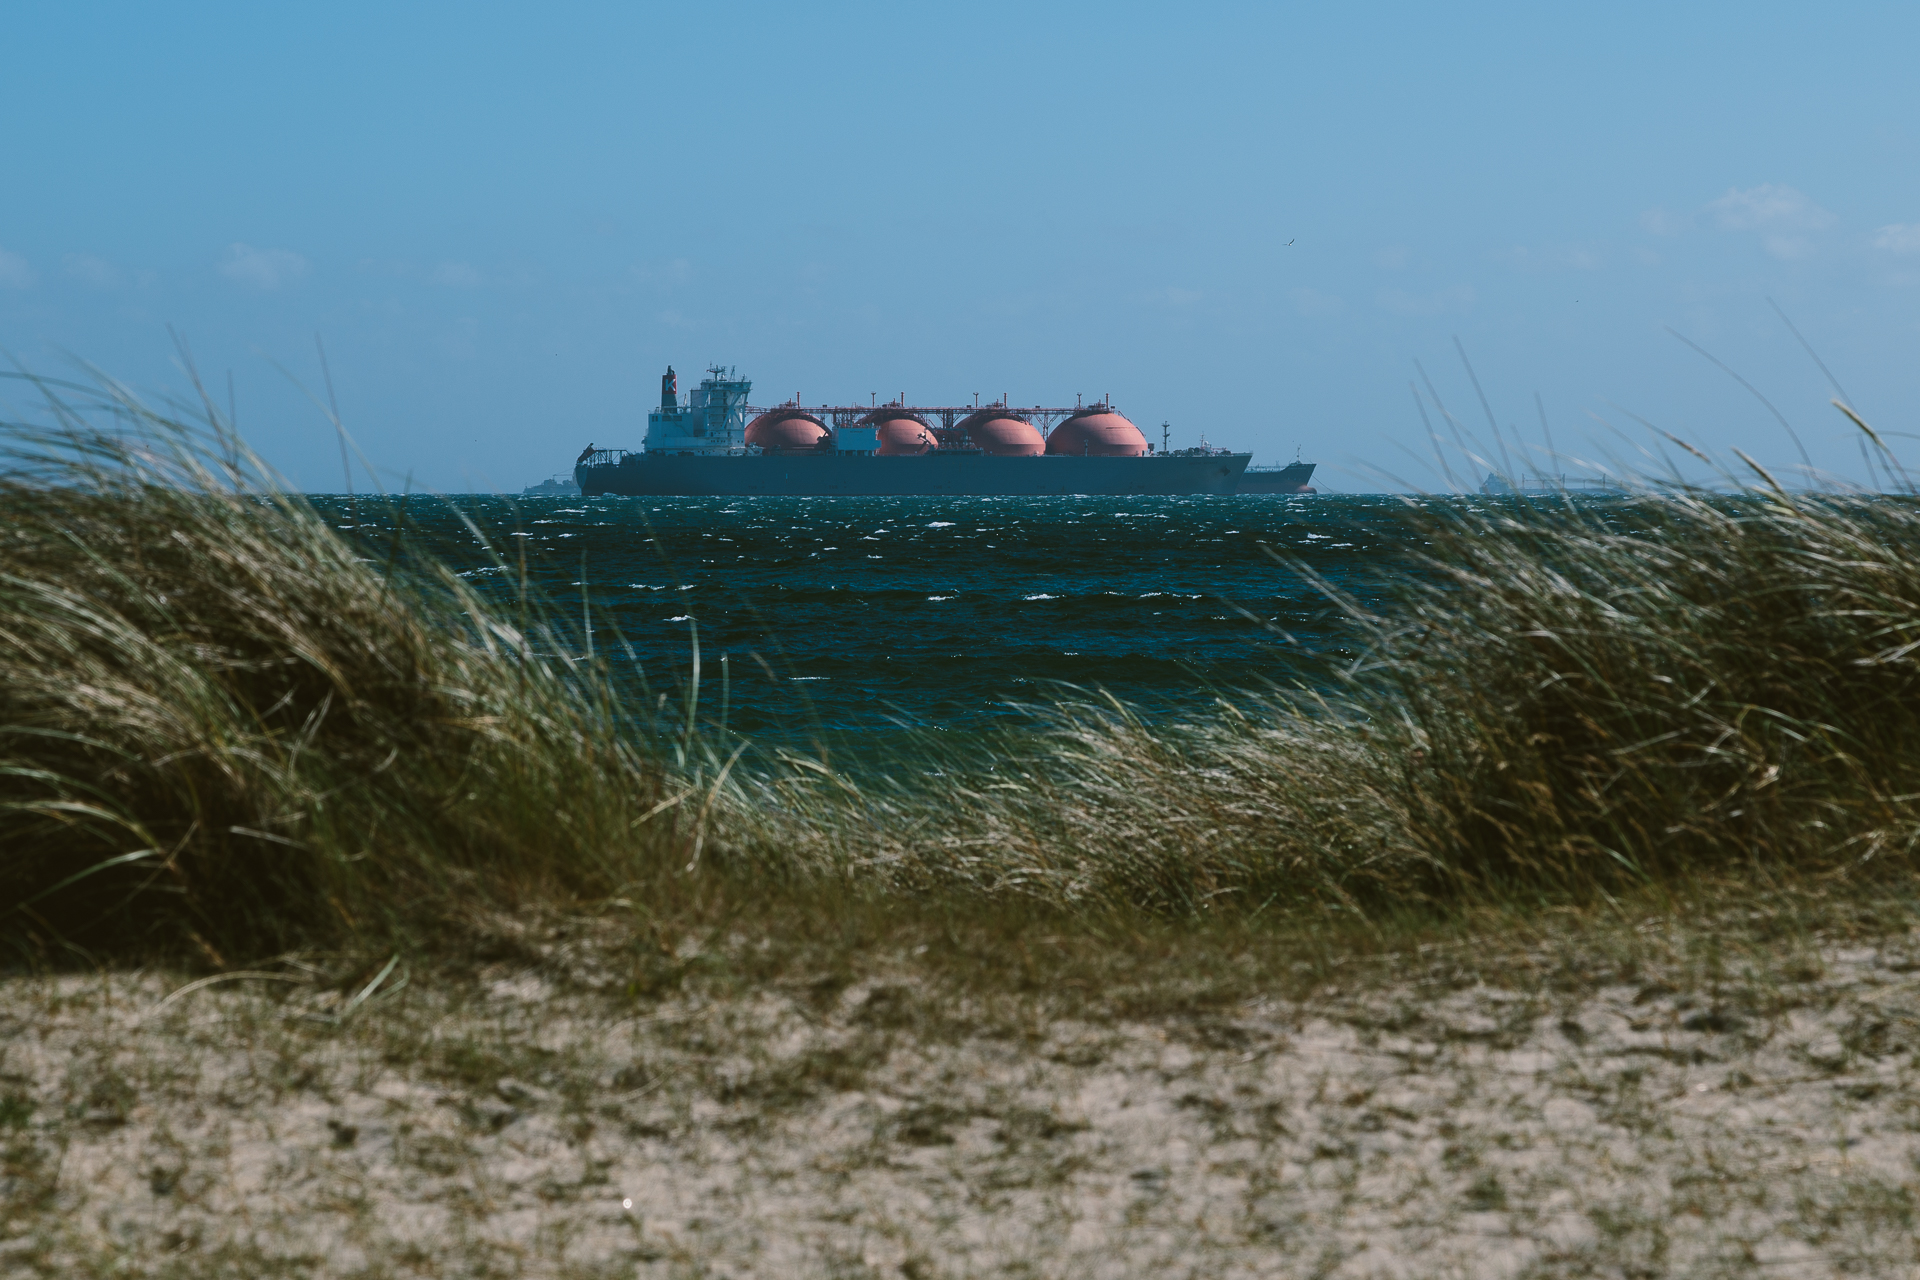
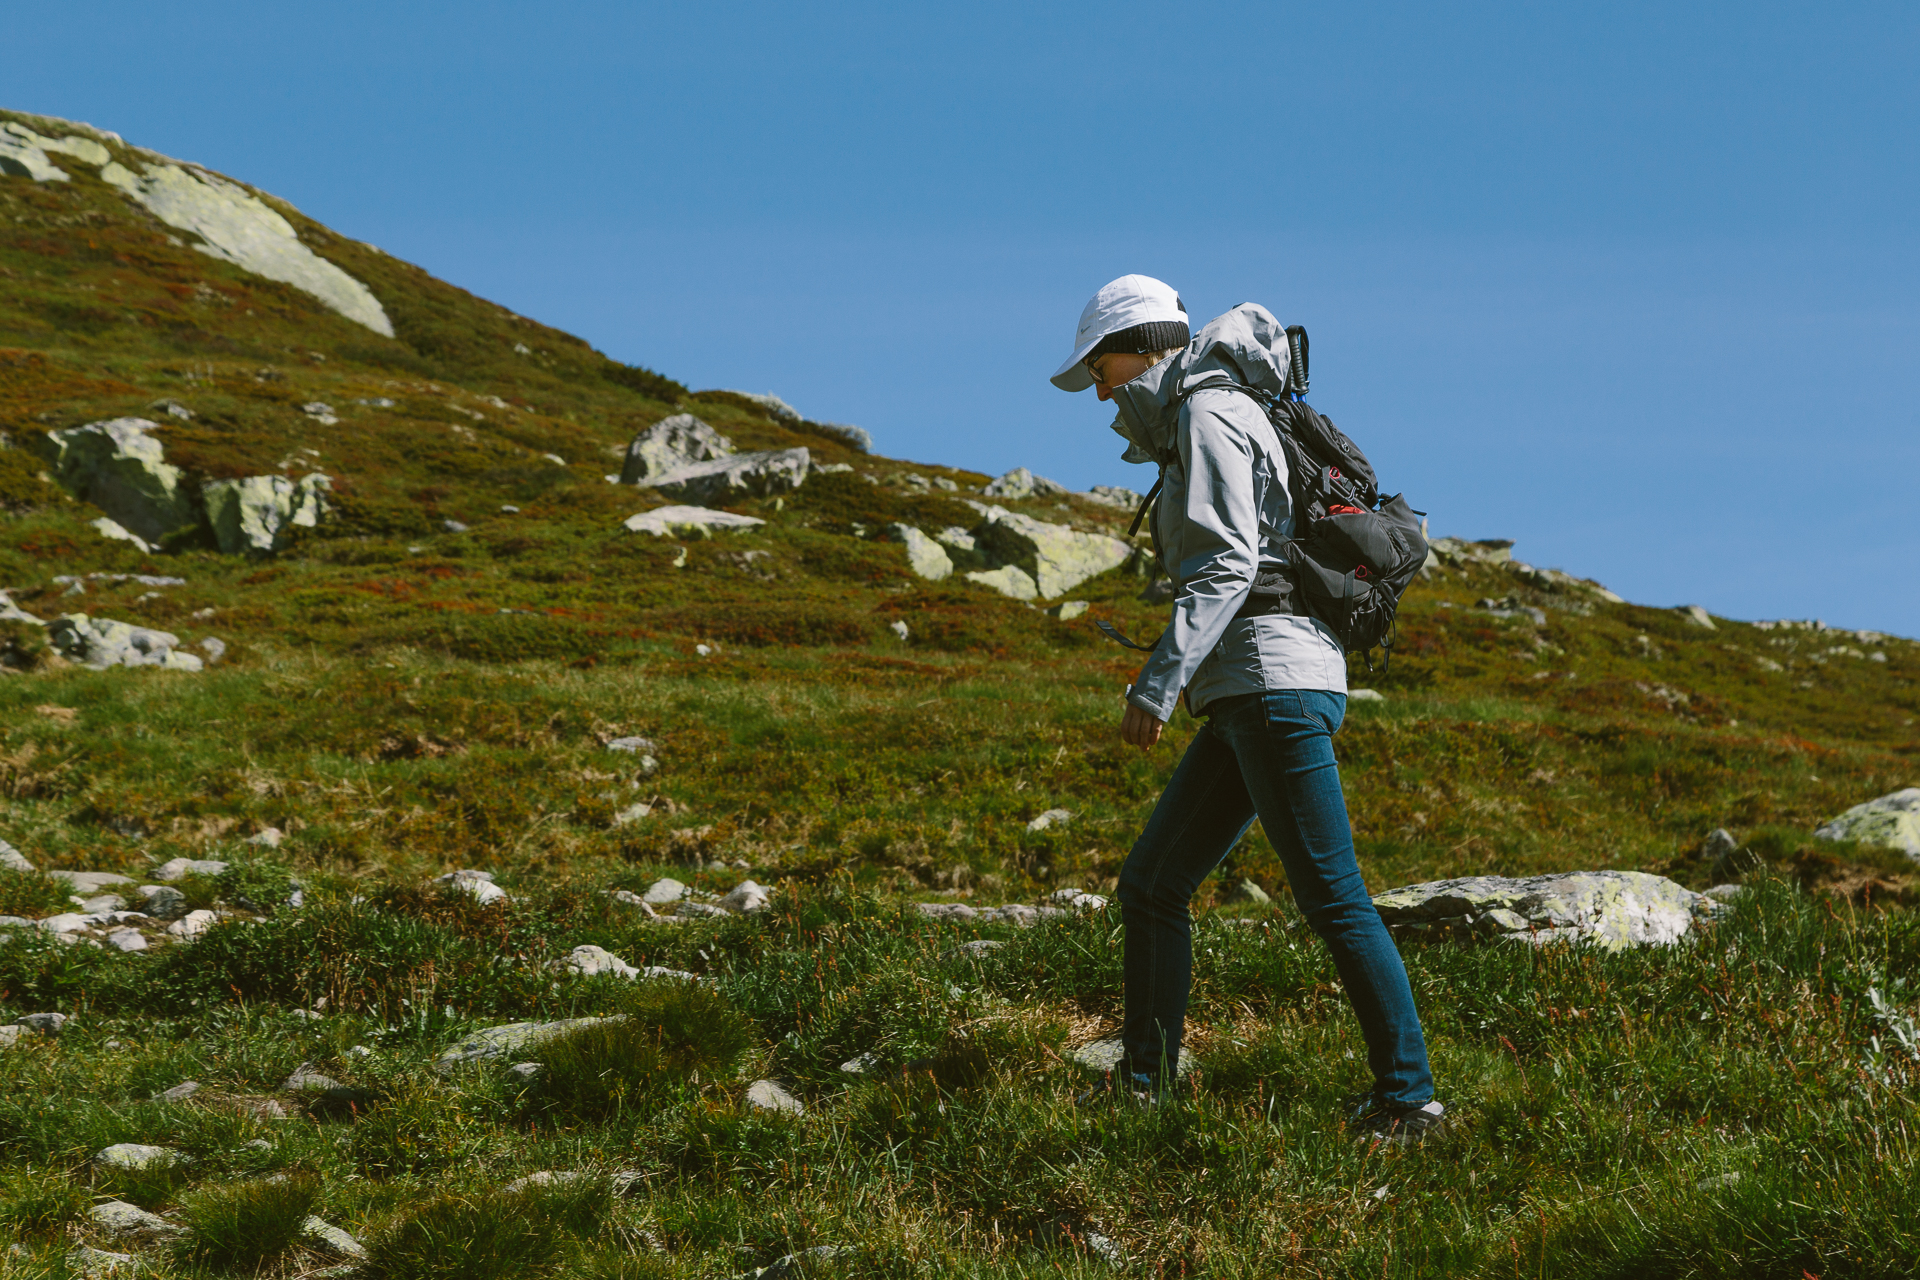
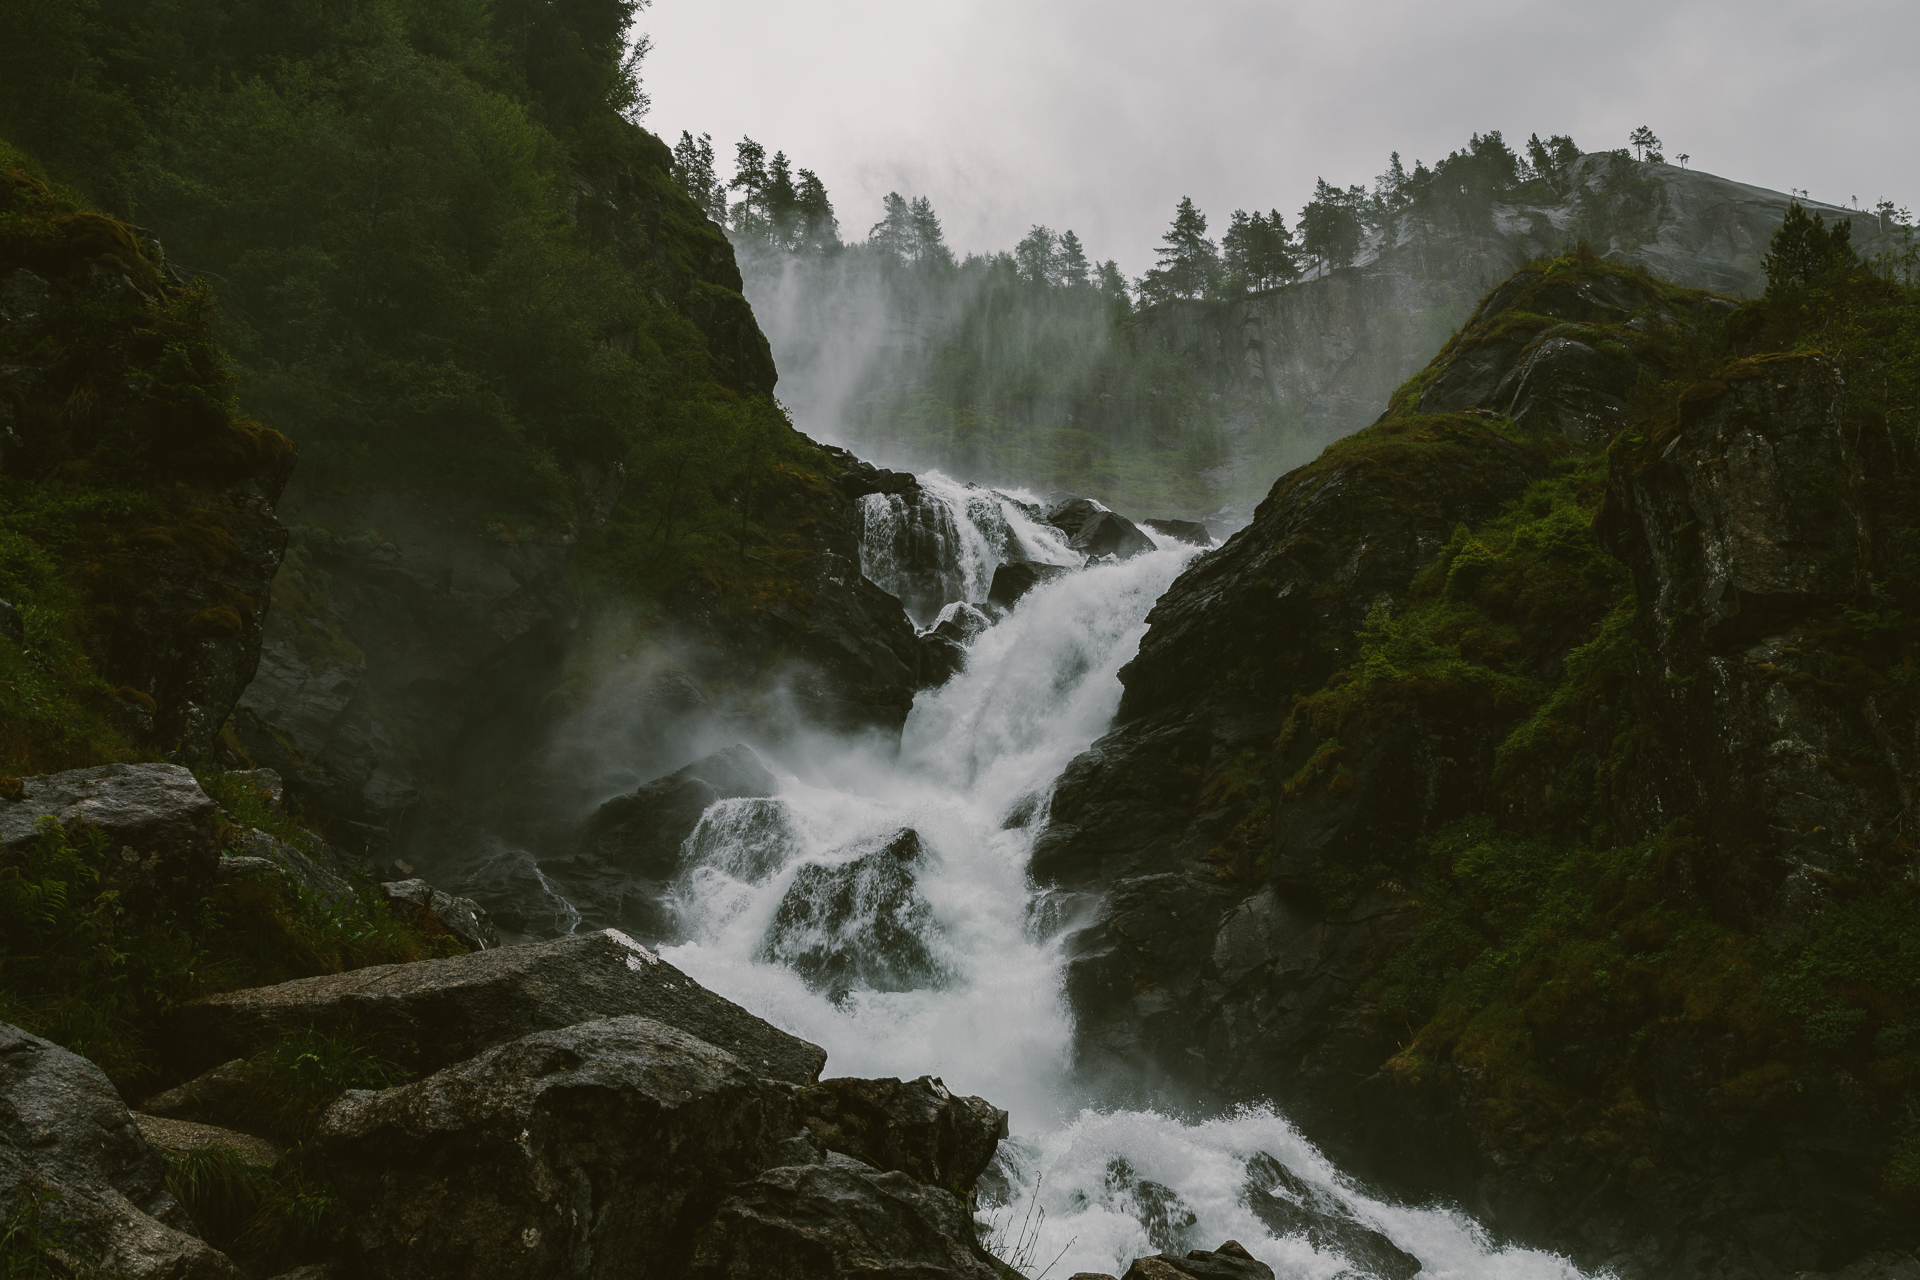
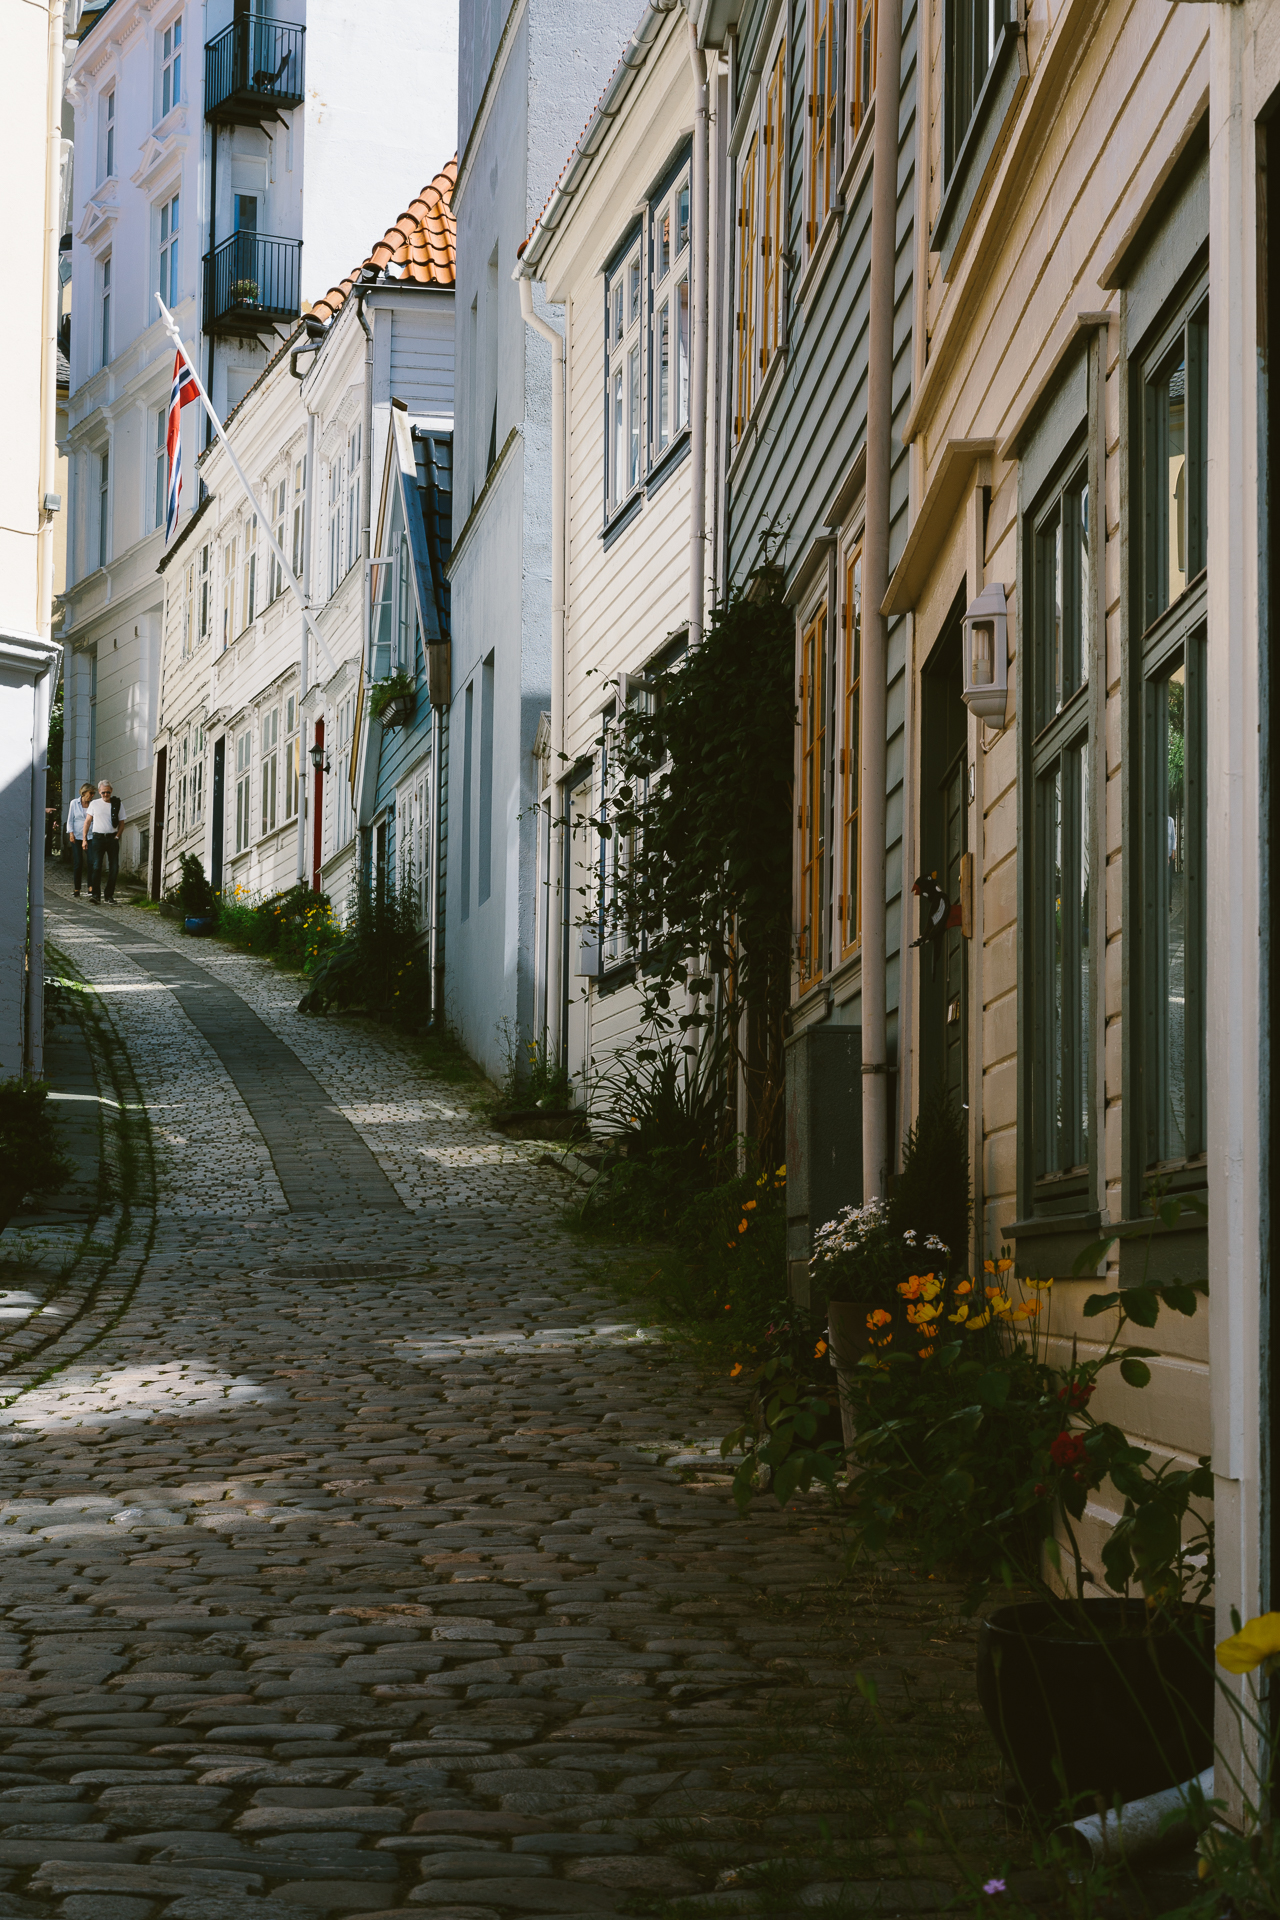
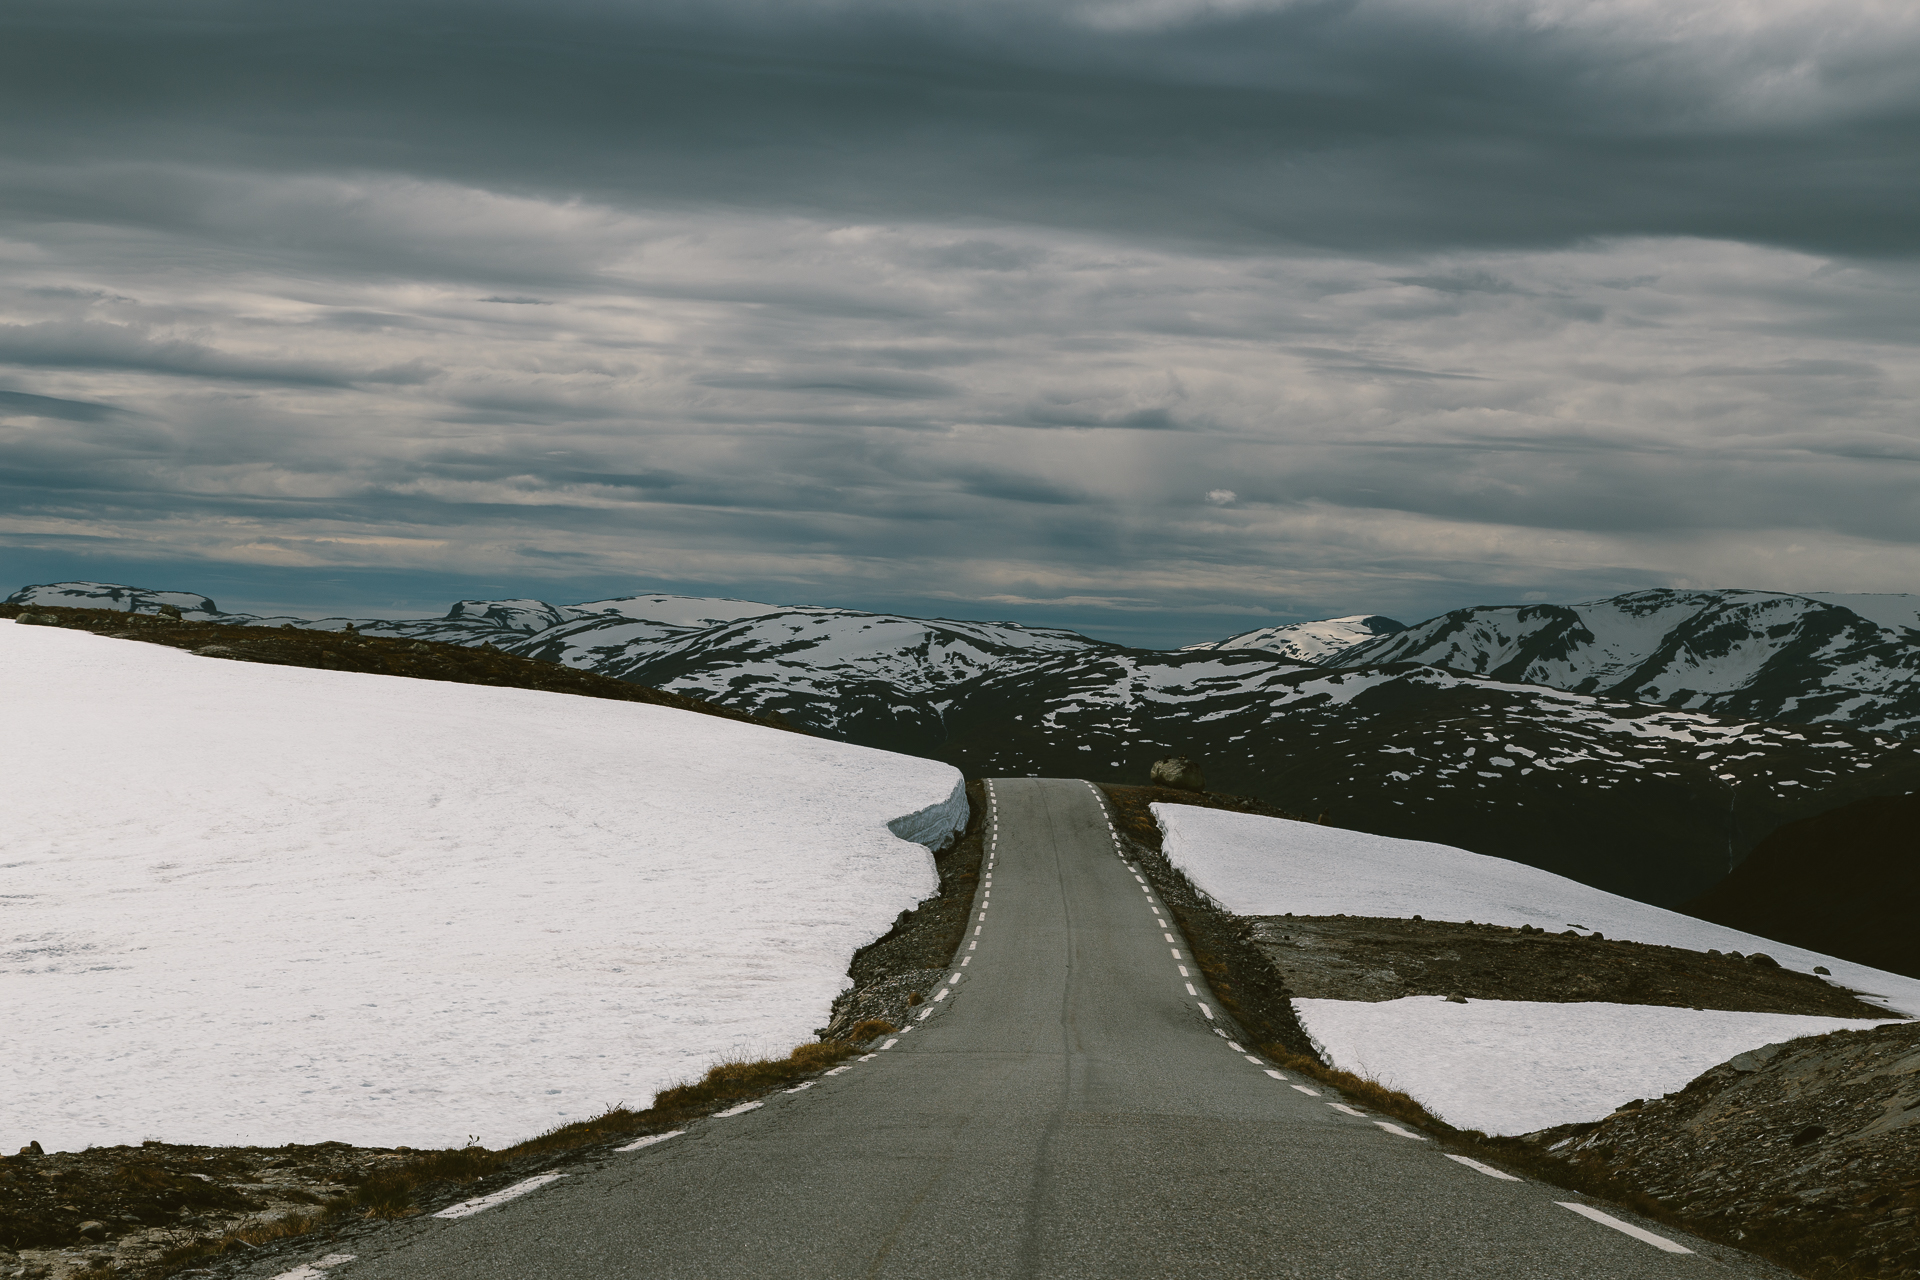
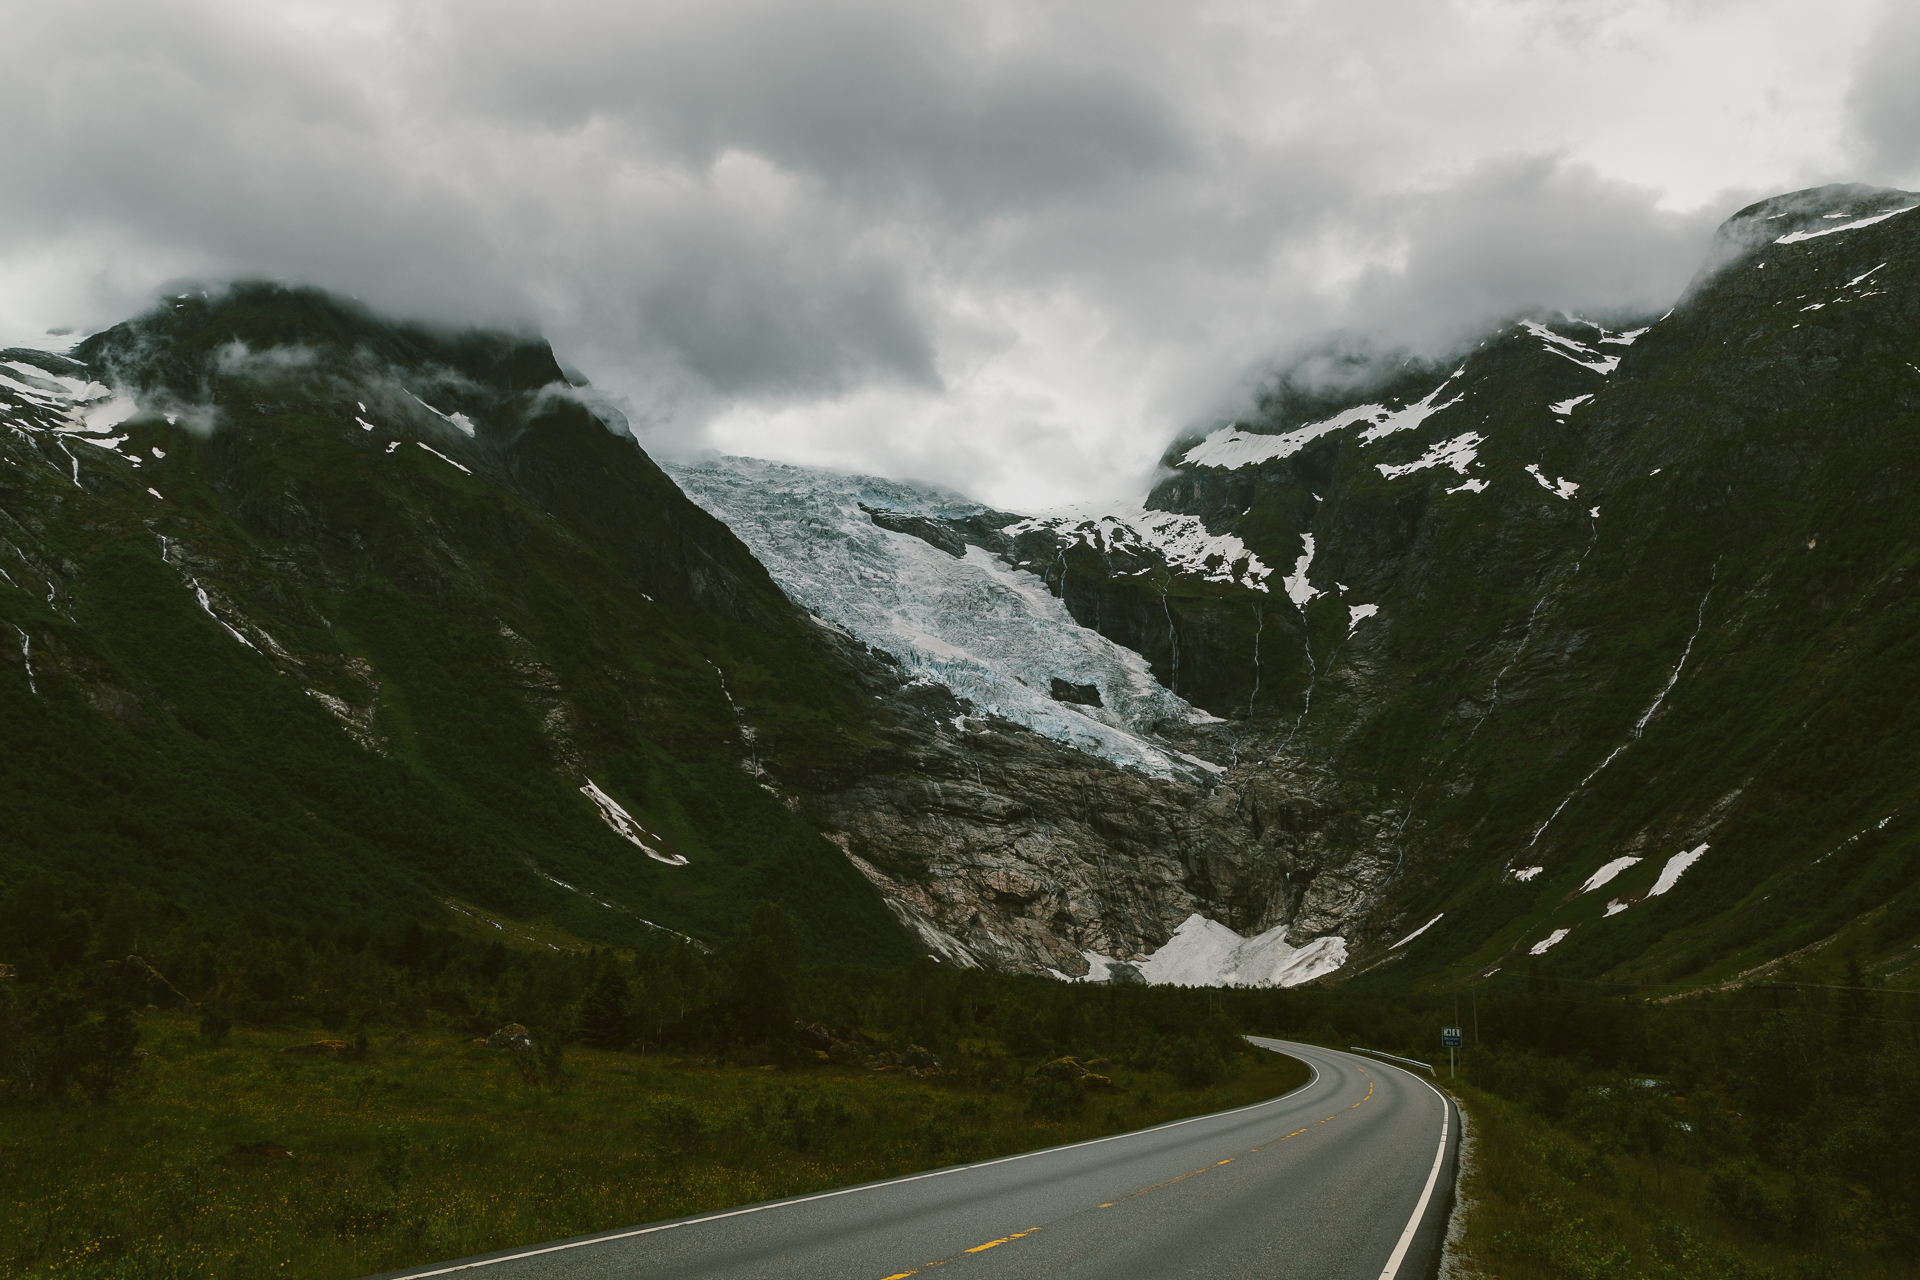
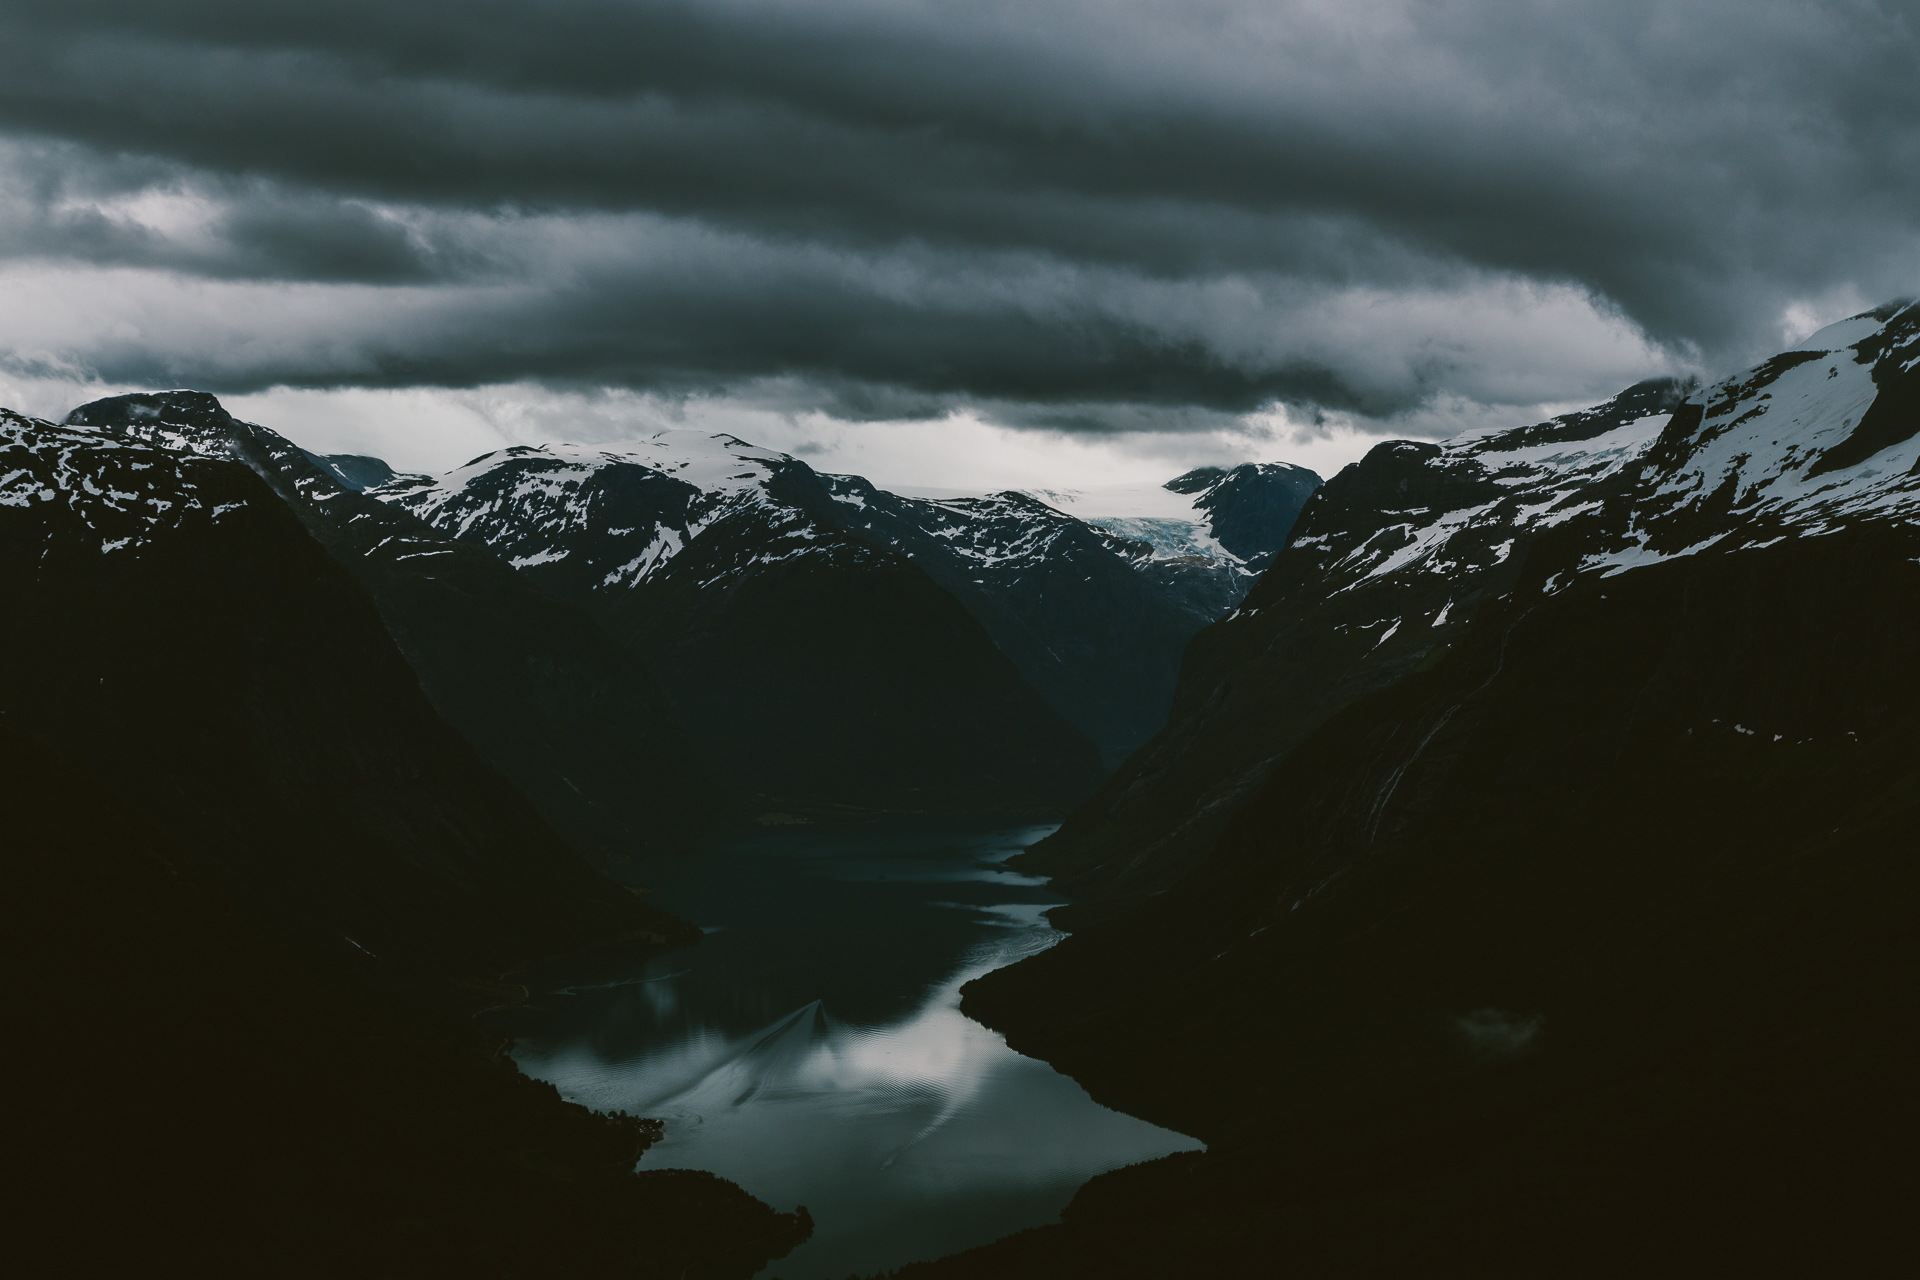
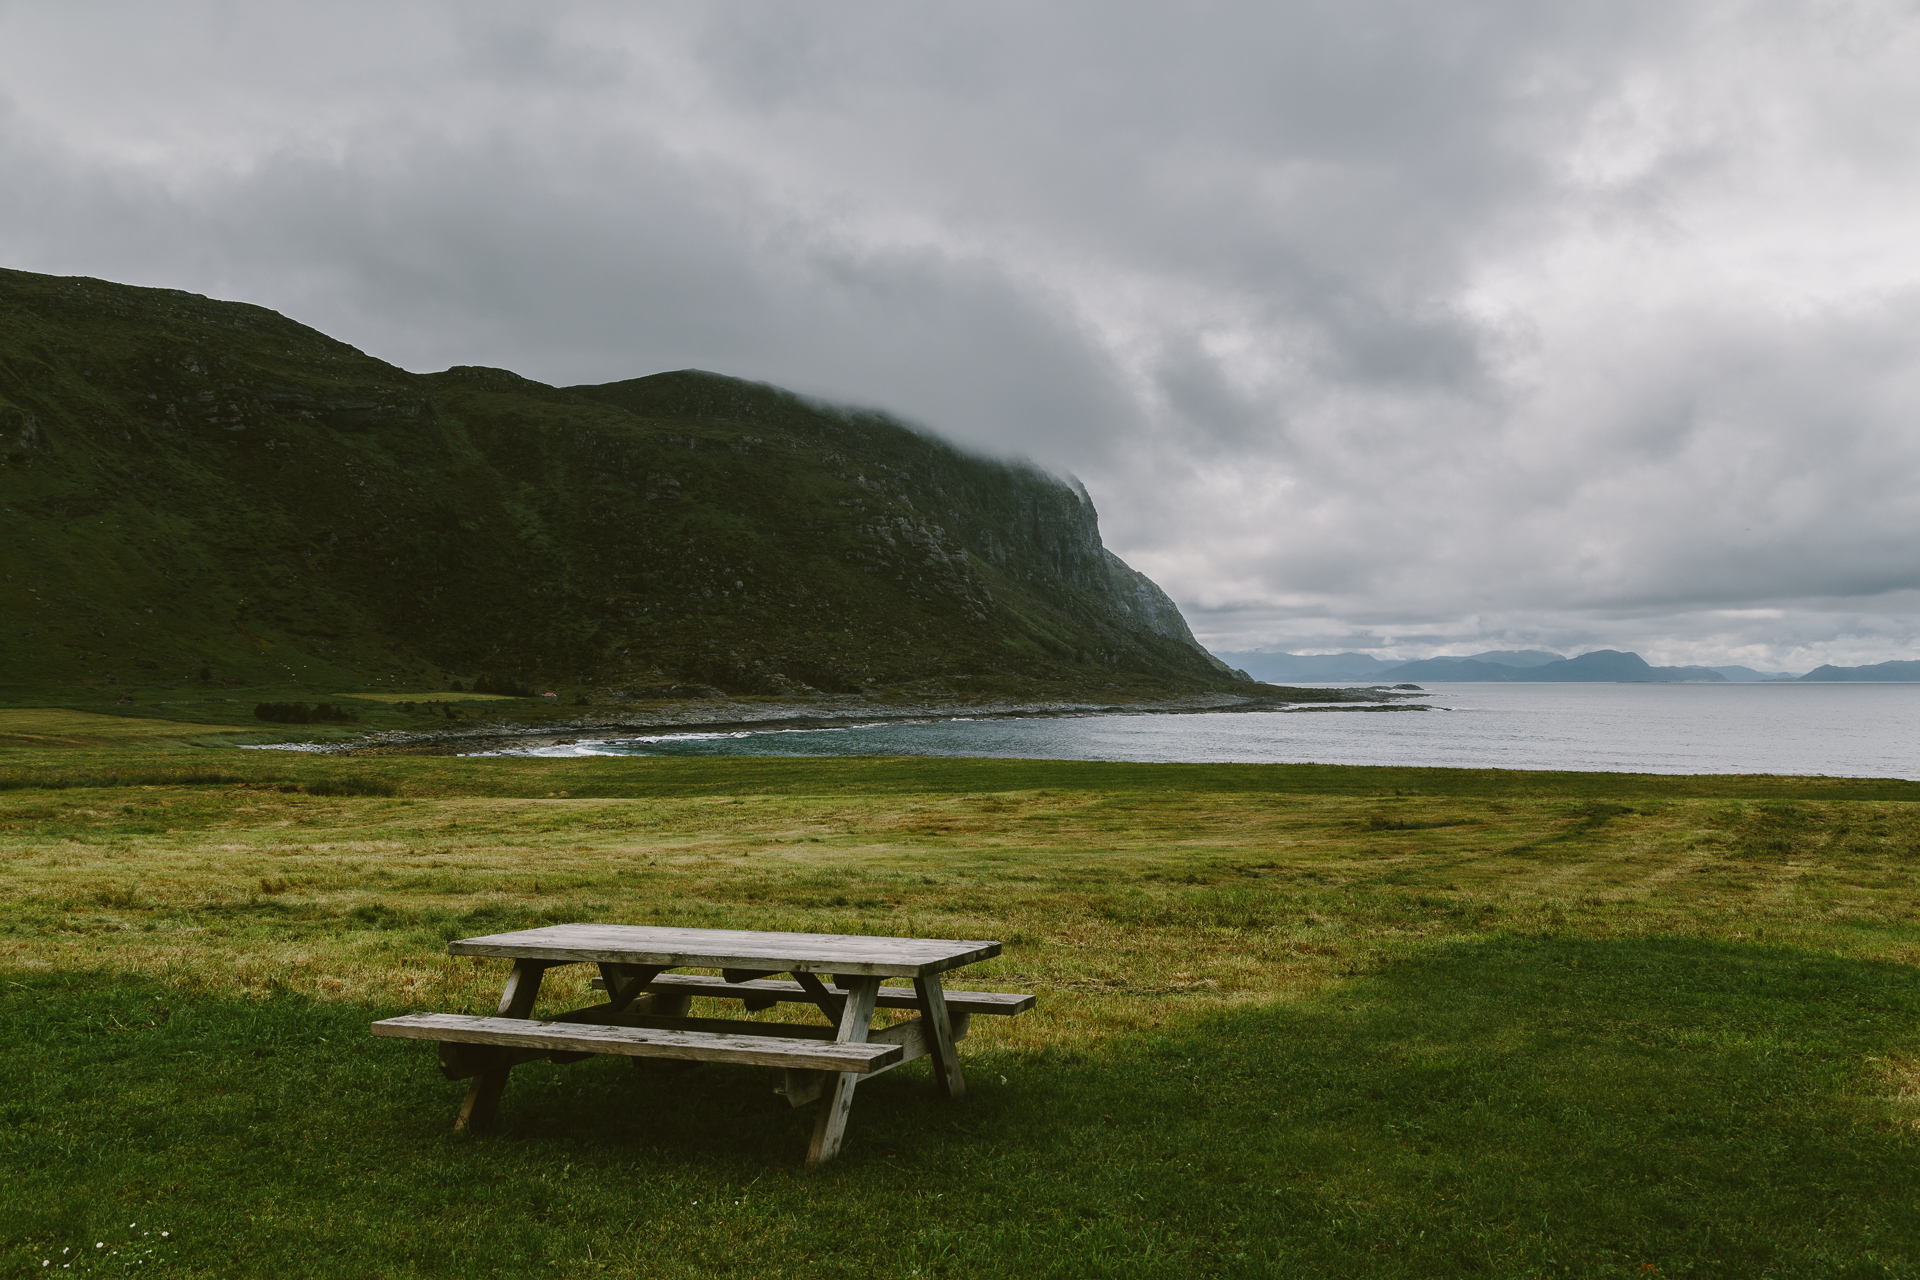
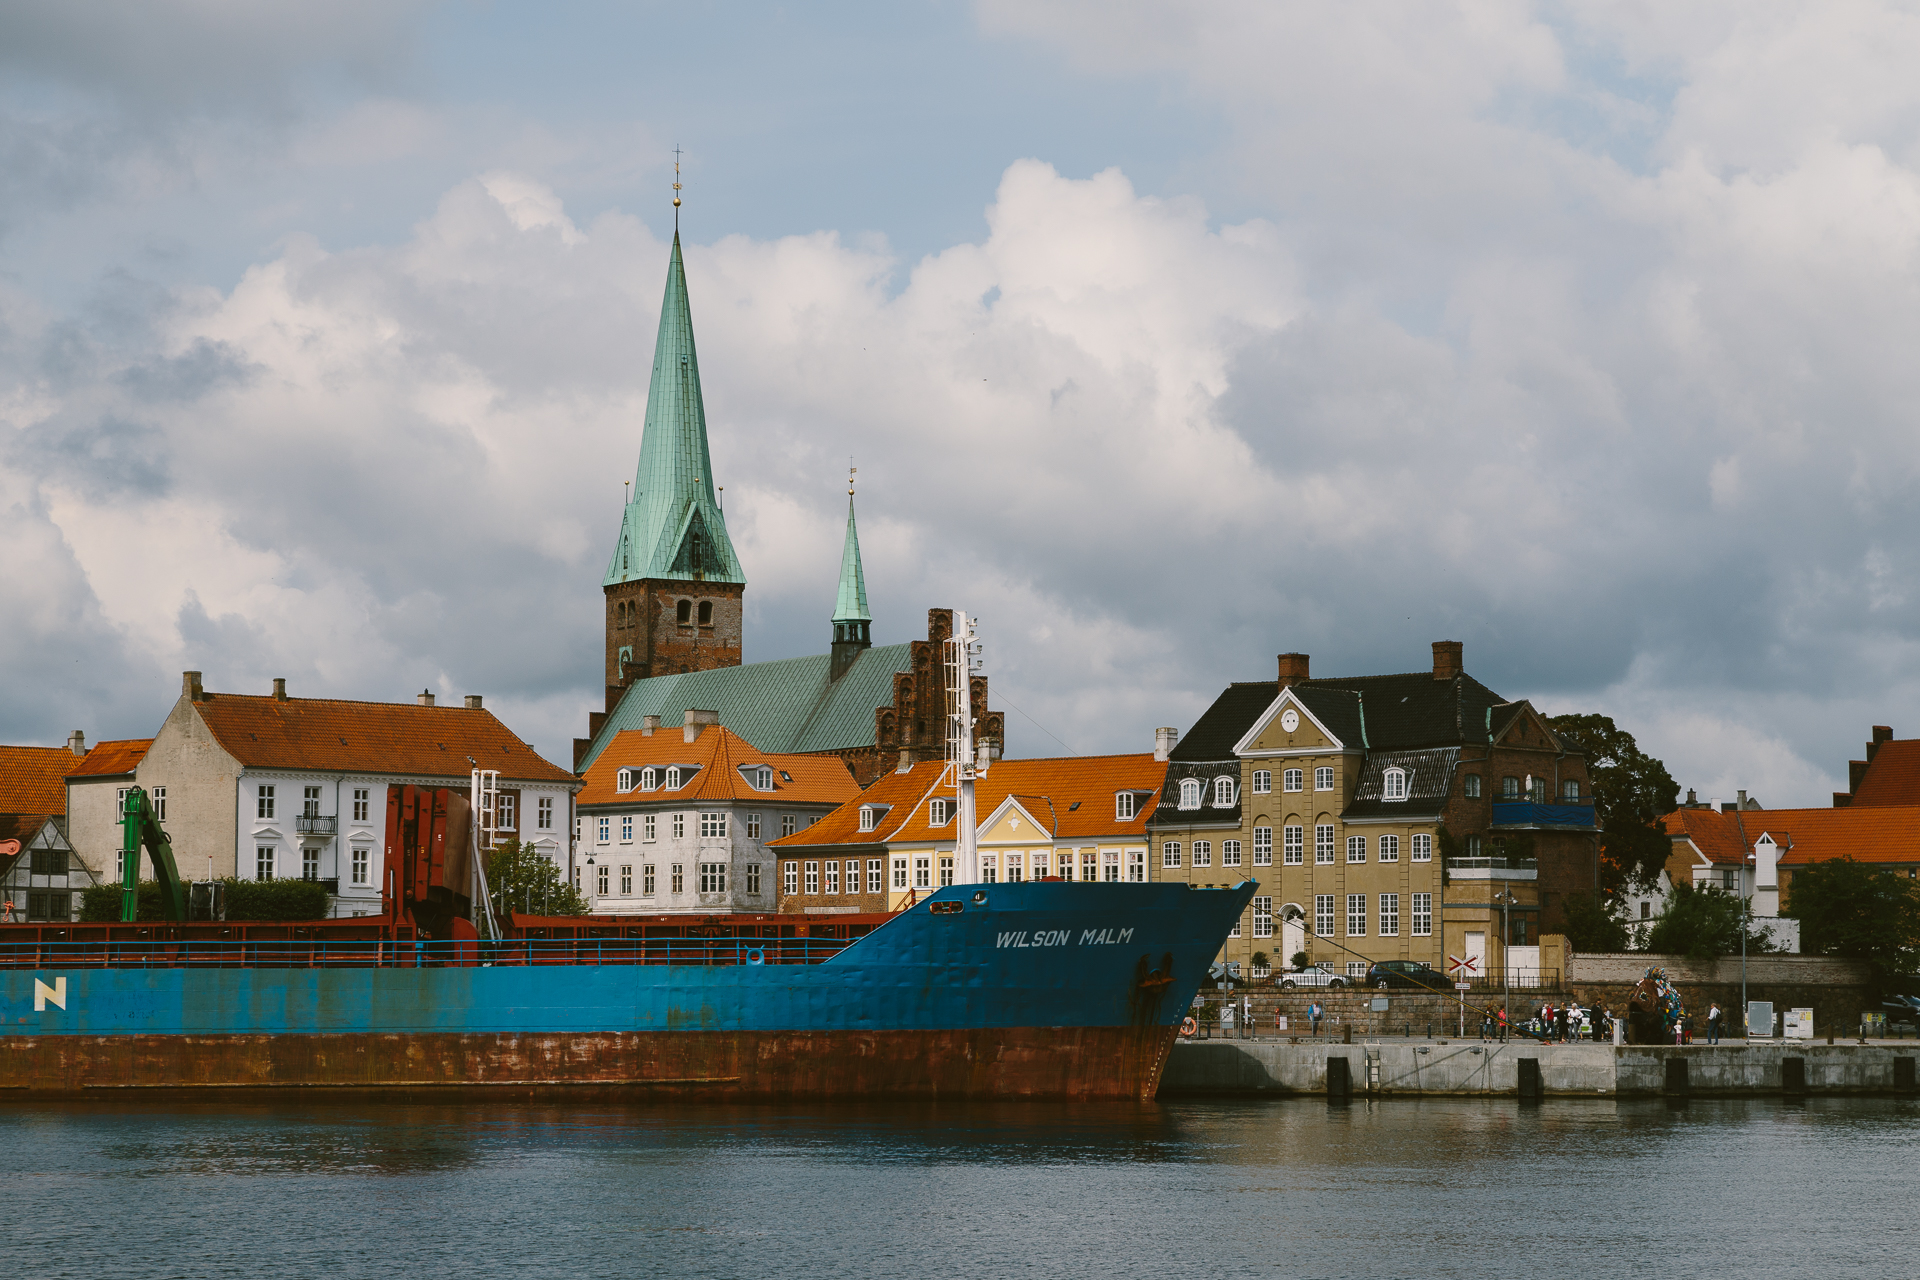
I still often think about our great summer road trip across Scandinavia. A few days ago I browsed through the hundreds of photos that I had taken in those three weeks, and decided to give a few initially neglected images a second chance to shine. I feel like these complete the initial selection with their simplicity and their very specific atmosphere. Enjoy!
Outreach photos with the MAIA CCD camera at the Mercator Telescope
When we go to work at the Mercator Telescope, 20% of the total observing time can be used for our own purposes. In the past this helped me to get additional spectra for my Kepler stars, but it also made it possible for me to help out my collaborators when they needed some extra observations. During my last observing run though, I spent a large portion of this time on making “pretty pictures” with the MAIA camera, resulting in a nice collection of outreach-ready images that the Institute of Astronomy can use in the future for PR. This post is a small how-to guide for making similar images.
1. Planning the observations
To be able to select a suitable target, you need to be familiar with the specifications of the instrument. MAIA is a simultaneous 3 channel frame-transfer CCD camera, meaning that as long as the exposure time is 44 seconds (it takes this long to read out one full frame without using windowing) or longer, it can take exposures continuously and simultaneously in three different channels. It has a chip size of 2k × 3k pixels, and a field of view of 9.4′ × 14.1′, which translates into a resolution of 0.275″/pixel. The three channels are r+i, g, and u (which can be though of as red, green, and blue, and they are labelled as R, G, and U in the system).
To select a target you also need to know the sky. You can use free software like Stellarium to see what objects are visible at a given time and position, just do not forget to actually set your location to the Roque de los Muchachos Observatory (and maybe install my Mercator panorama to really see what you would when standing in front of the observatory building on La Palma). If you want to search in a database, then the one of the Saguaro Astronomy Club is a good resource. You will want a target that is between 3′ and 9′ in size (or larger if you do not want to have the whole object in the field of view). 99% of targets this size will be perfectly suitable for MAIA, so you do not need to worry about their brightness.
You need to avoid bright stars in the field, because using an exposure time of 45 seconds stars that are brighter than 10-11 magnitudes (depending on the seeing conditions) will saturate the CCD and will cause vertical stripes on the final image. You can either use Stellarium, or the desktop client of Aladin to prepare the framing of your image, then record the central coordinate very precisely and use it later on for the pointing of the telescope. The pointing model of MAIA is spot in, so if your coordinate is precise, your target will be in the middle of the frame.
2. Imaging with MAIA
At the beginning of the night you need to take a set of calibration frames for MAIA too, most importantly sky flats. These are standard series, you can pick them from the Scheduler GUI, just pick the month, the time of the day (evening), and leave the default series of 10 U, and 10 R as they are fine like that. Start the sequence when the GUI says that there is ~40 minutes left until the start of the night, then the sky will be dark enough already for the U frames. Do not forget to stop the tracking of the telescope after pointing, this way stars will move across the field and their trails will be thrown out upon calculation a median flat field. You can take bias and dark frames too, or use the prescan area of the CCD to calculate these values (I do this, and for the pretty images, this is definitely satisfactory).
Do these kind of outreach observations preferably when there is a gap in available targets for the actual science programs, so you are not wasting valuable science time. For the object frames set frame transfer on (this puts a lower limit on the exposure time and thus on the brightness of the brightest unsaturated stars as already mentioned earlier, but saves a large amount of time). Focus the telescope. For pretty pictures a good focus is much more important than for time-series photometry! In the Focusing GIU start from thermal focus position minus 0.05 mm, do 3 measurements on both sides with a step of 0.02 mm (larger if seeing is worse), and keep an eye on the images in the ds9 window (use log scaling for better clarity) while the focus sequence is being done. Sometimes the fitted parabola in the GUI is not very precise (especially in U), but during the process you can easily see by eye when the sharpest – most circular – stars were achieved. Set that position in the focus GUI, then unselect the “thermal focus after each pointing” in the Scheduler GUI.
When setting up the exposures, use a series of 4-1-1 for U, G, and R. This means that by setting an exposure time of 45 seconds, you will get one U exposure of 4 × 45 (180) seconds, and four 45 second exposures of G and R each in one exposure repetition. There are some bad columns on the CCD especially in R, so to make life easier I suggest to use dithering, meaning that after a few exposure repetitions you need to move the telescope 3-5″ (or ~1 second) in RA (since the bad columns are along equal RA meridians), and you need to do this at least 2 times for one target. As a result later on when we sync up the frames based on the stars’ positions, the bad columns will not always fall on the same part of the sky, so calculating a median will get rid of them very easily. You do not need to have the guiding on during these observations, as tracking alone is perfectly good enough when the exposure times are so short.
My suggested setup is: 3 exposure groups (dithering of 3-5″ between these) of 5 repetitions each (3 × 5 × 1 U, and 3 × 5 × 4 G, and R frames), which adds up to a total exposure time of 2700 seconds per channel (in 20 and 60 subs of 180 and 45 seconds per channel, respectively). You can use the field rotator for better framing, but do not forget that if you set it to 90 degrees, then dithering needs to be in the declination direction instead of right ascension.
3. Data reduction
When the observations are done, we can start with the data reduction. Just like when working with science data, we first need to calibrate the object frames (to remove artefacts coming from the spatially non constant sensitivity of the CCD chip and dust in front of the detectors). You can do it with your own software/script, or you can simply use a python script I made to automate this step. The only thing you need to remember is that calibration needs to be done channel-by-channel, and that the MAIA fits files always contain three channels, but not always all three are useful. For example during sky flats some files will only contain U channel data, others only G and R. Similarly, object frames will most often only have data in the R and G channels, as only every fourth exposure will contain all three channels (since we set up the exposures this way).
If you want to use my script, just copy all *_FFS.fits and *_OBJ.fits files in the same folder where the reduceMAIA_PR.py file is, and run it in terminal simply by typing “python reduceMAIA_PR.py”. This will create a master flat frame for each channel, and three processed fits files for each OBJ file (one per channel). The script calculates the bias and dark currents from each object file’s prescan area, so it does not need *_BIAS.fits and *_DARK.fits calibration frames. Important note: do not use this script for science data reduction as it is, but use line 164 instead of line 163! I am “cheating” during the flat-fielding of the U channel, long story short, I had to do this to fully remove the remnants of the strong background pattern even at the very low signal level. I have ideas why the proper flat-fielding does not produce fully satisfactory results in the U channel without this “cheat”, but I don’t have time to test it out, and it already works fine enough for the purpose of making pretty images.
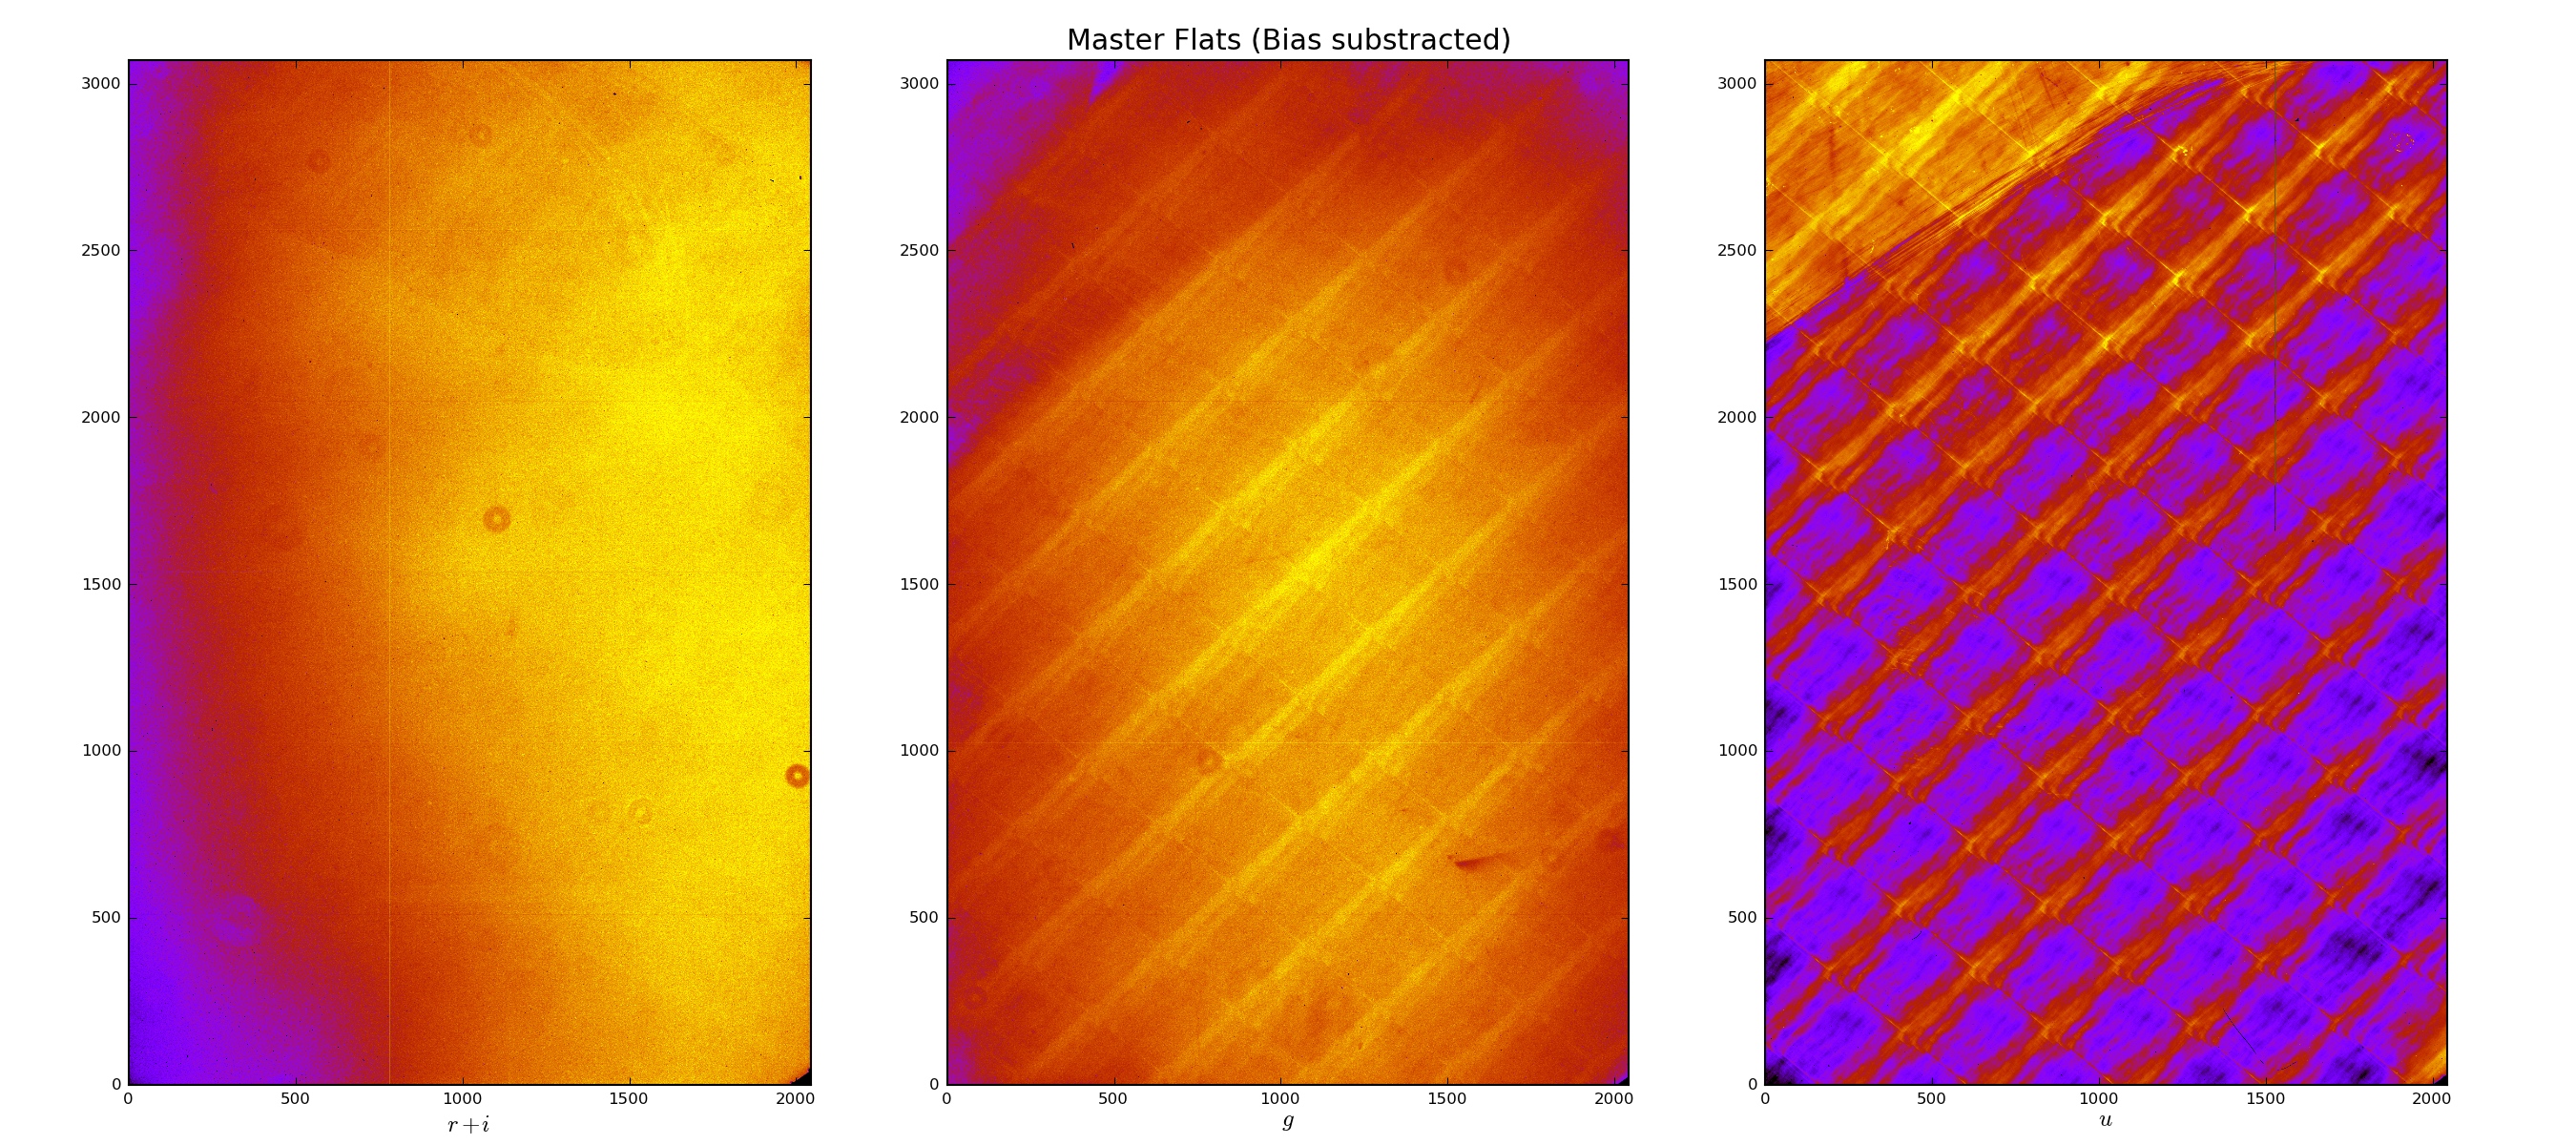
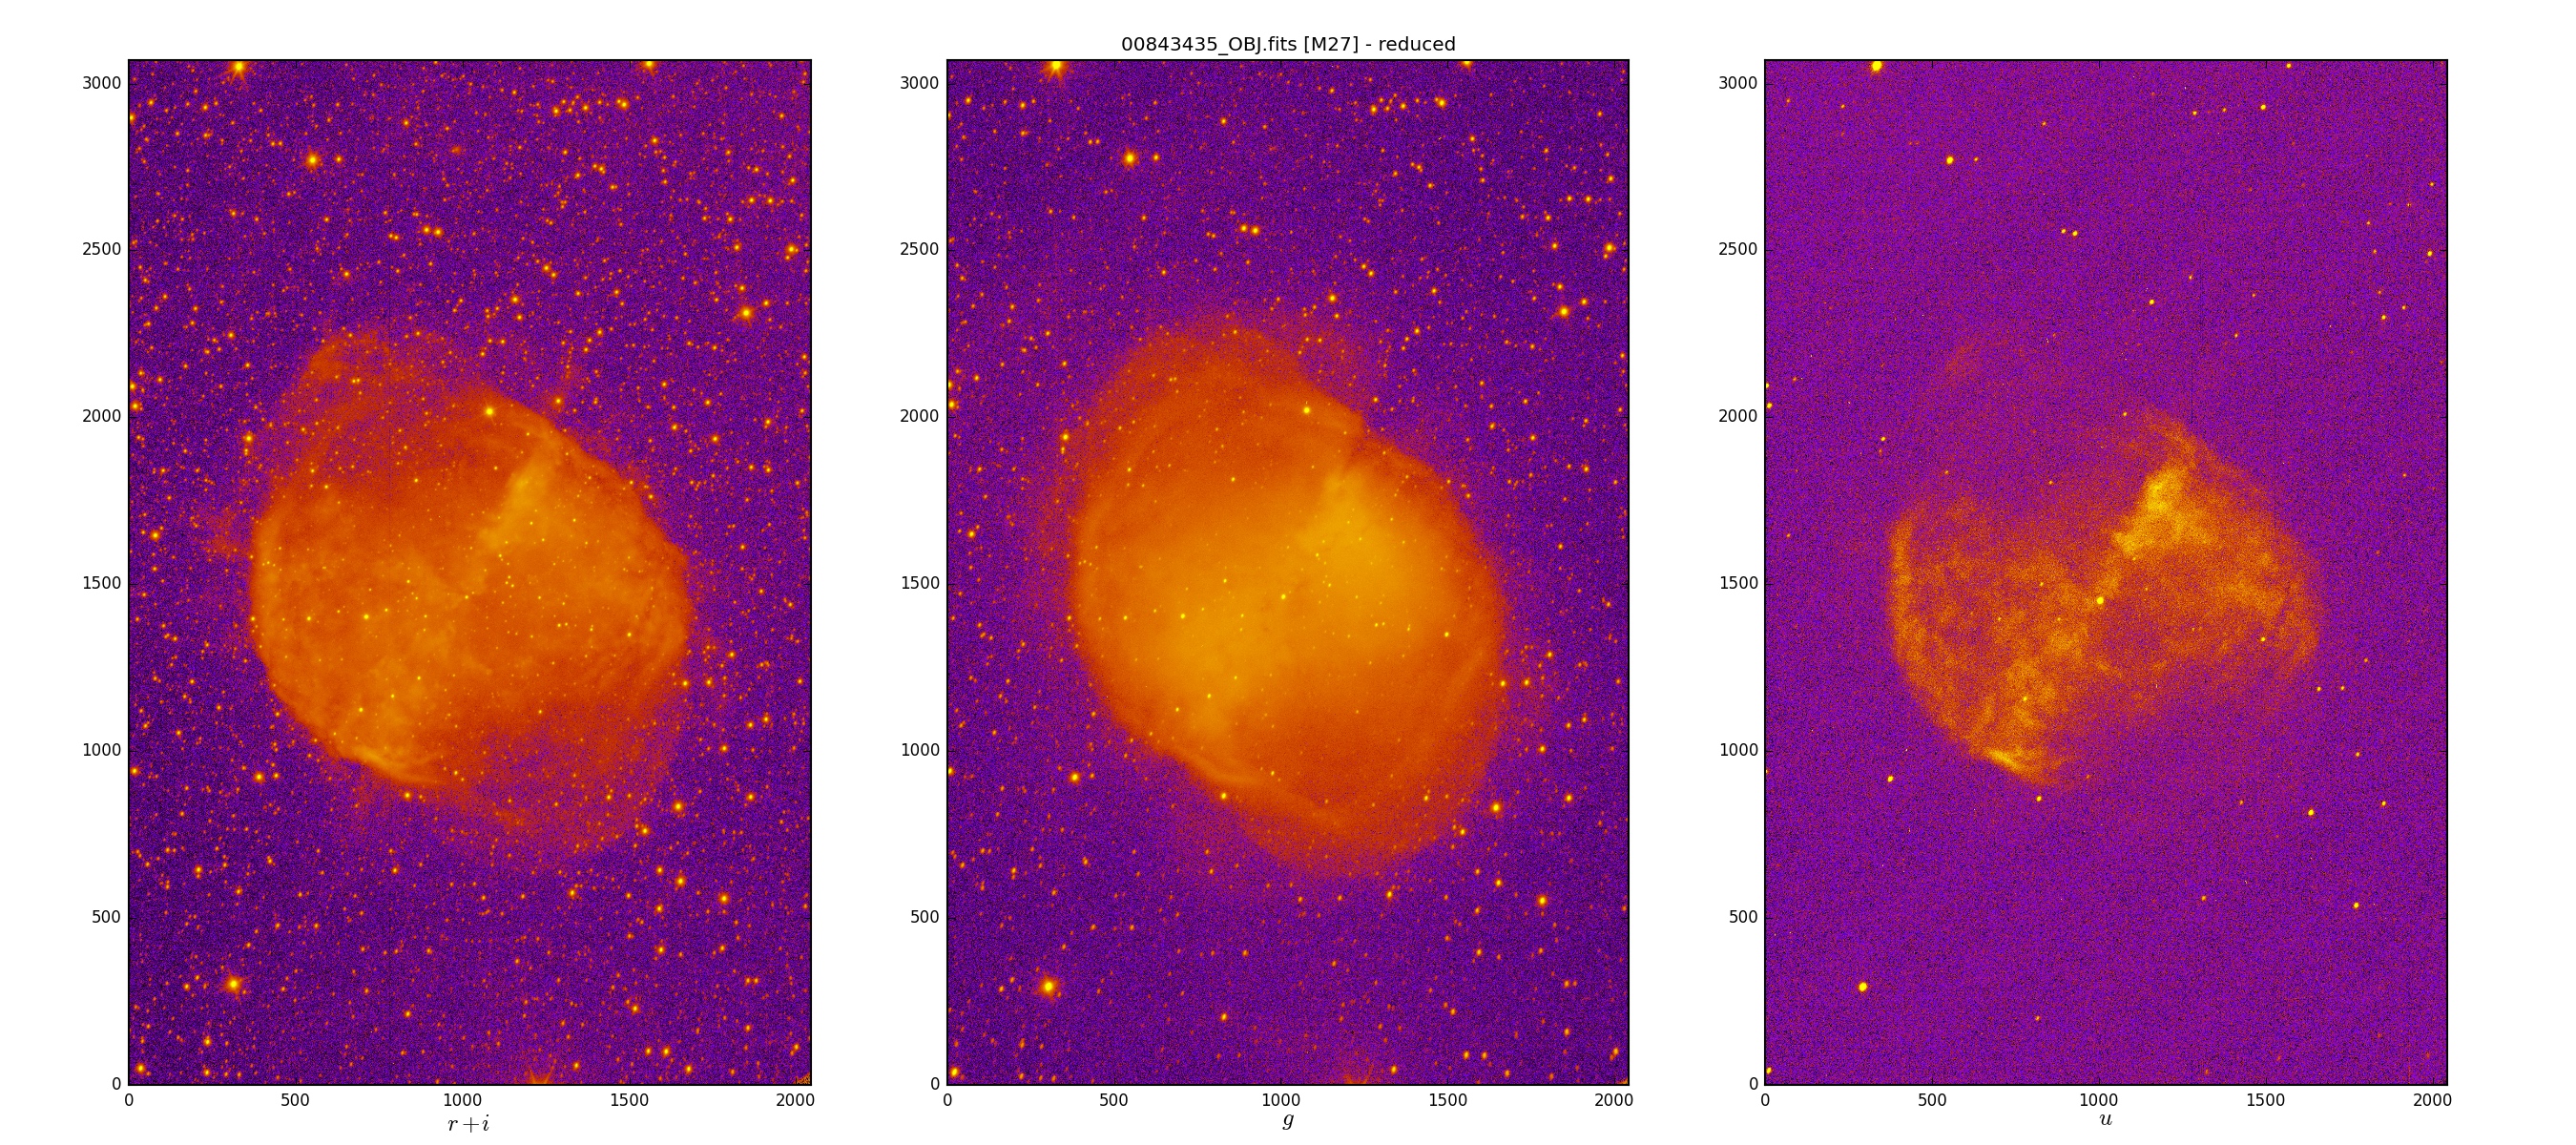
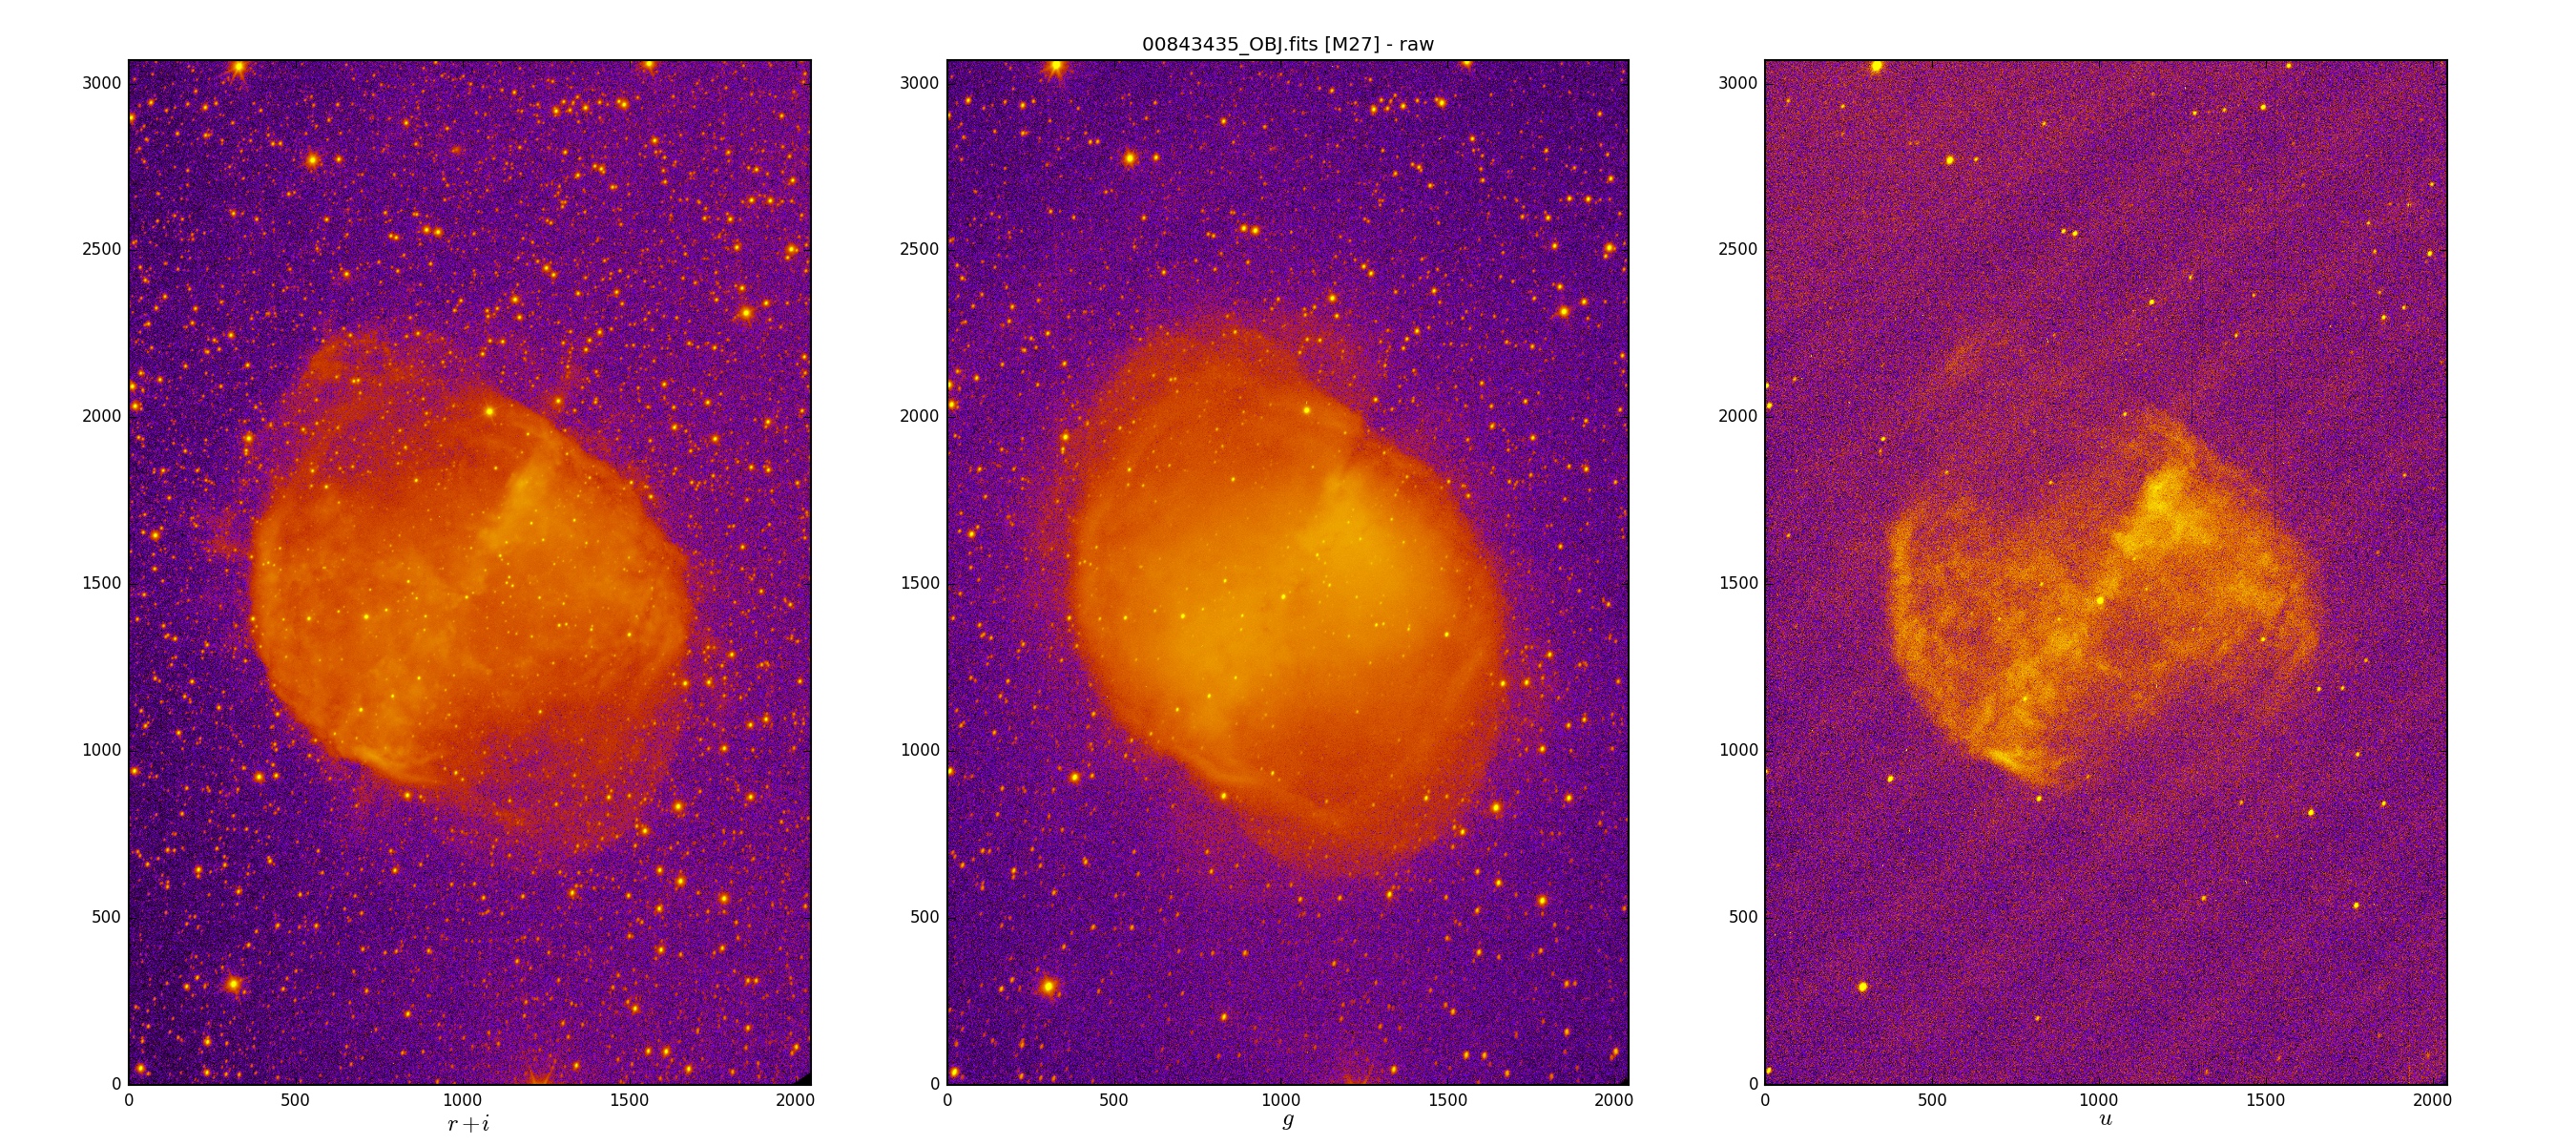
Here is a comparison of a raw OBJ frame, the master flat fields, and the calibrated exposures.
4. Image processing
So how do we get to a single colour image from these monochrome frames? The main purpose of taking 60 subs and not a single 2700 second exposure photo was a) lowering the noise, and b) avoiding saturation of the (brighter) stars. We need to integrate these subs (60 or 20, depending on the channel) together, then use the three master channels to create the colour composite. The main difficulty: the optical path to the three CCDs is different, so the stars in the three different channels are at slightly different positions, and it is not a linear transformation to go from one frame to another.
I use AstroPixelProcessor (APP) for the following steps, and since there is a 30 day fully-functional trial version, you can always download it when at the telescope to experiment with it during your observing run. It is a very self-explanatory software package with a good amount of on-line and in-software documentation/help available, so I am only going to summarise the steps of my workflow, instead of going into extensive detail.
Work plan per channel: find star positions (in APP: “Analyse Stars”; for U you should set the sigma to lower if it does not find enough stars), shift and transform images to a common frame (this is to correct for the dithering jumps and guiding shifts, in APP: “Register”; might have to set pattern recognition to triangles if there are too few stars in the frame), integrate separate frames together (in APP: “Integrate”; median for R to get rid of the bad columns, average with simple sigma clipping as outlier rejection for G, and U), save integrated image to a fits file.
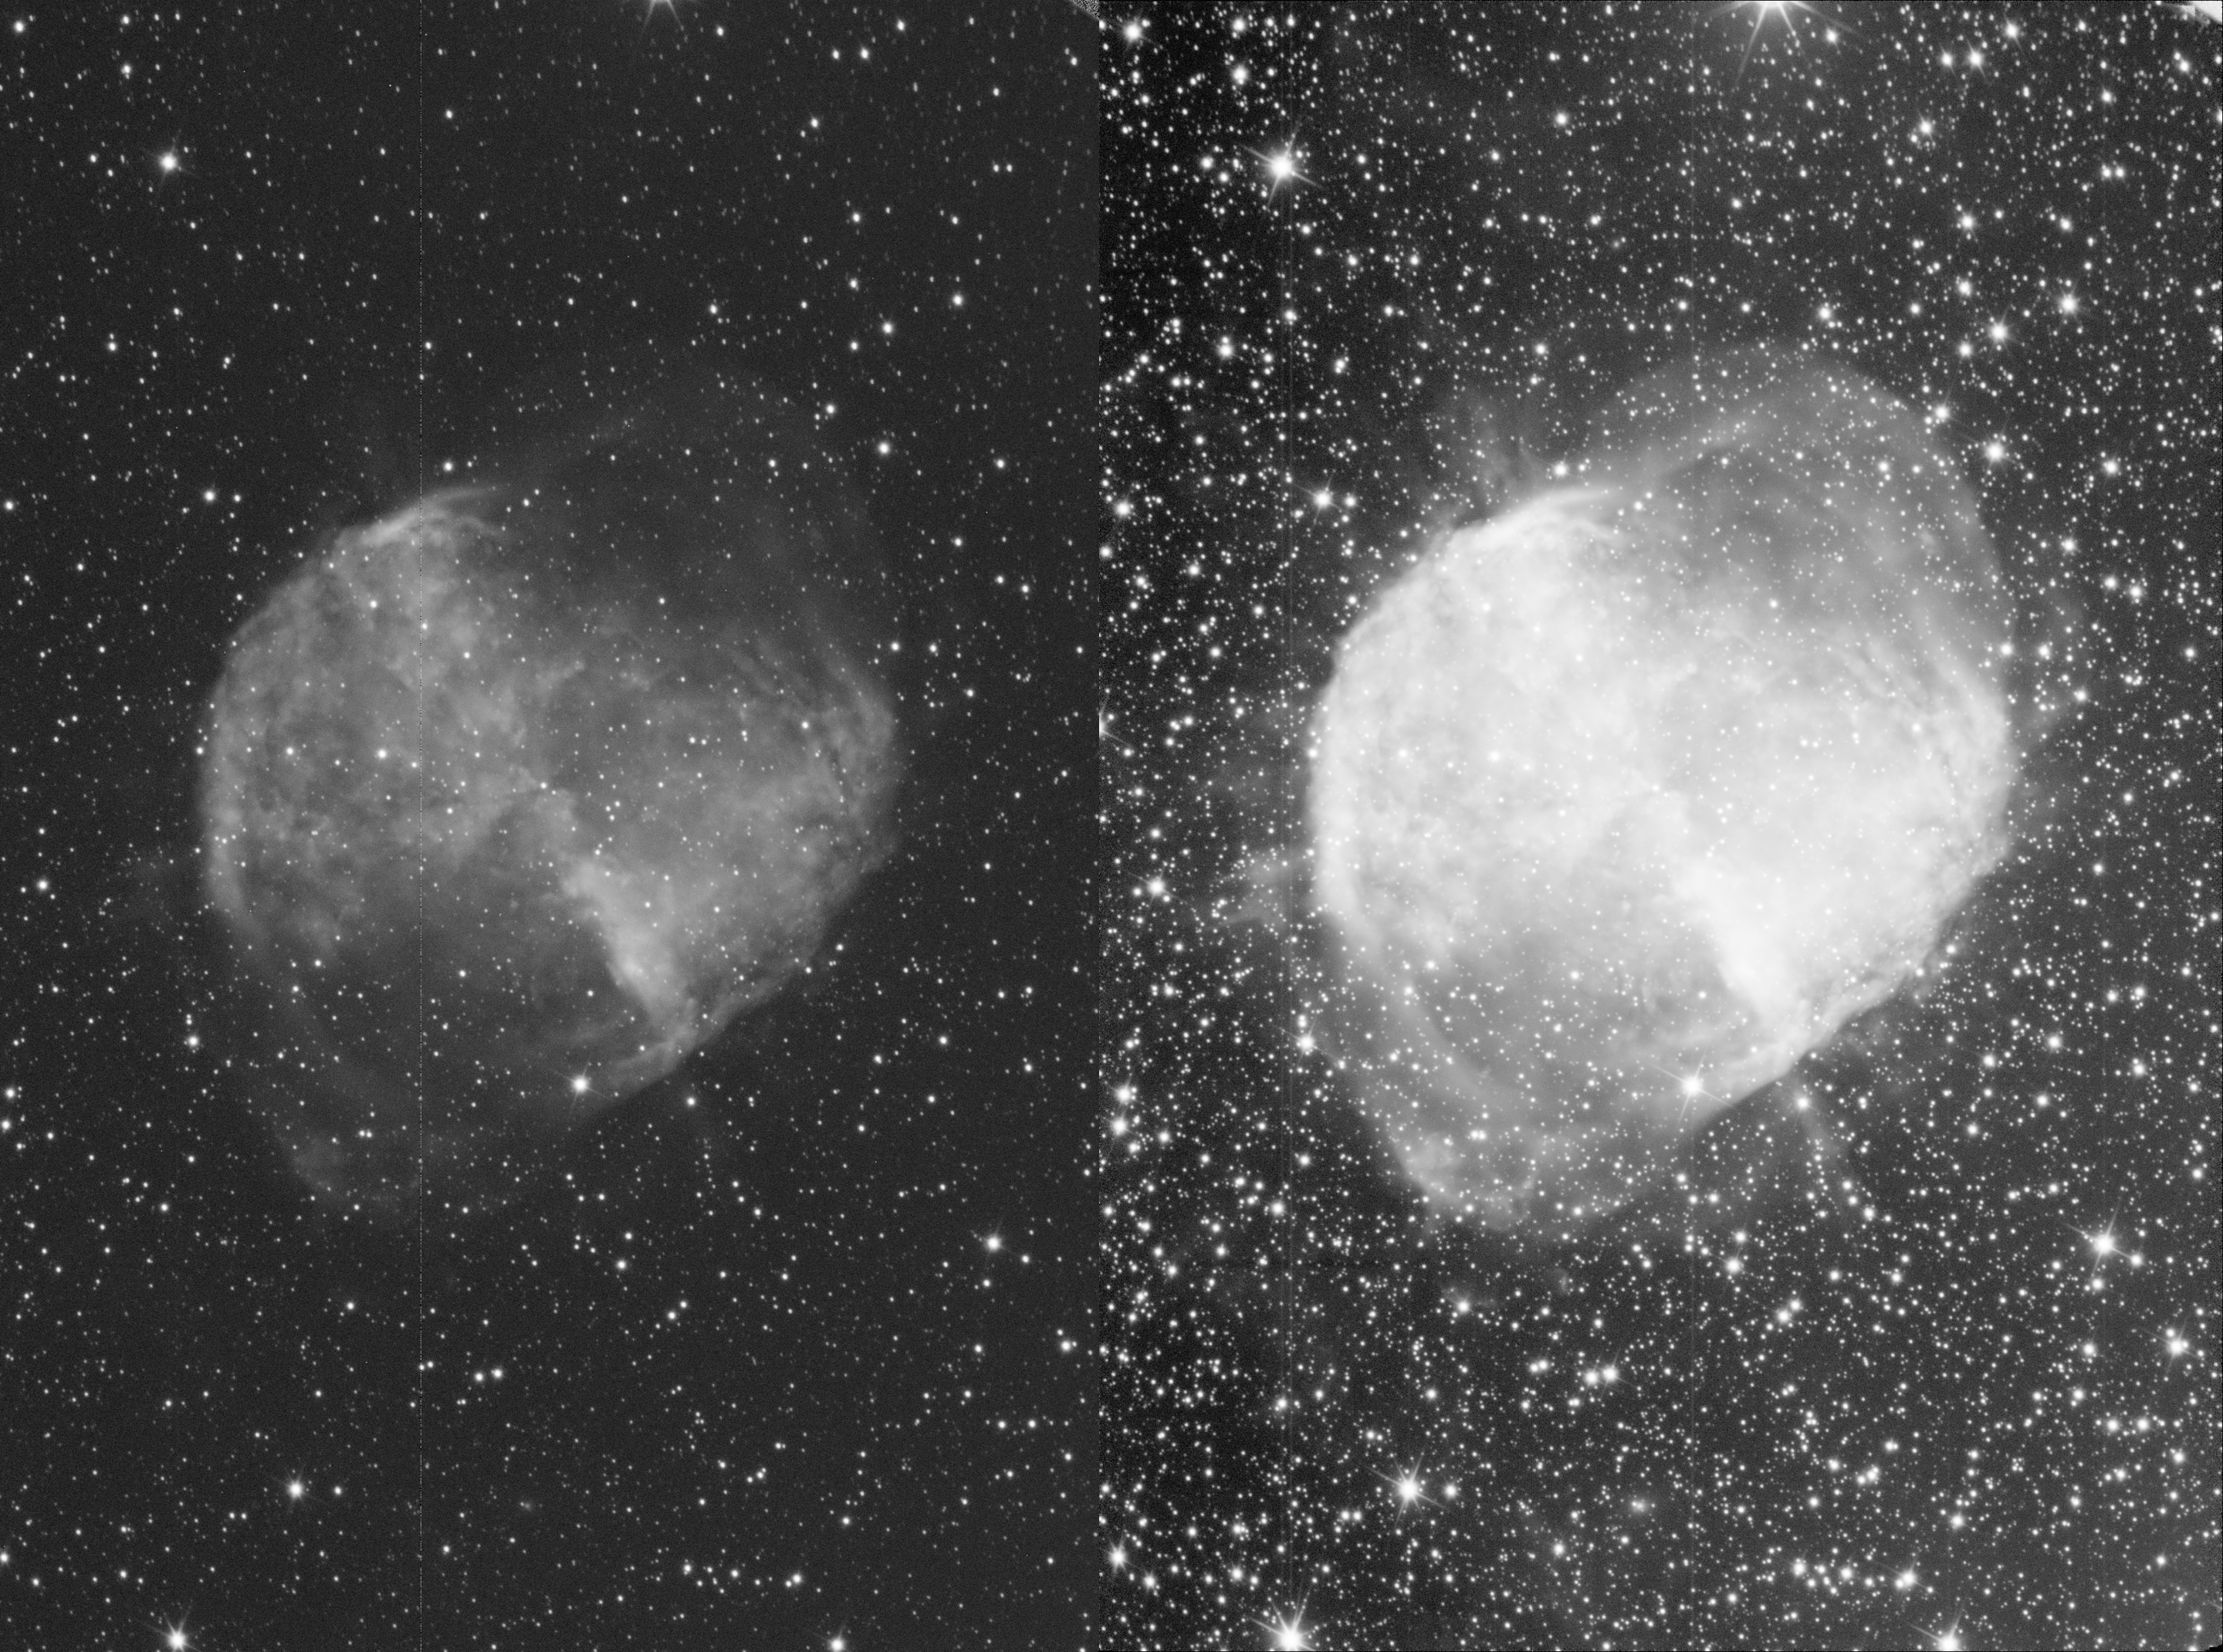
Here is the comparison of a single raw image and the integrated image for the R channel.
Work plan with integrated channels: find stars, shift and transform images together (in APP now unselect “same camera and optics”, and possibly select “use dynamic distortion correction”, plus if the number of stars in U is not very high, select the U channel to be the reference frame), save aligned channels one-by-one as fits files.
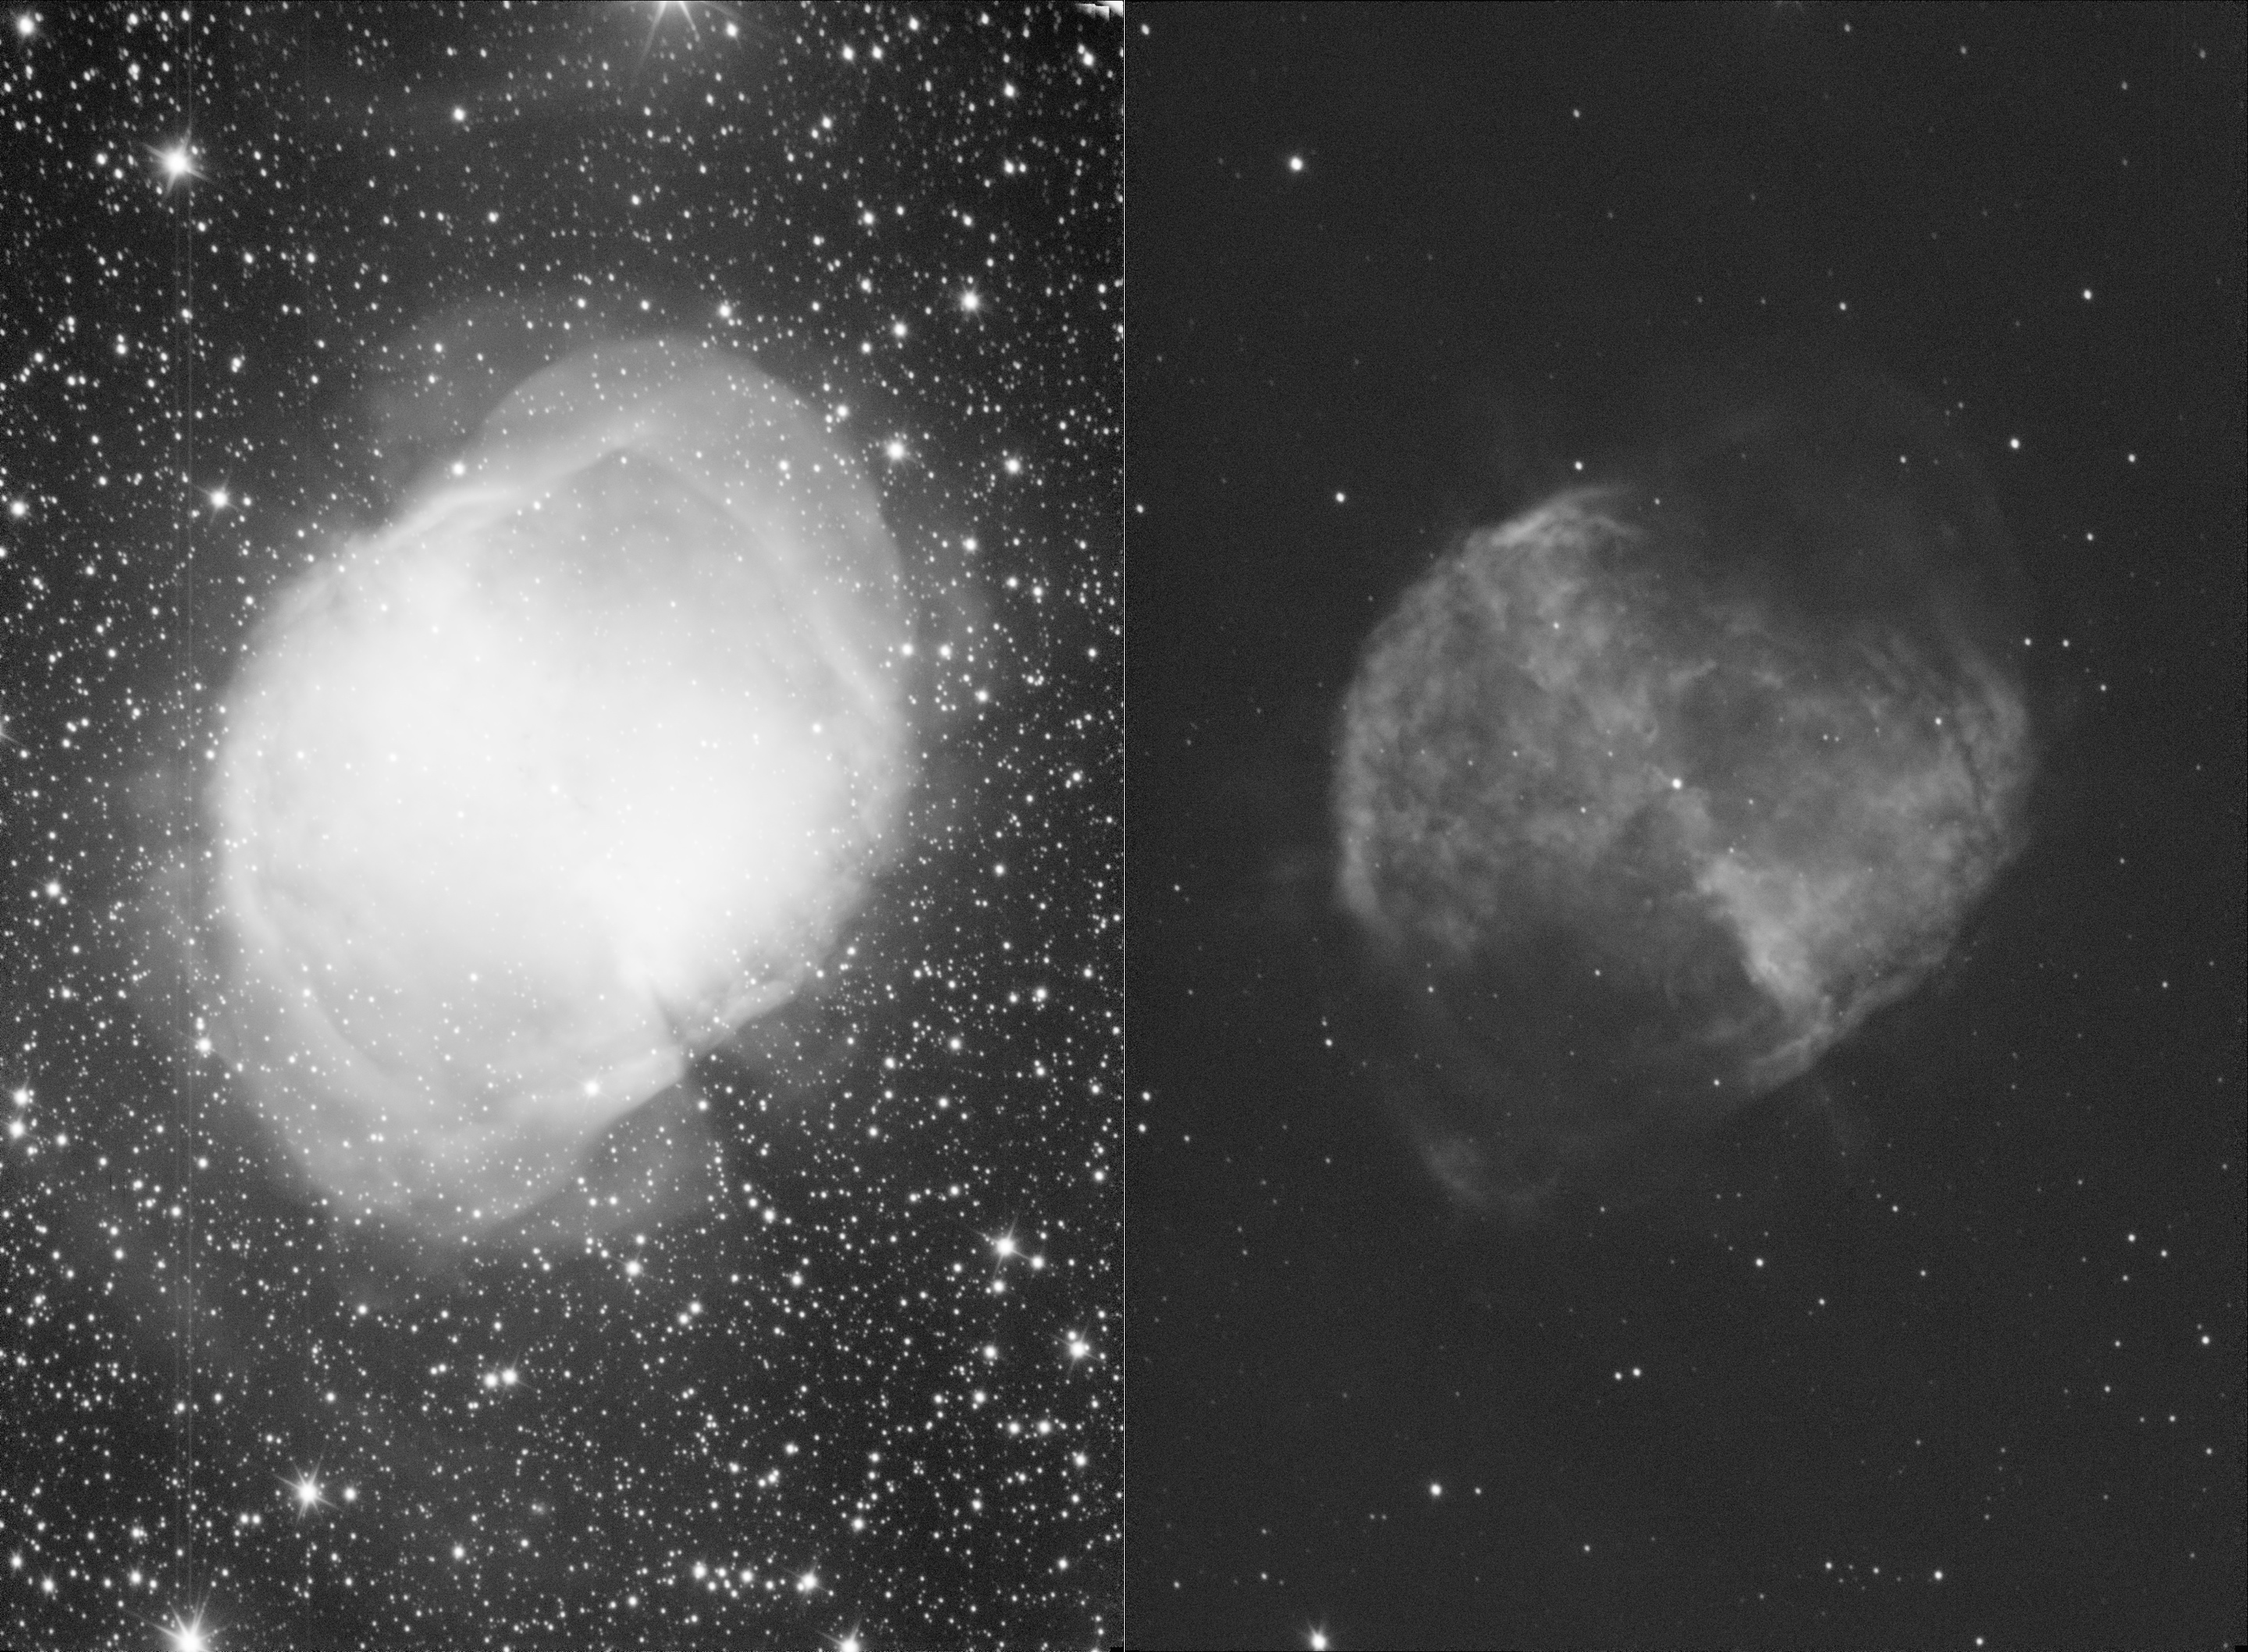
As an illustration, here are the two other integrated channels too (G and U).
Work plan with fully aligned integrated channels: in APP under “Tools” use the “Combine RGB” button to load in the three files that you saved in the previous step, set the R, G, and U channels to R, G, and B colours, and process to taste. You can play around with the curves, saturation and other settings later in other image processing applications too (e.g., Adobe Lightroom), for this, save the colour image from APP as a 16 bit TIFF file. If you used my python script for the reduction, flip your image vertically to get a true-to-sky orientation.
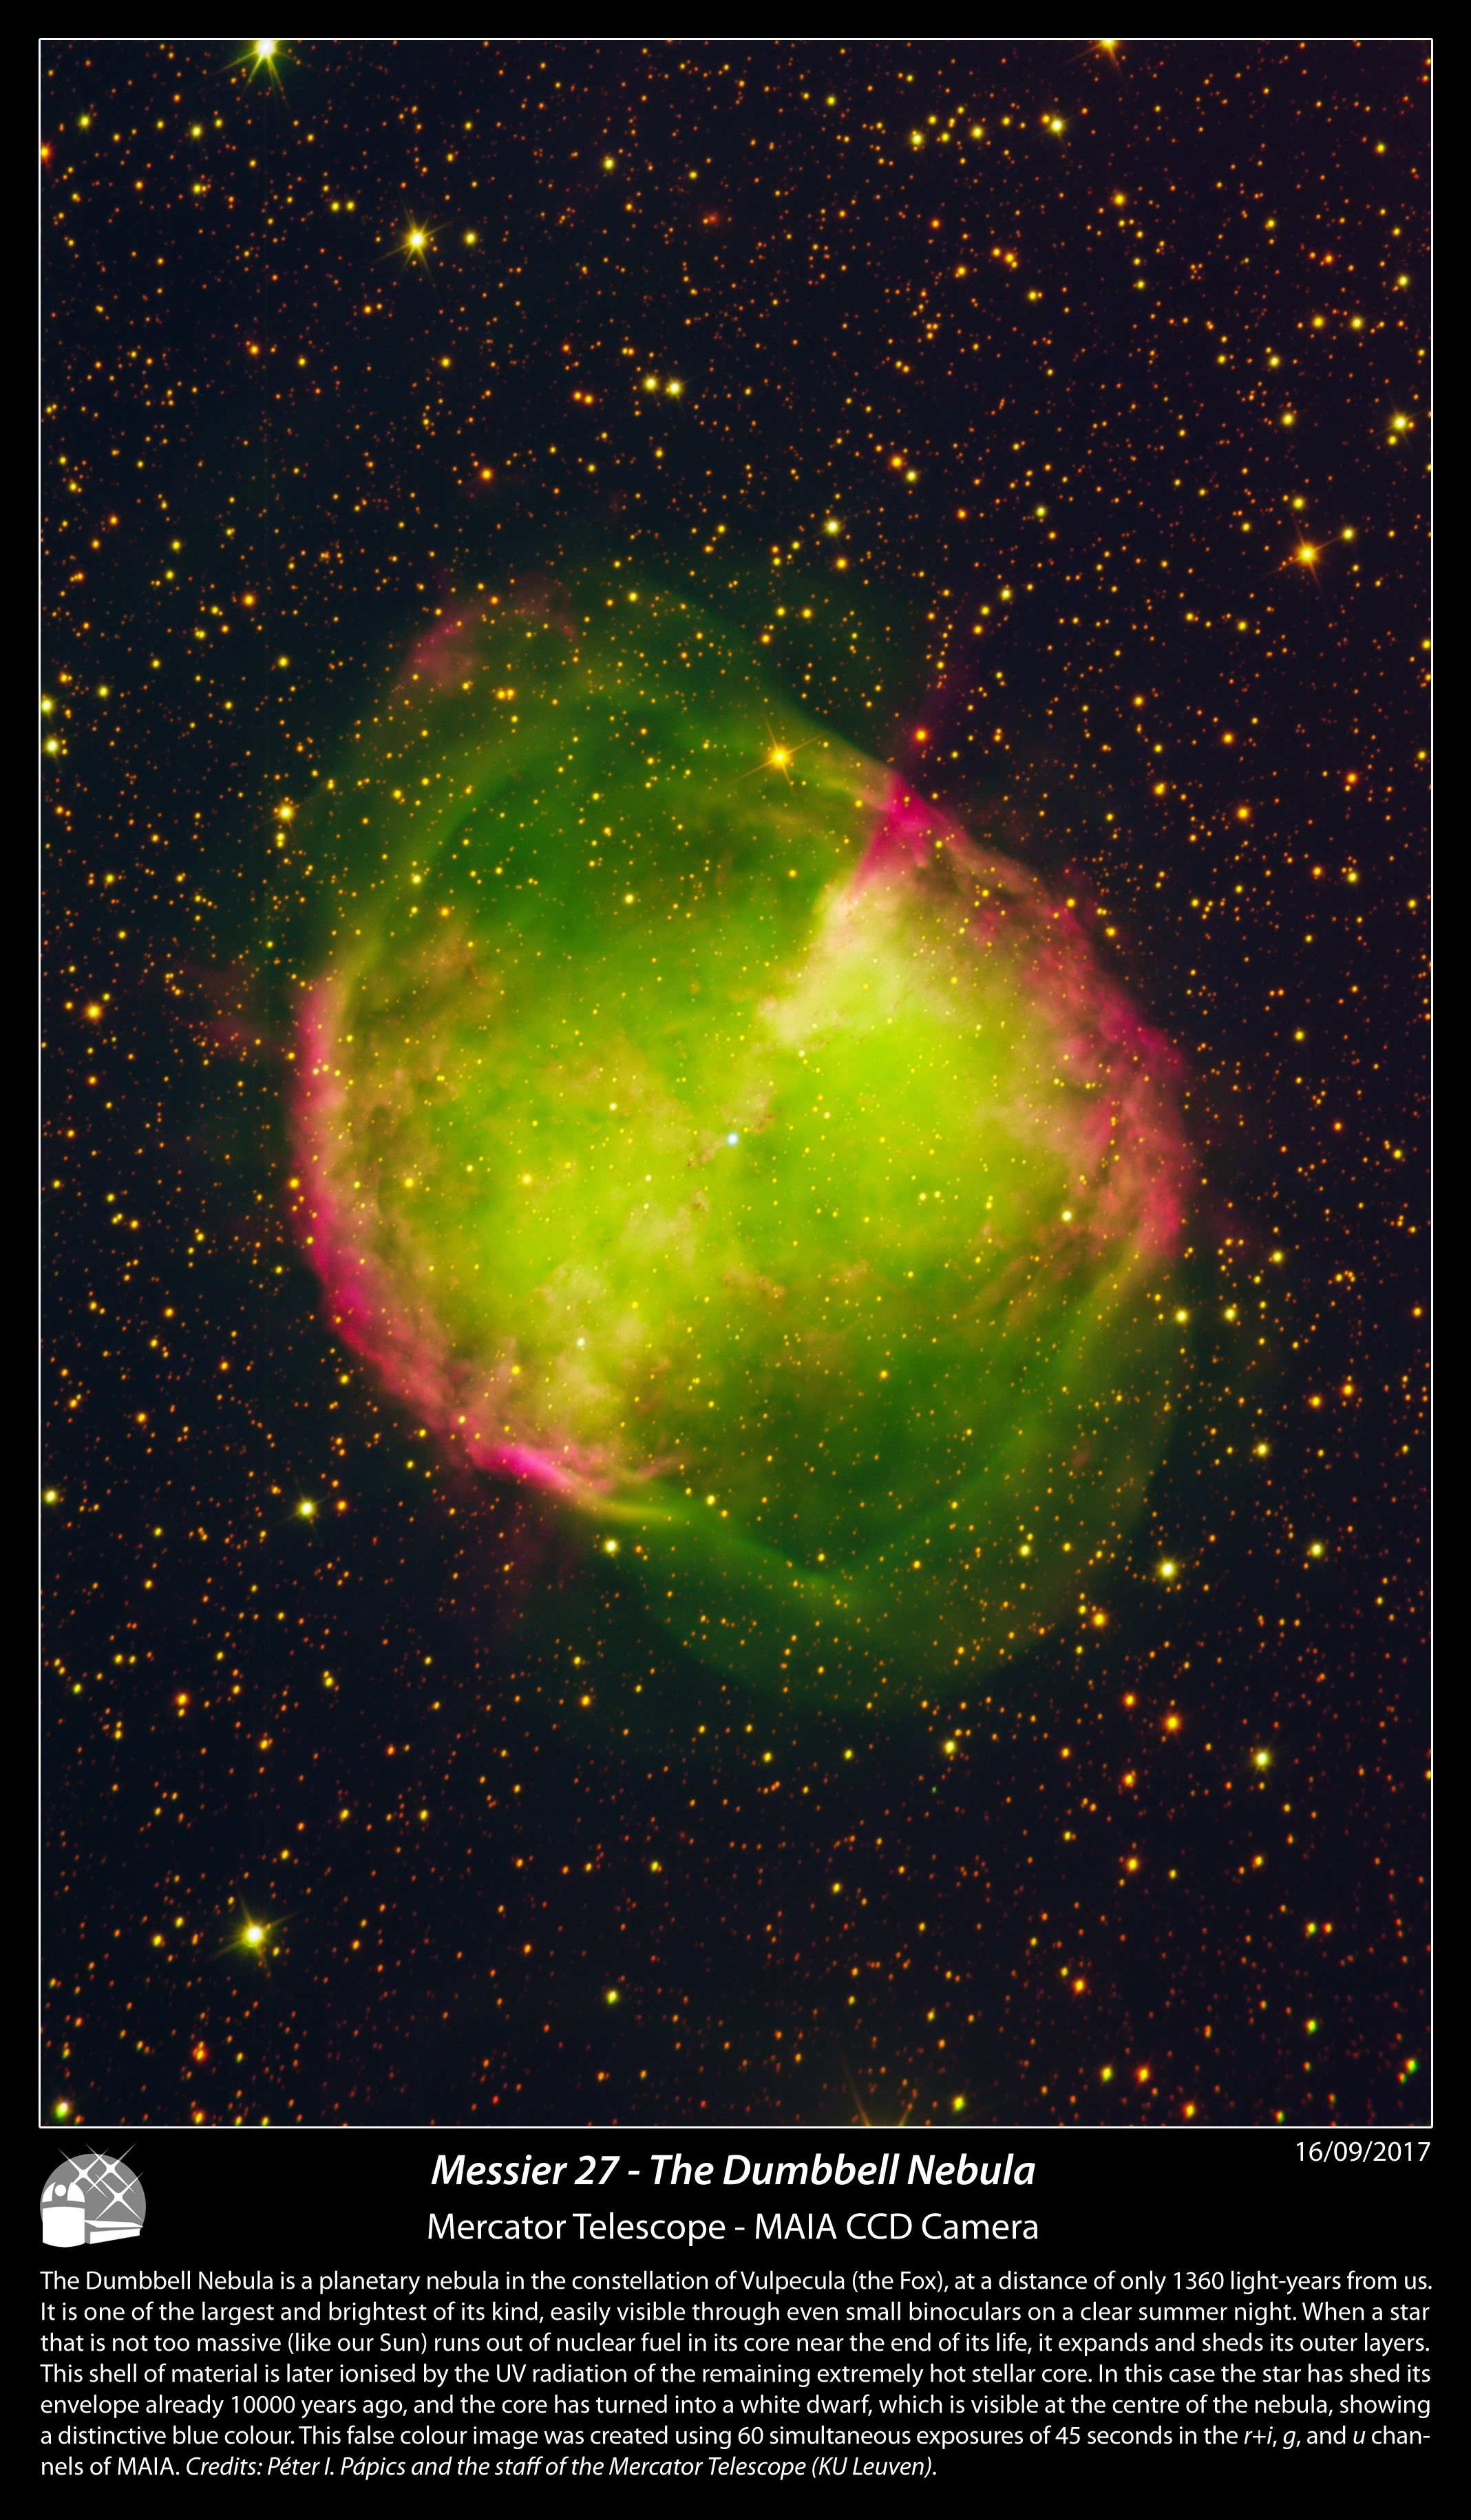
The rest of the photos I made with the MAIA camera can be seen after the click below (to save bandwidth), or towards the bottom of my flickr album. Continue reading
DSLR astrophotography from La Palma
I was lucky enough to get one last observing run at the Mercator Telescope on La Palma, so I spent another eleven nights at the telescope last month, bringing up my totals to 139 nights there (and to 232 overall at international observatories). Since my contract at the Institute of Astronomy ended on the 30th of September, this number will not change anymore :(
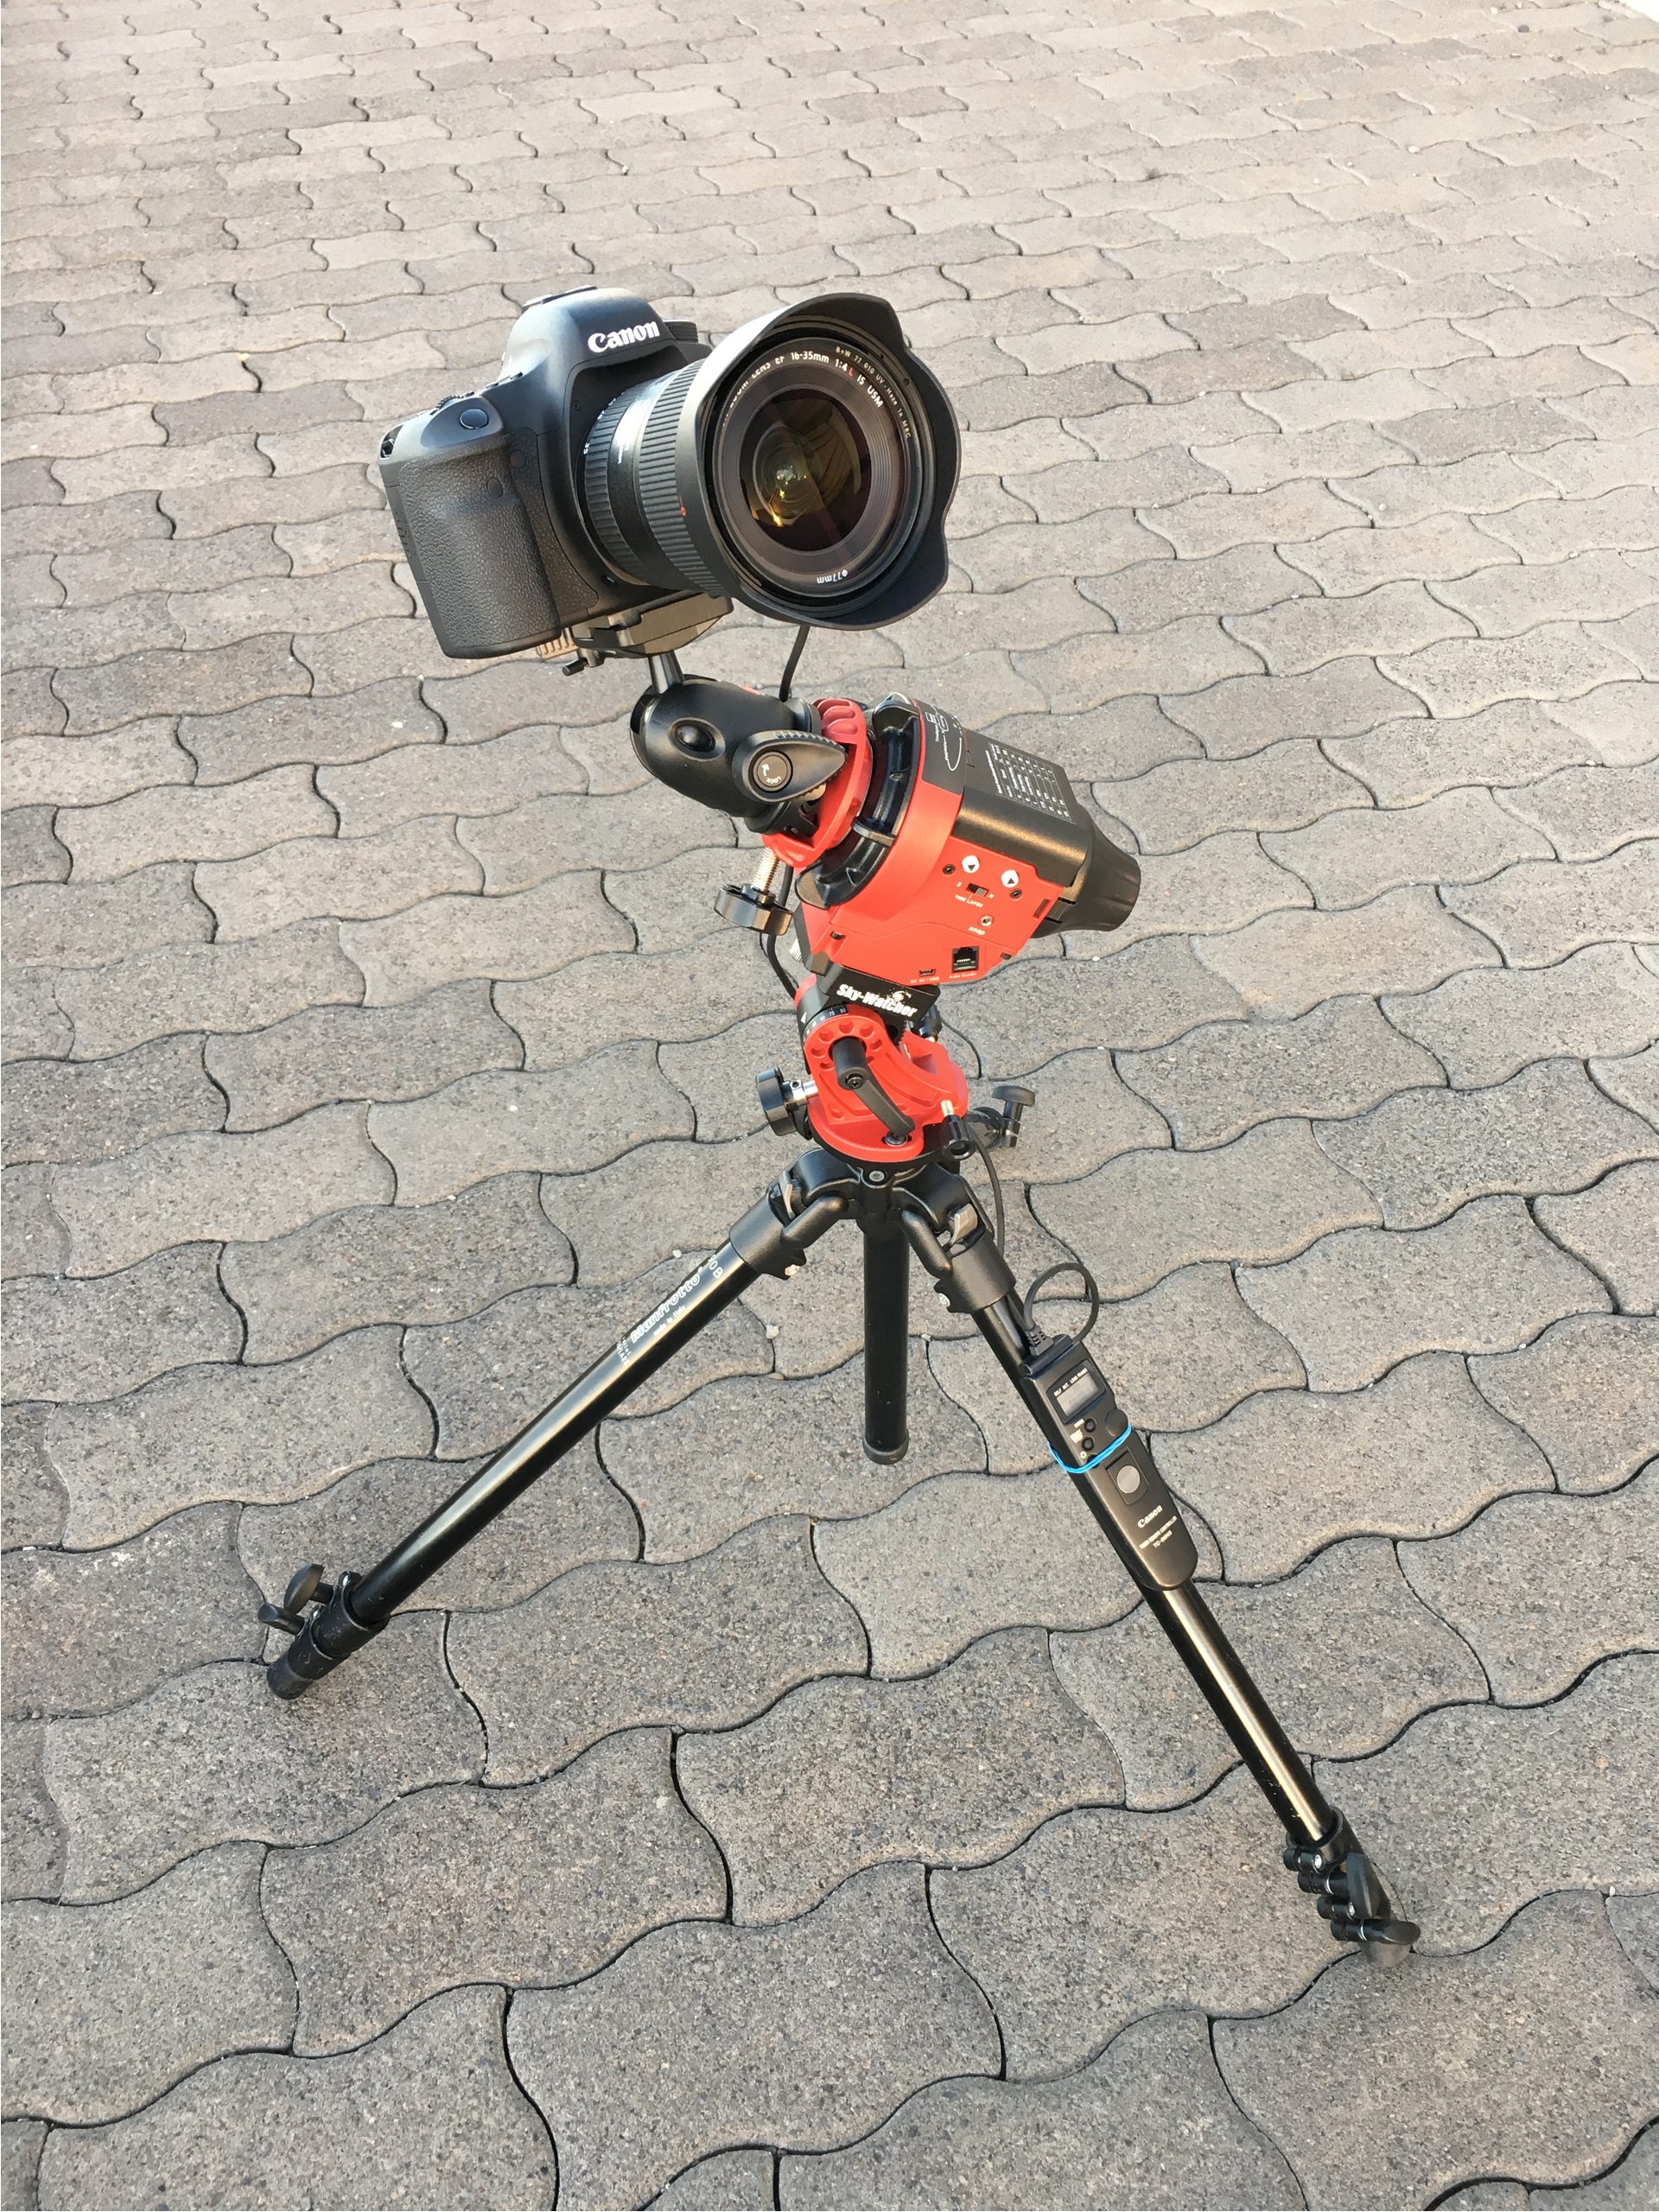
Anyway, to make the most out of my last payed trip to the Canaries, I decided that it was time to bring my heavy duty photography equipment with me again, but instead of shooting more time lapse movies, I wanted to do some more serious astrophotography, so I also bought (and then brought along) a compact sized motorised equatorial mount (a Sky-Watcher Sky Adventurer). I mounted the tracking mount on my good old Manfrotto tripod, and used an extra Manfrotto ball head to support and enable easy pointing of my Canon EOS 6D. You can also see the Canon TC-80N3 timer I was using to automate the image acquisition sequence so I did not have to press the shutter release button every two minutes. (Small note: I enabled mirror lock-up and used the 2 second self-timer setting in the camera, so when the TC-80N3 timer gave the signal, the mirror locked up, and 2 seconds later the actual exposure started, eliminating any unwanted vibration from the movement of the mirror. This meant setting an exposure time of 122 seconds on the TC-80N3 timer when I wanted an actual exposure time of 120 seconds.)
While I have done some very basic astrophotography before (and of course time lapse videos), I never had a tracking mount, so I was always limited in terms of exposure time by the Earth’s rotation. Also back then my DSLR was a Canon EOS 7D, that had worse noise levels than my current Canon EOS 6D, which meant that I could not really go above ISO 1600… But now with a better camera, a tracking mount, and a good amount of research before my trip, I was ready to step up my game.
My first few nights were lit by the bright Moon (I arrived just the day after Full Moon), so I spent the short amount of dark time before moonrise to experiment with the mount, my two lenses, and the camera settings. It took me four nights (of very little dark time) to figure everything out, but starting with my 5th night, my camera was outside from the beginning of the astronomical twilight until moonrise (which happened later and later as the days went by). I found out that I prefer taking more zoomed-in photos, so instead of using the Canon 16-35mm f/4 L IS USM lens, I went for the Canon 50mm f/1.4 USM lens. None of these lenses are really made for astrophotography, meaning that wide open they have a pretty bad coma towards the corners of the image on a full frame sensor, therefore I had to stop the lens down to f/4 to get a result that I was happy with. I used ISO 3200 (after reading a lot about ISO levels for astrophotography here), and an exposure time of 120 seconds (to expose the images to a good overall brightness). As a comparison, in 5 to 10 seconds the stars would already move away enough (thanks to Earth’s rotation) that they would appear as short lines instead of circles on the photo without a tracking mount, (see, e.g., my attempt from a few years ago here). After a good polar alignment (which was pretty uncomfortable with such a low mount, but I managed), I had zero issues with the tracking. Even after one hour, there was basically no shift in the stars’ positions, so I was very happy with the whole setup.
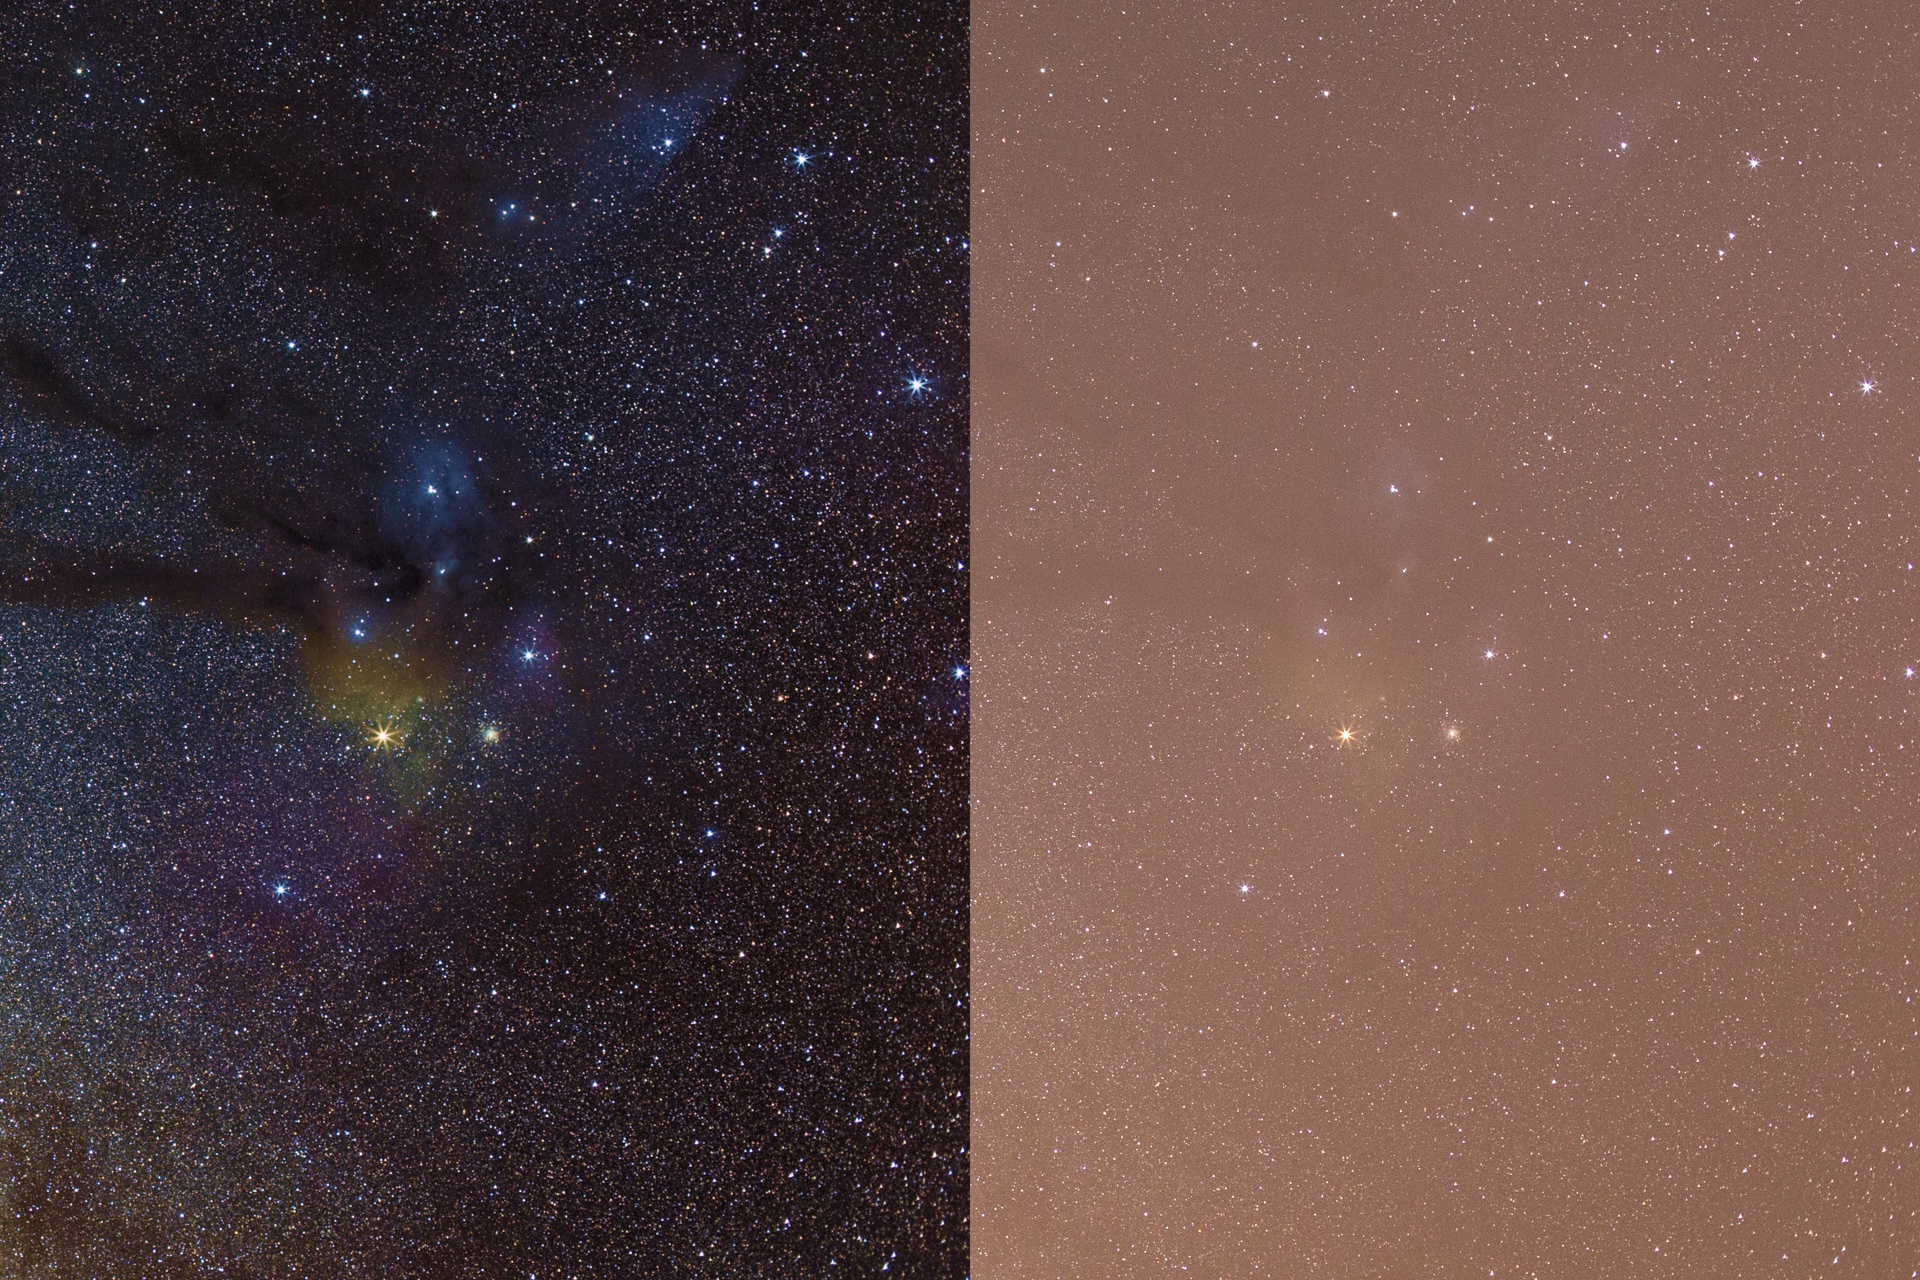
To make one picture, I took 30 to 50 120 second exposures of the same spot of the sky (accounting for a total exposure time between 3600 and 6000 seconds), and also ~30 dark and bias frames for proper calibration (no flats since I have no dirt on my sensor, the vignetting at f/4 is negligible, and taking properly illuminated flats with a DSLR is a mess anyway). Then I processed these in AstroPixelProcessor (really great and pretty much self-explanatory software, with a 30 day trial version!), and at the end I saved an average (or median) image to improve the signal to noise ratio of the images. Finally, I used Adobe Lightroom to do some final adjustments mostly on the curves and colour of the photographs. To show how much this process means for the results, here is a comparison of a selected region from a final processed image, and the same area from a single 120 second unprocessed RAW exposure out of the 30 that were used to create it.
It is a quite impressive improvement. I liked doing this so much that I would definitely get more into astrophotography if I did not live under one of the most light polluted skies of the world here in Belgium… :D :( Anyway, below is a selection of the images I made on La Palma, and you can find more on my Flickr (at even higher resolution). Since even these 8 resized to ~50% weight in at ~40 MB, you will have to click after the first one for the rest.
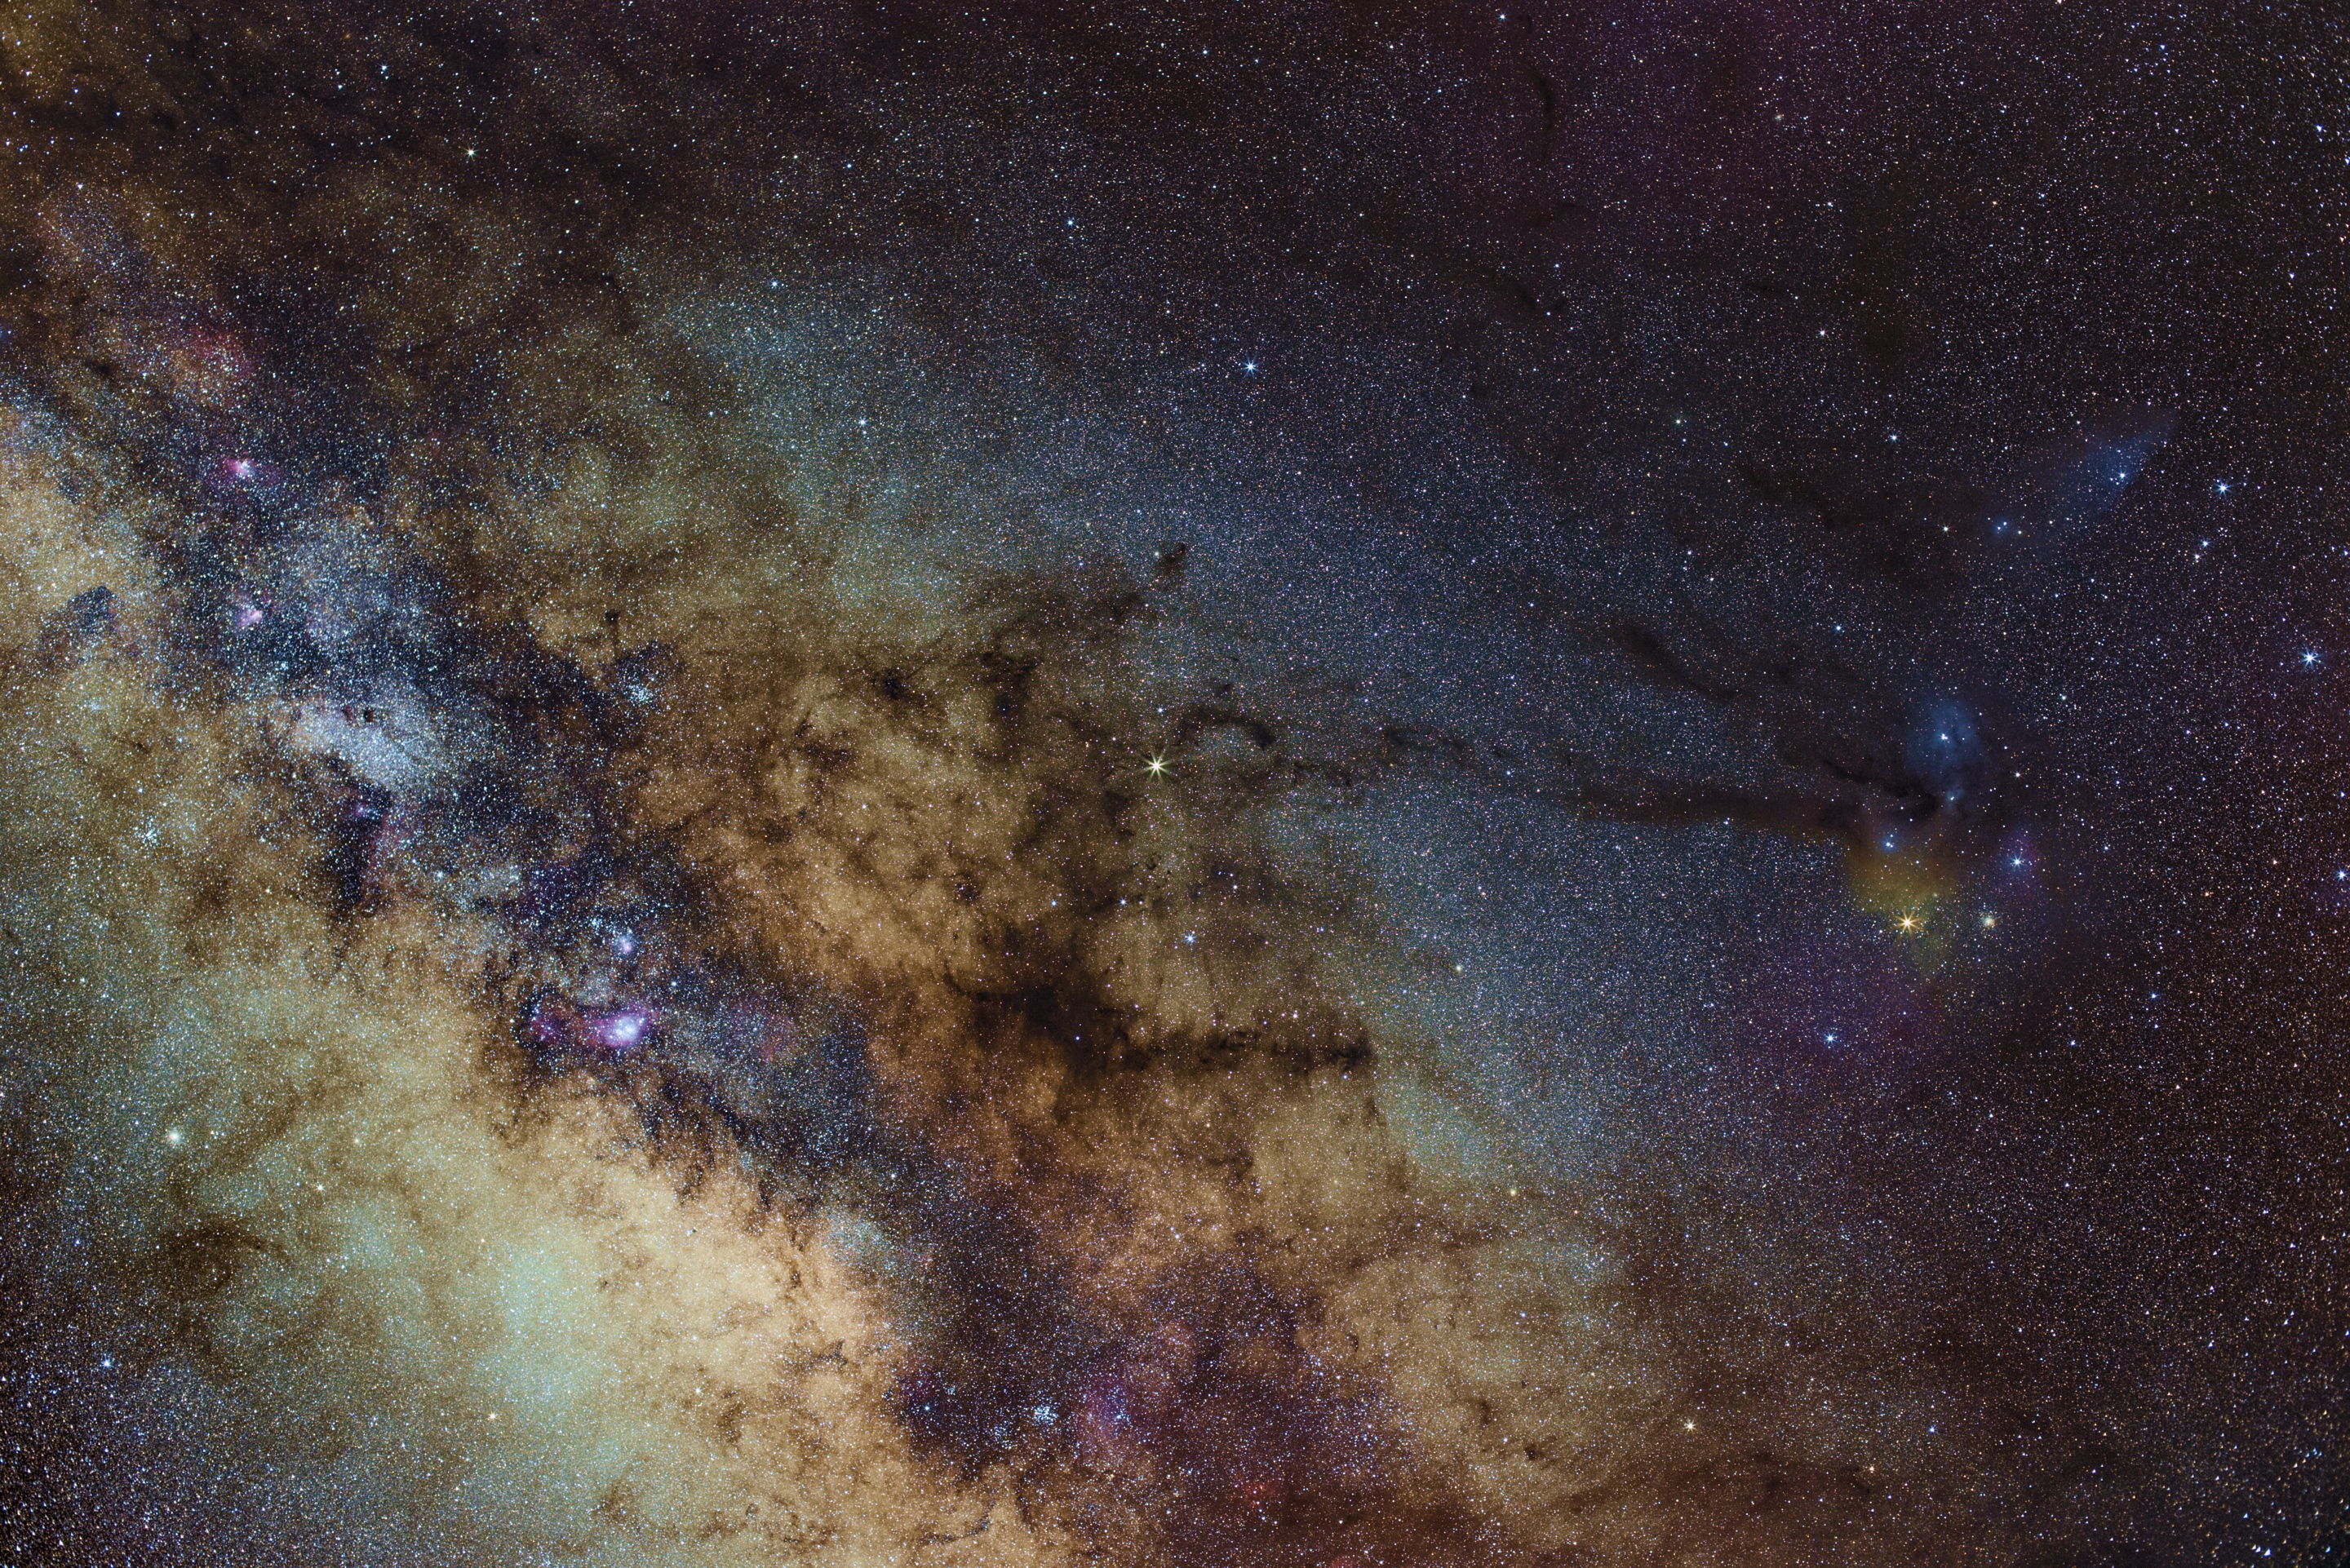
1) The centre of the Milky Way, looking towards Scorpius, Sagittarius, and Ophiuchus, with Saturn in the very centre of the image, and many bright and dark nebulae visible around the field of view. A sum of 30 exposures of 120 seconds each.
Between the end of the road trip and the end of the summer
Tomorrow I am flying to La Palma for a last observing run at the Mercator telescope, so maybe this is a good time to write a short summary of the past one and a half months. After coming back from Scandinavia we spent a weekend in Zeeland. Here I had a great (and pretty fast) ride around the Oosterschelde, enjoying the amazing bike infrastructure of the Netherlands, then on the evening we had delicious mussels with fries overlooking a small harbour. As usual, I did some kiting too before driving back to Leuven on the following day.
I did not work too much on the Leuven Sky Atlas lately, except for a few refinements, but I ordered a bunch of other sky atlases to be able to make a better comparison to them. So now I own all the sky atlases that I would have loved to have when I was an active amateur astronomer more than a decade ago… I would actually like to be more involved again, as astrophotography really interests me, but the Belgian climate plus the high amounts of light pollution are far from optimal for it, not to mention it would be another pretty expensive hobby.
I sent in my first job application outside of astronomy too, but after I am back from La Palma I will have to be a bit more active on the job market, because my contract at the Institute of Astronomy ends on the 30th of September, and while I would like to have some time to finish and publish my star atlas, I would not like to stay without a job for too long afterwards. So, if you are looking for someone with experience in data analysis, data visualisation, or you just need a business parter to start up a cycling cafe in the Leuven area, I am available :)
At the beginning of August I have been taking care of our friends’ cats for a week, which was really nice, and they loved me even after they got fed ;) Thanks to Clio we were VIPs on the roof bar of the Museum of Leuven for one evening during the Midzomer festivities. Here we had dinner while listening to a concert, then we ended the evening with a walk around the exhibitions of the recently renovated museum (which was actually my first time inside).
During one of my standard evening training rides the wind direction was perfect to try to get the KOM (king of the “mountain”, or simply the best time on a given stretch of road) on one of the sprint sections along the Demer, so after getting up to a good starting speed I opened my sprint. As soon as I started pedalling out of the saddle I felt a sharp pain at the side of my left knee, but I thought that it was probably just hit by a small stone or piece of wood that got picked up by my front wheel, so I kept pushing to actually break the previous record by one second (completing the section in 34 seconds at an average speed of 57.5 km/h, reaching a heart rate of 195 bpm for the first time in 2 years). During the last seconds of the effort the pain got more intense, and as soon as I stopped I could see the bee sting hanging out of my skin. I pulled it out, and kept the rest of the ride on a low intensity. My previous similar incident with a bee happened before we had internet (somewhere in the early nineties), but luckily I had no severe reaction to it this time either.
We also had our yearly summer holidays in Budapest. Besides enjoying the usual cocktails and cakes all around the city, this time we drove to the Mátra mountains. We visited the highest point of Hungary (1014 metres ASL), then the tourist center of Galyatető for lunch and to climb up to the new lookout tower, and on the way home the Royal Palace of Gödöllő for a small walk in the gardens. Clio finally got to enjoy some actual summer temperatures with three days between 33°C and 38°C before the weather got back to normal. Getting home was not very smooth, because first of all on the morning my parents’ car had a flat tire that we only noticed a few minutes into the drive towards the airport, so we had to call a last minute taxi, then the ground crew at Brussels Airport went on an unannounced strike, so we got a three hour delay on top of this. Of course this meant that our one checked-in bag also did not make it from the airplane to the luggage claim area after landing, so we had to drive back to the airport a few days later to pick it up…
After a week off the bike the first time back in the saddle on an evening training session at the race track of Zolder was very painful, so I requested a switch in the lineups for the 12 hours of Zolder (moving from our 2nd team to the 3rd, the “Fun Team”) for the following Saturday. The 12 hour race itself was really great, we had a lot of people and supporters under the Squadra Tornado tent, and my legs were also surprisingly good. I did two shifts for a total of a bit more than three hours with an average speed of 40.4 km/h. I managed to stay with the main peloton in both sessions, in the first half of the second one I even worked a lot at the front of the group, and closed several gaps to small breakaway attempts (then almost got dropped because I pushed myself a bit too far, but luckily I managed to hang on). Our best team finished just below the podium, while we ended up at a 40th position overall (out of 207), and 4th (out of 12) in the under 40 team of 8 category. I was really happy about being able to stay with the fast group the whole time, for me that was already a huge success! The great legs stayed with me for a few more days, closing the summer season with a good ride on the Vlierbeekriders Classic.
On the gaming departement, I am playing The Legend of Zelda: Breath of the Wild these days on the Nintendo Switch, and I love both the game, and the portable console.
I have loads of plans for La Palma, so maybe there will be a few more interesting posts again.